
I’m a sucker for all things paper crafts. A few weeks ago, I saw a picture on Pinterest for these DIY pencil eraser stamps, and nearly fell out of my seat. Not only because of how cute the stamps themselves are, but because I had never thought of using a pencil eraser as a stamp before. It’s almost like your own little linocut!
One perk of dating a middle school language arts teacher is that I have endless access to no. 2 pencils. I sent Anne on a mission to collect like-new pencils, and she didn’t have to look any further than her classroom floor in the first week of school. Success!
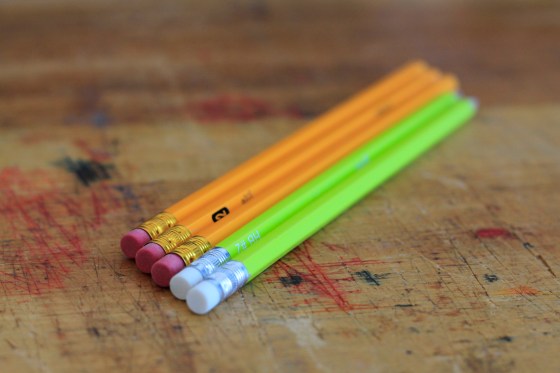
I’d like to also mention that this is my first blog post with my sister’s awesome Canon DSLR, so bear with me as I learn how to use the different settings and lenses. Here’s what you’ll need to make these DIY pencil eraser stamps:
Materials:
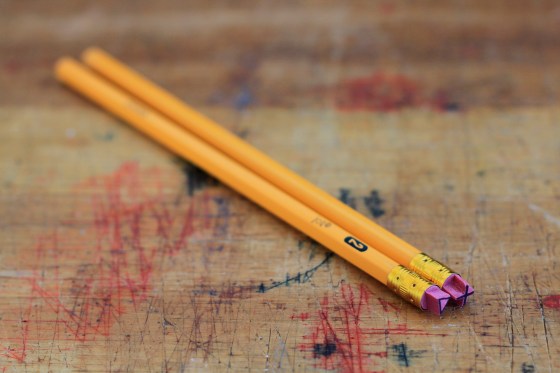
- Two no. 2 pencils with unused erasers
- Ballpoint pen
- X-acto knife
To begin, use your pen to draw your desired design on the pencil eraser. The triangle was the easiest for me to make, so it might be a good place to start.

Once your design is drawn, use the X-acto knife to cut along the pen line and straight down toward the pencil’s metal band. Then, lay the pencil down and carefully cut in toward your design to break away the excess eraser, like so:

Continue this process until your entire design is cut out. Be gentle with it, as your new stamp does not have as much structural support as it used to. Note that I also found it helpful to rinse the stamp afterward to wash away any remaining pen ink.
Voila!

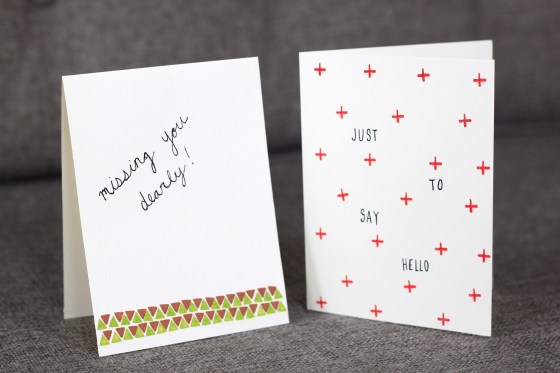
Making a stamp is fun and everything, but it gets even better once you pick out some pretty ink colors and STAMP IT! The triangle was so easy to make, that I experimented with a plus sign stamp as well. This design is a little more flimsy, but no less cute. I decided to make a couple of cards with these stamps, and one is already en route to a loyal reader! Here are some pictures of my final product:

What other stamps could you make from pencil erasers?
