If you should know one thing about me, it is that I love a good Valentine’s Day. Perhaps it’s the sweet treats and baked goods, or perhaps it’s the fond memories of crafting shoebox mailboxes for collecting Valentine’s cards in elementary school. Or perhaps it’s the many flowers. Whatever it is, I certainly have a spring in my step come February 14th. Now, I fully understand that Valentine’s Day is not for everyone (for some unknown reason). If you are one of those people, it is my hope that I will help you enjoy, or at least tolerate, Valentine’s Day a little bit extra this year.
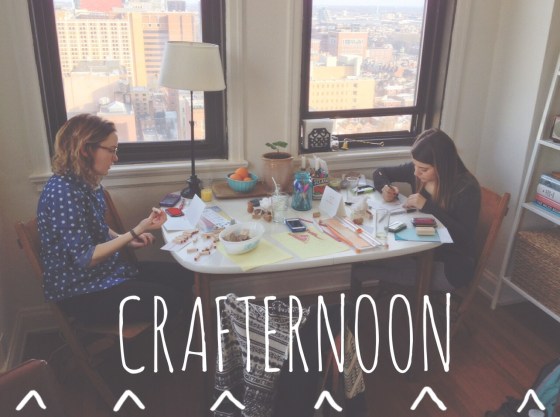
I recently had a few friends (and fellow creative arts therapy folk) over to my apartment for an afternoon of crafting and relaxing – two things that go very well together. Our main project of the day was making Valentine’s and birthday cards for loved ones. I really enjoy making cards for a few reasons. First, it is a relatively easy crafting project that does not require much prep or clean up. Second, making homemade cards is way more fun than paying $4.95 for a card at a store. My trick is to peruse Paper Source every few months and take pictures of cards that I like. Then I go home and make them myself!

Below are the cards I worked on for Valentine’s Day. I decided to use the February 2013 issue of Better Homes and Gardens as my envelope material, and then cut colored note paper to match. (I stopped subscribing to BHG; however, any craft magazine’s February issue would be appropriately themed, regardless of the year). Here are step-by-step photos of my envelope-making process. These can be cranked out rapid-fire once you get the hang of it!


Making an envelope:
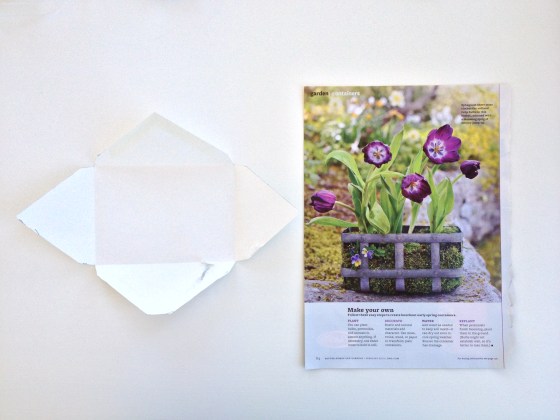
- Choose a preexisting envelope and take it apart at the seams.
- Find an image from a magazine or newspaper that fits the unfolded envelope.
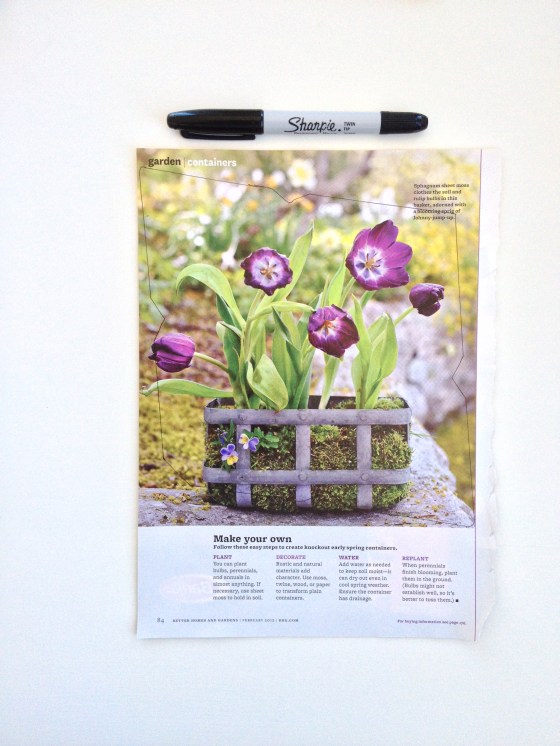
- Use a marker to draw a line around the unfolded envelope on the page.
- Cut around that edge.
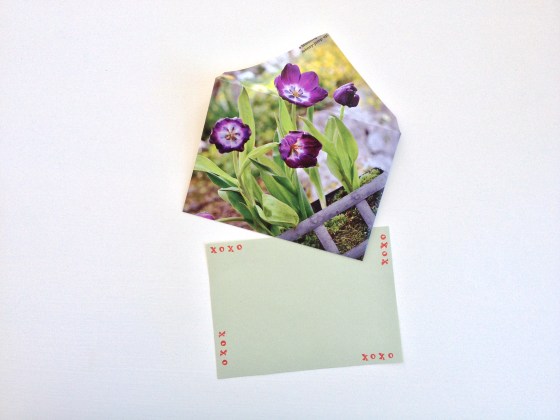
- Use a bonefold to fold the image into an envelope shape.
- Tape the envelope sides shut using double-sided tape.

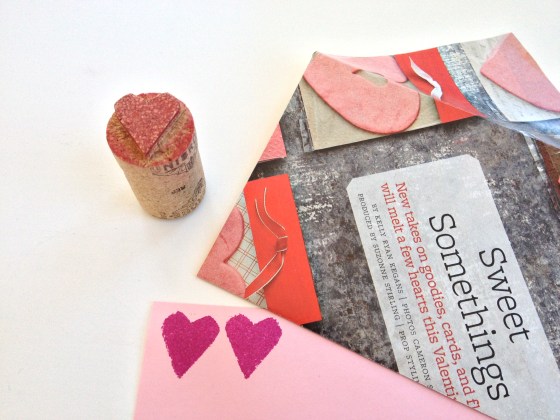
This heart stamp was created using a wine cork and an Xacto knife. The key to a successful wine cork stamp is to make sure the design surface is flat. Otherwise, the entire image will not transfer. Leave a comment with any questions or suggestions for other crafty card designs. These only skim the surface!


Hi Victoria,
I stumbled across your blog the other day and have nominated for a Liebster Award. You are one of 10 great bloggers I’ve selected and you can find out why over on my blog here: http://daisychainsanddreamers.wordpress.com/2014/01/27/liebster-award-spreading-a-little-love/
Keep up the great work! Sarah x
Thank you, Sarah! That is so exciting! I will be sure to post my responses and pass along the award within the next few weeks!
Victoria
Always presented with a spirit of sharing and warmth !
I love the envelope idea! Thanks for sharing!
Thank you, Theresa! Happy early Valentine’s Day!
My granny used to make homemade cards, so I love this particular blog post. I will definitely be trying this creative idea for upcoming birthdays and celebrations!
Suzanne
svanfle@gmail.com
Pingback: Project Roundup: Holiday Inspiration! | Scissors & Sage
Pingback: Embroidered Valentine’s Card Crafting | Scissors & Sage