Snow Day Sugar Cookies

If there’s one thing to know about me it’s that I love learning. I’m a visual learner so, in the age of the Internet, YouTube has become my best friend. It’s amazing, really, how many different kinds of things you can learn on YouTube these days. There are so many passionate people out there making videos about things they care about! Here are some actual snippets of my YouTube search history:

  • “How to add a color knitting”
  • “How to use the Uber app”
  • “How to braid a weeping fig”
  • “How to cut a tree slab”
  • “Replant phalaenopsis orchid”
  • “Royal icing flood consistency”

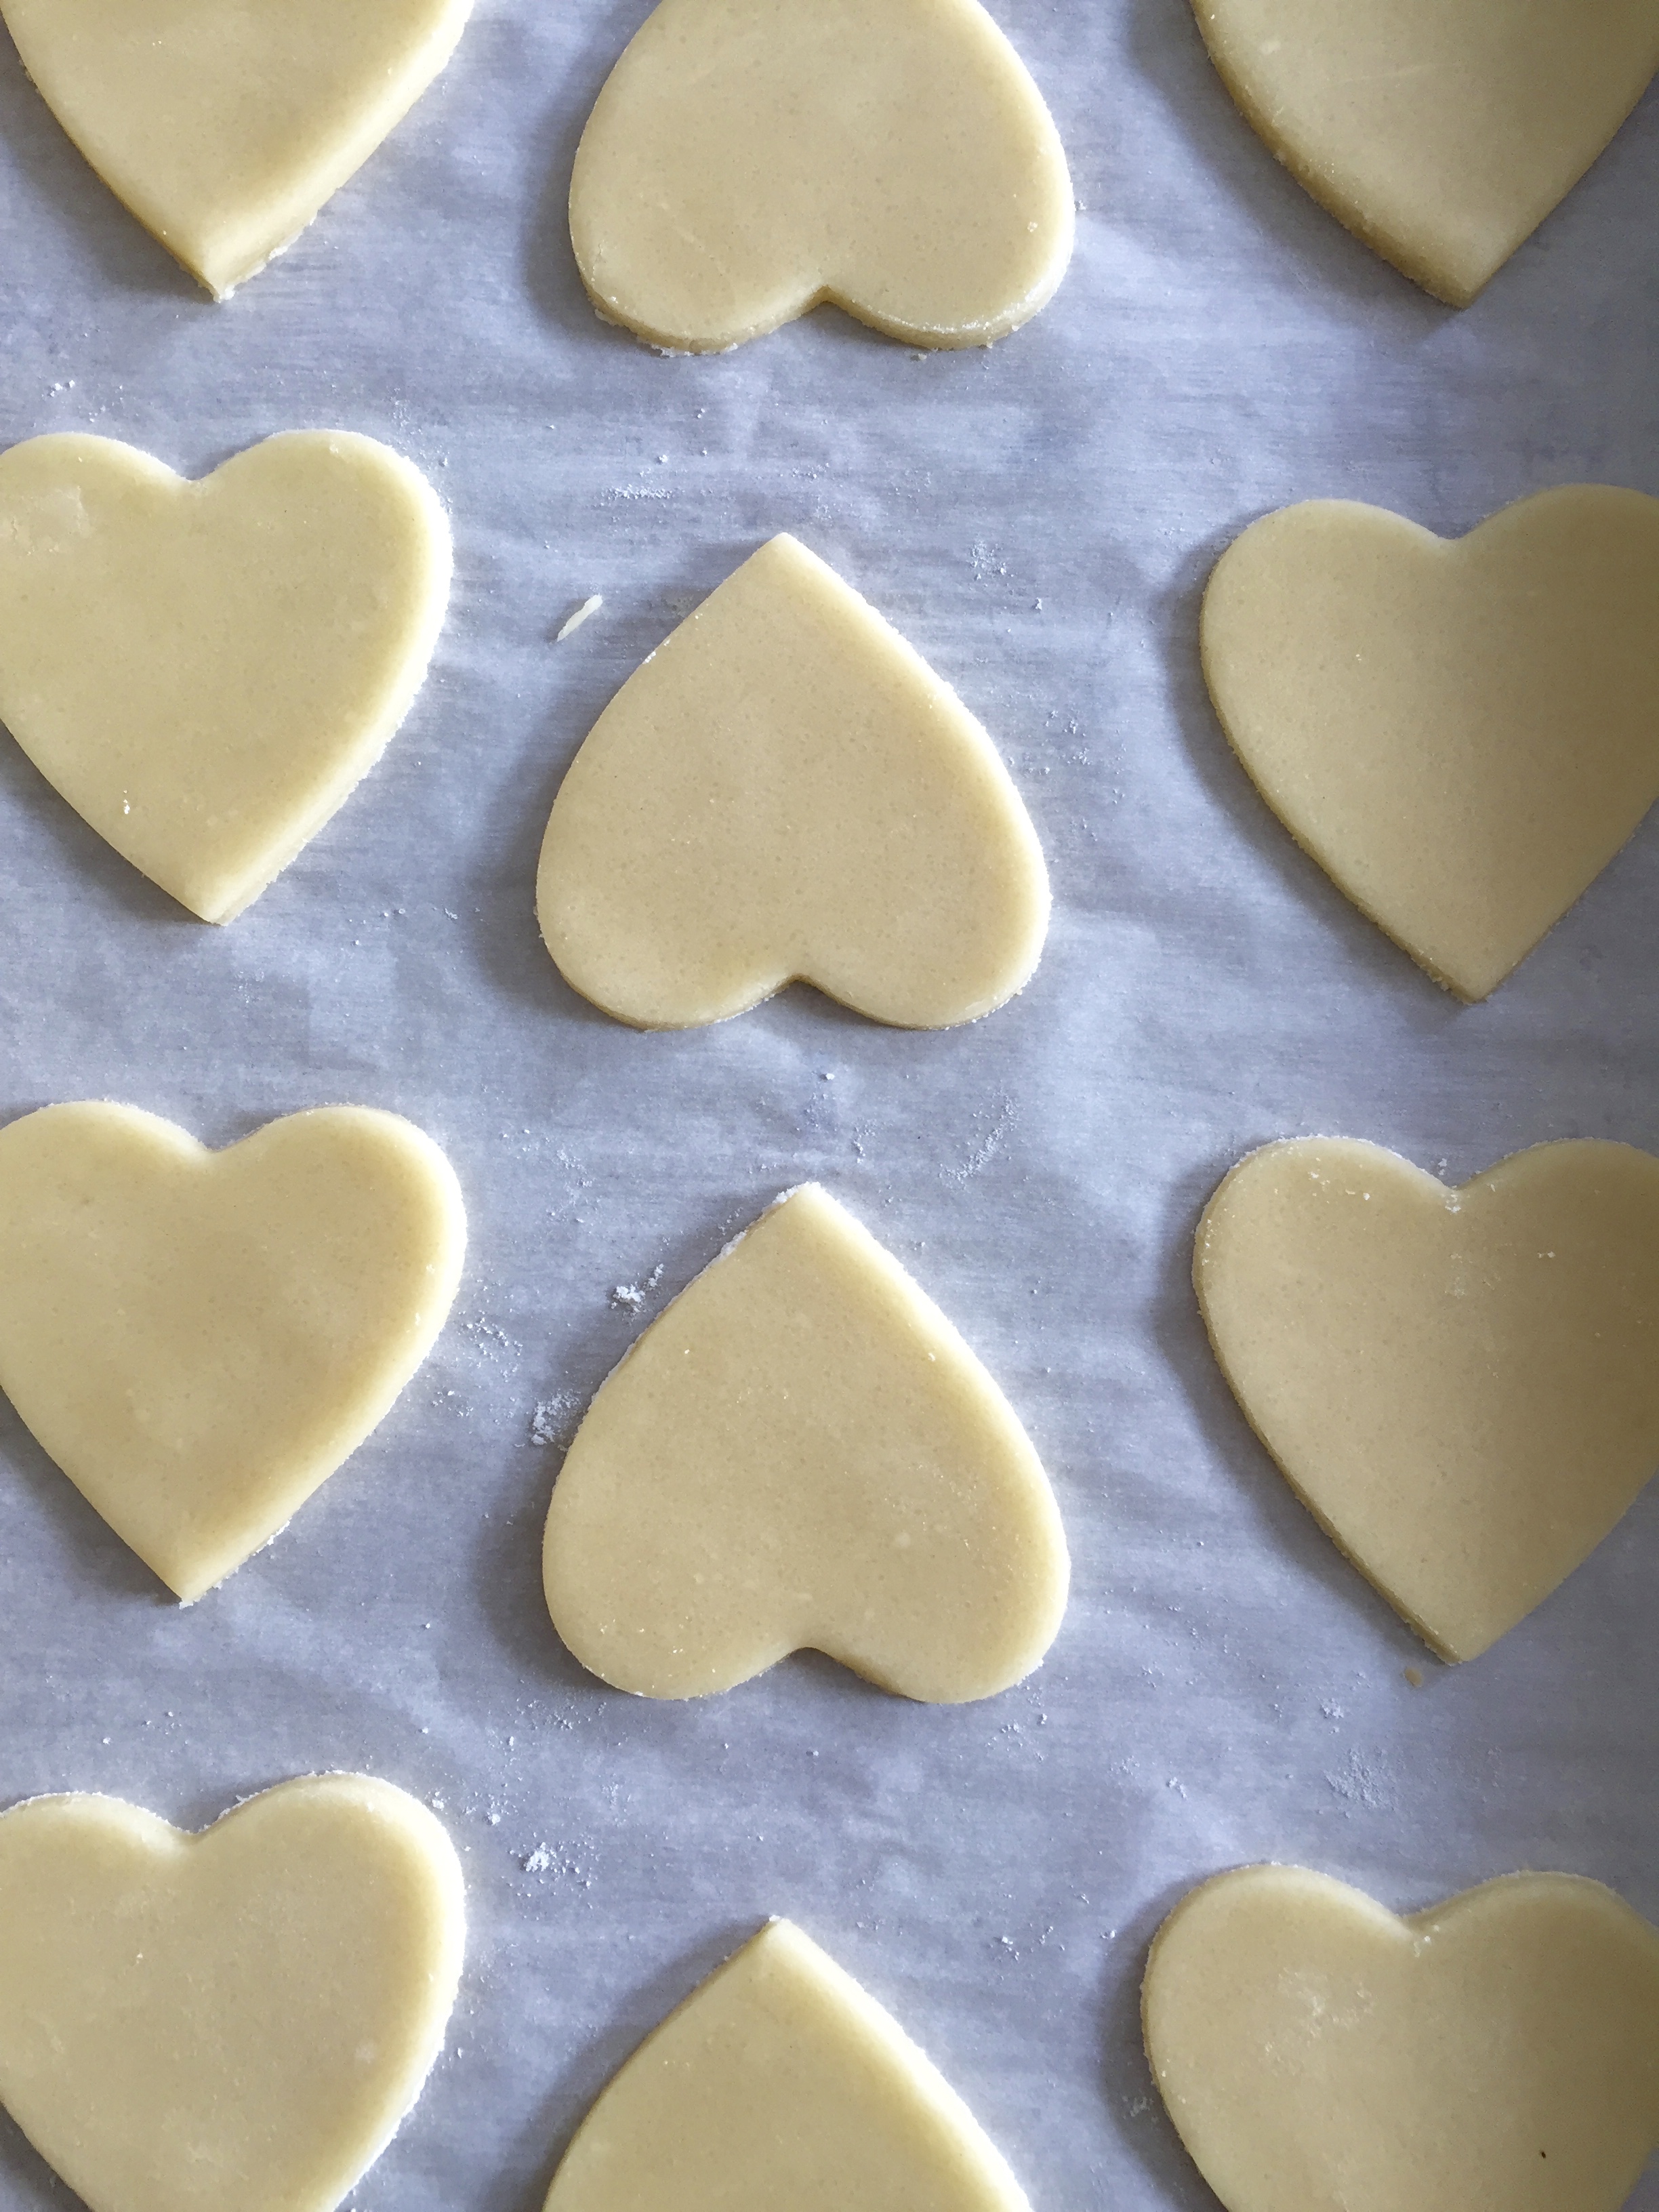
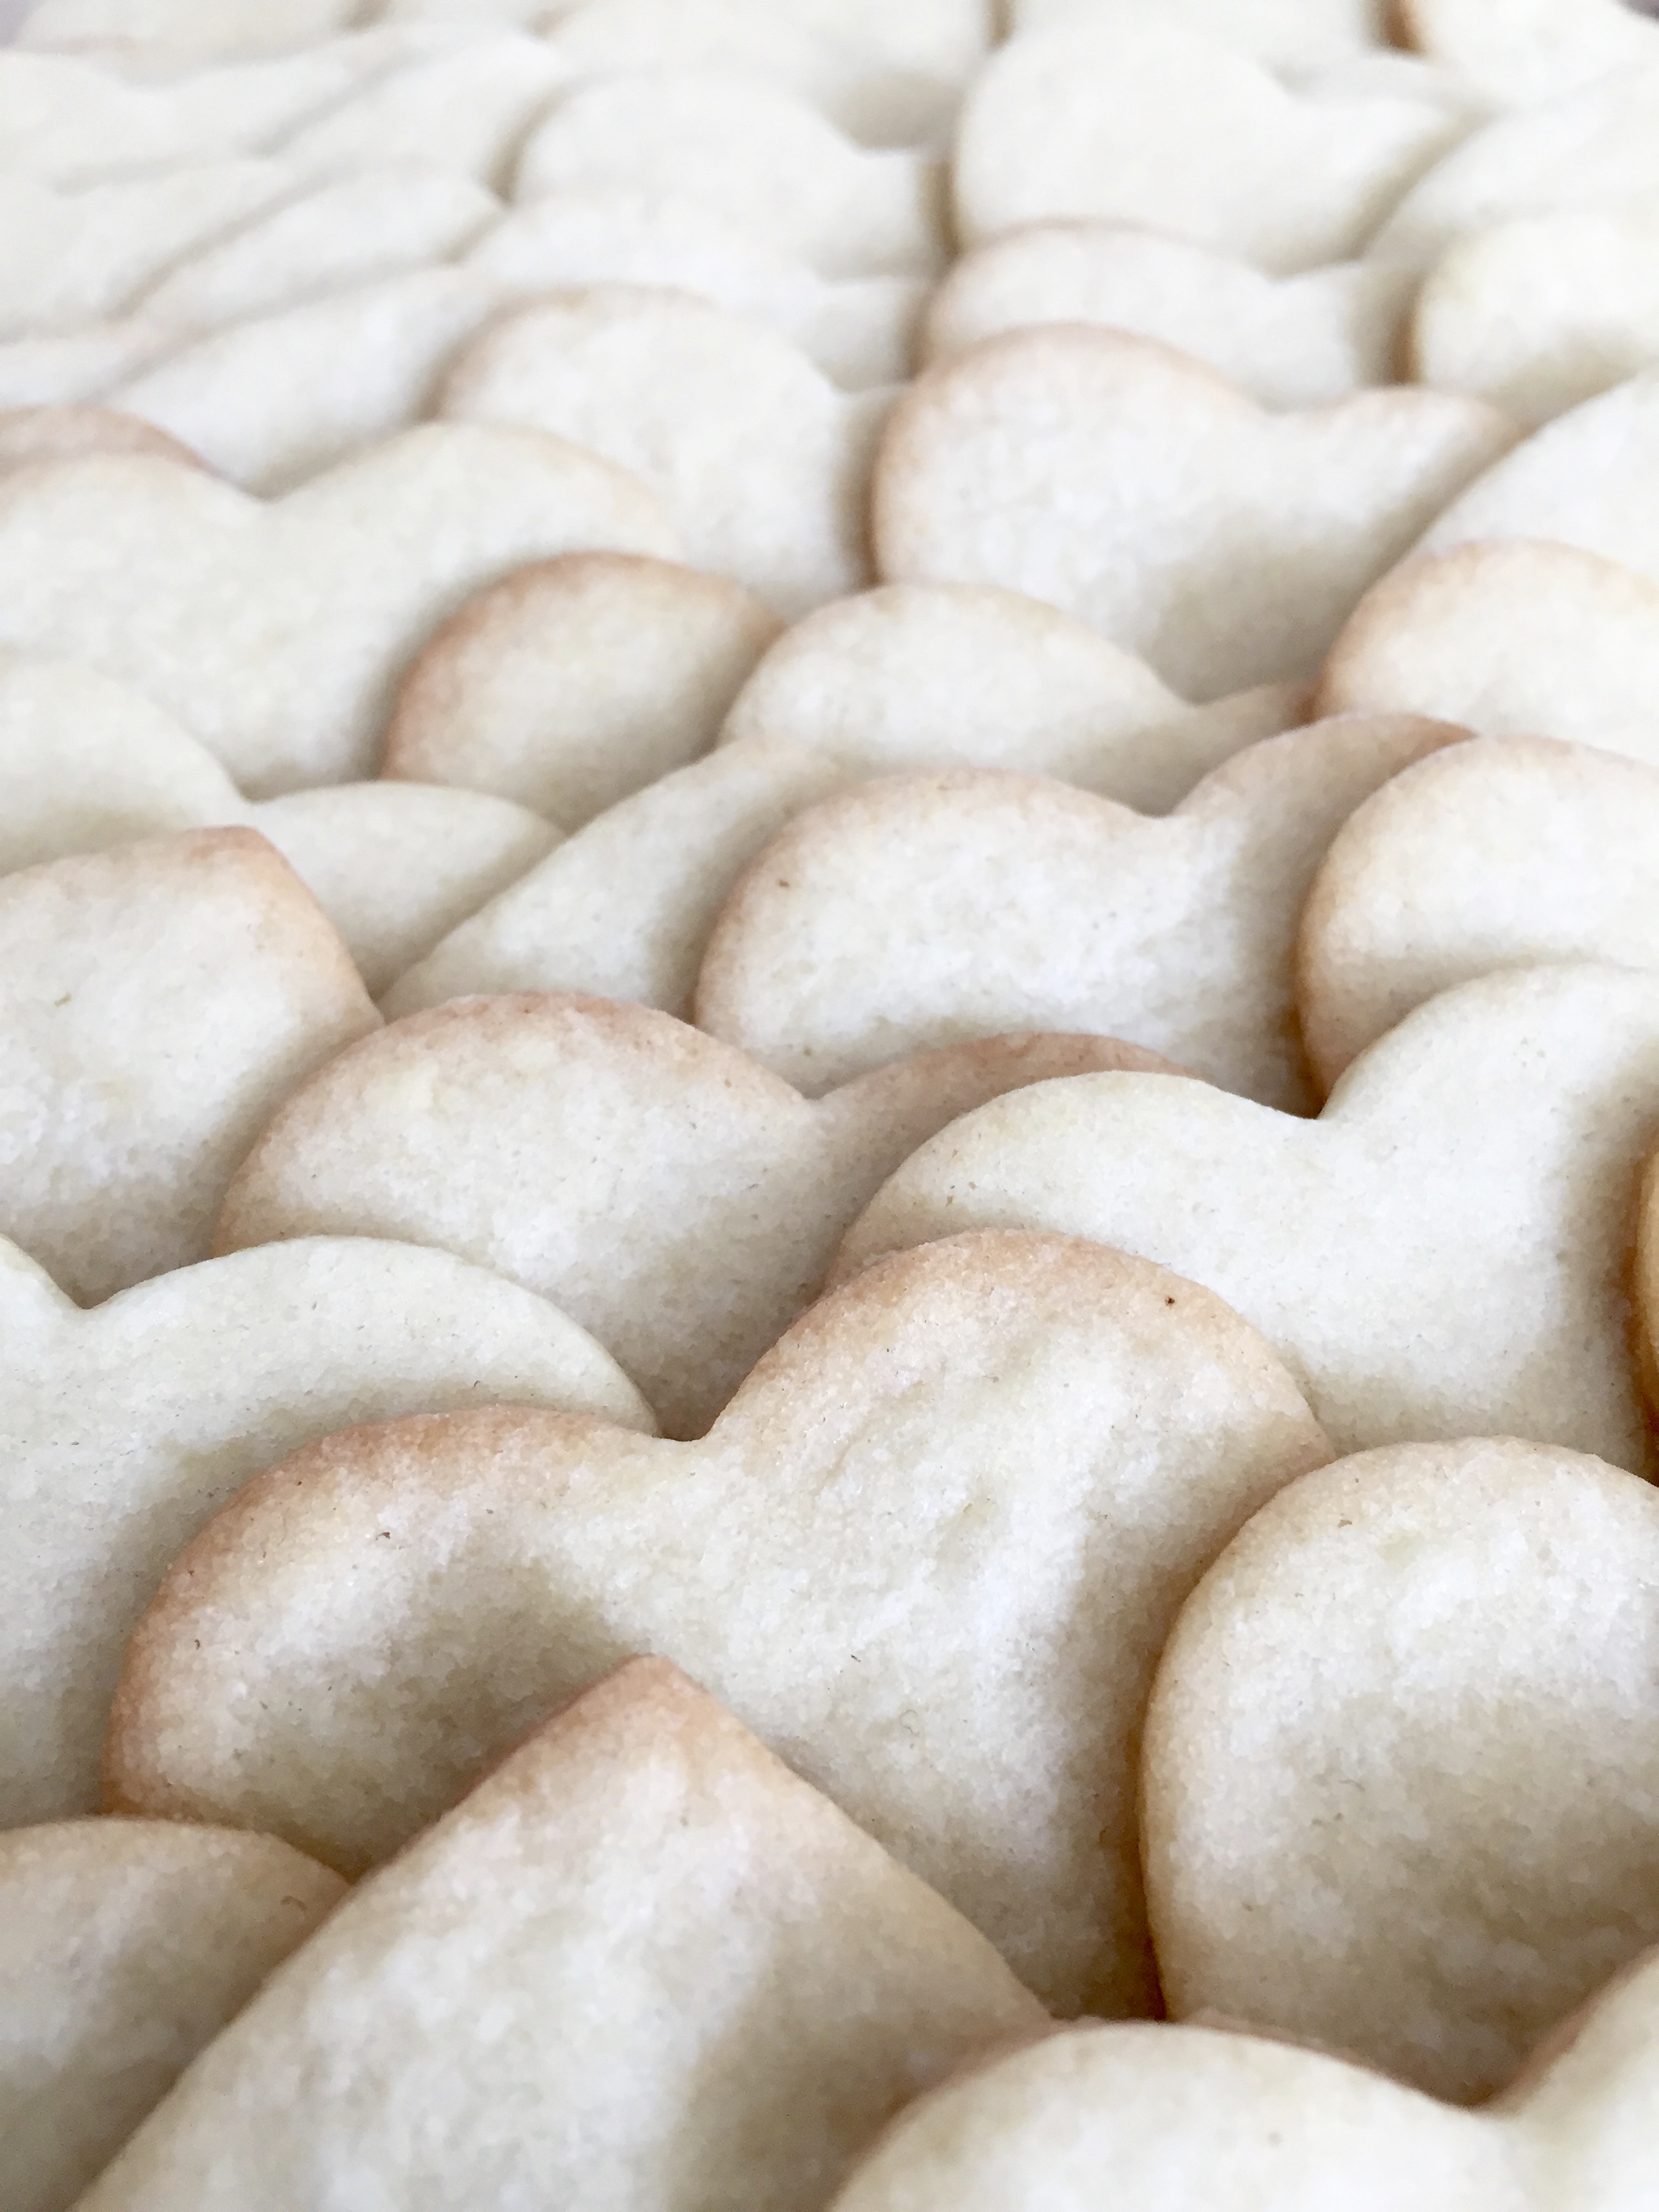
This last one led me down my latest rabbit hole. Anne’s mom shared the most delicious sugar cookie recipe from her friend a few years ago, and Anne and I like to experiment with making different shaped cookies and decorations. I found one YouTube channel by Julia M. Usher, a well-regarded baker with a specialty in making cookies, that offered a wealth of knowledge on the subject. Since Valentine’s Day is one of my favorite holidays, I thought I’d give royal icing a try with these sugar cookie hearts.

img_1767

First things first: Make Laura Kutill’s sugar cookies! I hope I meet her someday to thank her in person for this incredible recipe.

Laura Kutill's Delicious Sugar Cookies

Prep time: 15 minutes | Bake time: 10 minutes per batch | Yields: 6-7 dozen cookies

Ingredients:

  • 3 3/4 cups flour
  • 2 tsp baking powder
  • 1/4 tsp salt
  • 2 sticks unsalted butter, softened
  • 1 2/3 cups sugar
  • 2 large eggs
  • 2 tsp vanilla

Mix flour, baking powder, and salt. Set aside.

Cream the butter and sugar in a stand mixer until light. Add eggs, one at a time. Add vanilla. Add half of the dry ingredients and incorporate. Add remaining.

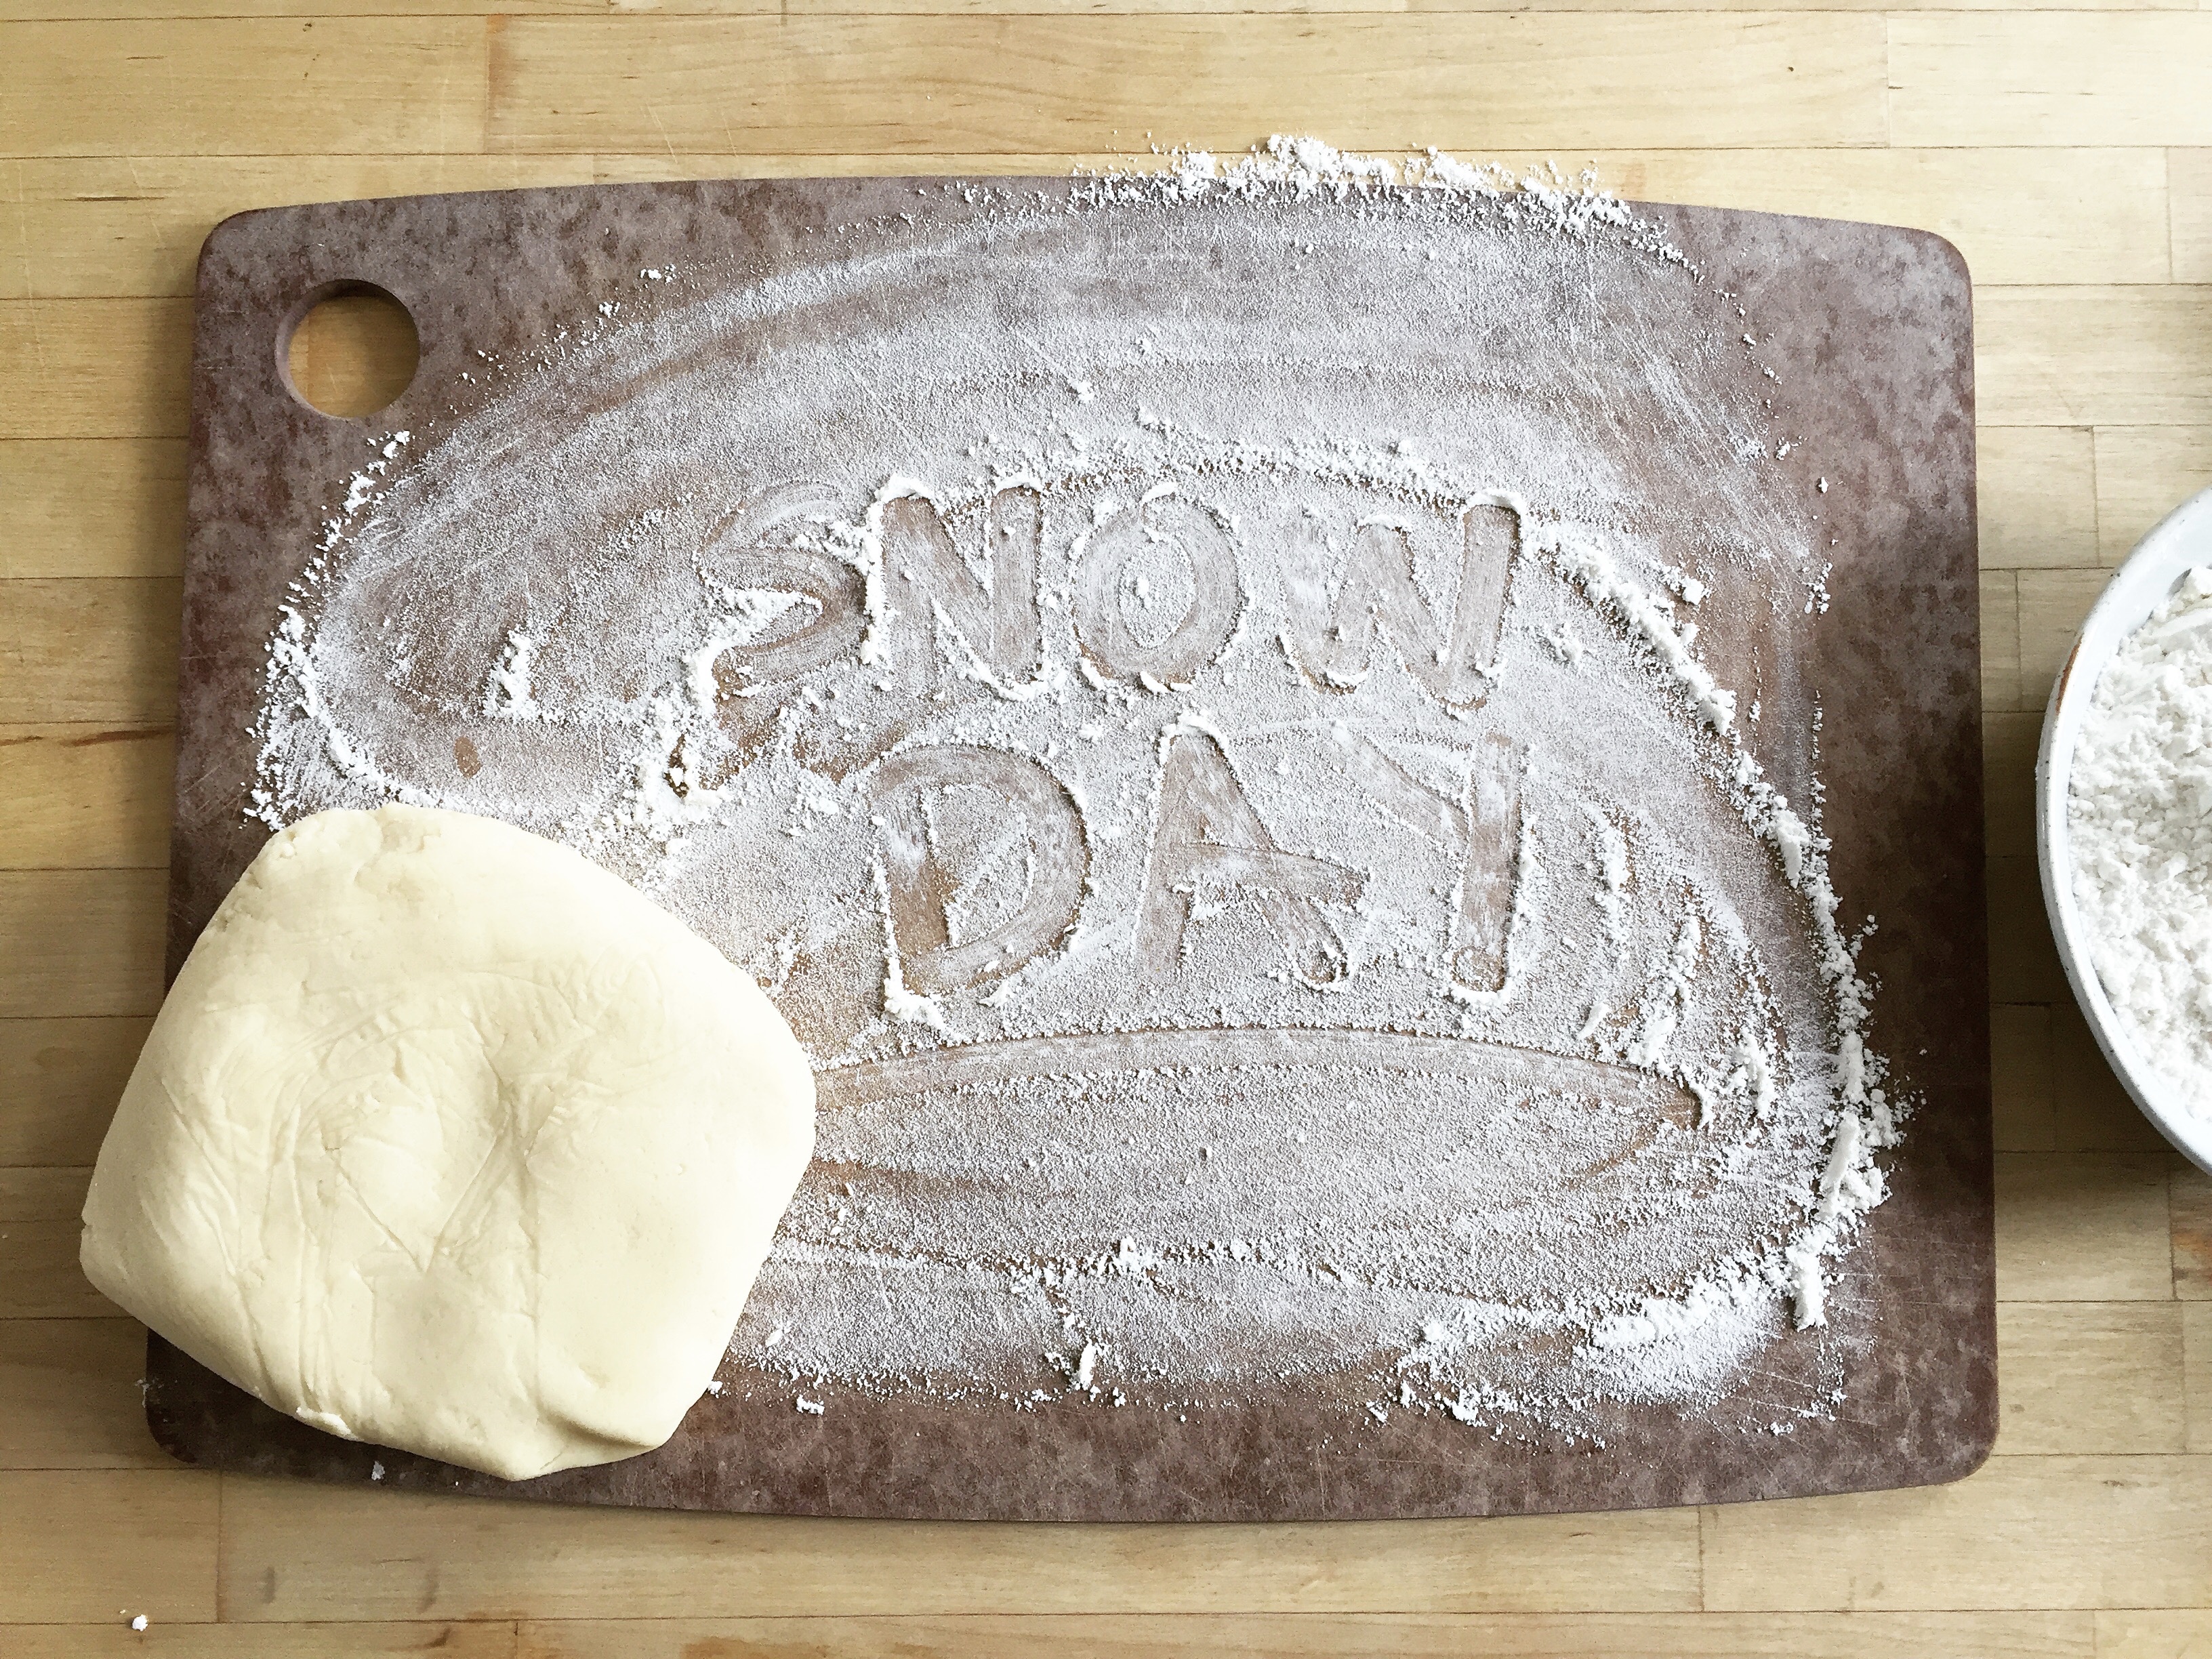
Cut dough into thirds and wrap in plastic wrap. Refrigerate for 2+ hours.

Preheat oven to 350°F. Roll the dough 3/16″ thick on a floured surface. Cut out the cookies and place on a lined cookie sheet. Bake for 9-10 minutes until the edges begin to turn a light golden brown. Cool on baking sheet for 3 minutes before transferring to a wire rack to cool completely.

From Scissors & Sage

Seven Steps to Flawless Rolled Cookies (via Julia M. Usher)

  1. Work with cold dough.
  2. Lightly flour work surface.
  3. Use a good, heavy rolling pin.
  4. Rotate dough while rolling.
  5. Roll dough relatively thin, 3/16″.
  6. Transfer cutouts with an offset spatula.
  7. Rotate for even browning.

Julia also shared her recipe for royal icing, as well as how to change the consistency for outlining, top-coating, and flooding cookies. Below are her clues to making excellent icing.

Royal Icing & Consistency Alterations (via Julia M. Usher)

Icing “Glue”

  • 2 lbs powdered sugar
  • 1/2 tsp cream of tartar
  • 5 large egg whites

Using the beater attachment, combine powdered sugar and cream of tartar in the bowl of a stand mixer. Add in egg whites and mix at low speed. Scrape down sides before increasing to high speed for 1-2 minutes. Icing will go from a gray to white in color due to increased air circulation in icing.

If desired, flavor the icing (i.e. incorporate 1 tsp of vanilla or lemon extract).

Makes 4 cups icing, which is enough to cover several dozen cookies.

Note: Color the icing once the “glue” is distributed into smaller bowls.

Outlining Consistency

For 1 cup of “glue,” add 1/2 to 3/4 tsp water. Mix gently. The icing should fall in globs off of the spoon.

Top Coating Consistency

For 1 cup of “glue,” add 1 1/2 to 2 1/2 tsps water. Mix gently. The icing should flow slowly off of the spoon and create tracks in the icing that disappear after 15 seconds.

Note: Use this icing for covering cookies without outlining first.

Flooding Consistency

For 1 cup of “glue,” add 2 to 3 tsps water. Mix very gently so as not to create air bubbles. Tap down bowl on counter to help. The icing should run off the spoon a bit faster than top coat, and tracks in icing should disappear in 10 seconds.

Note: If icing is too watered down, sift powdered sugar into the mixture.

From Scissors & Sage

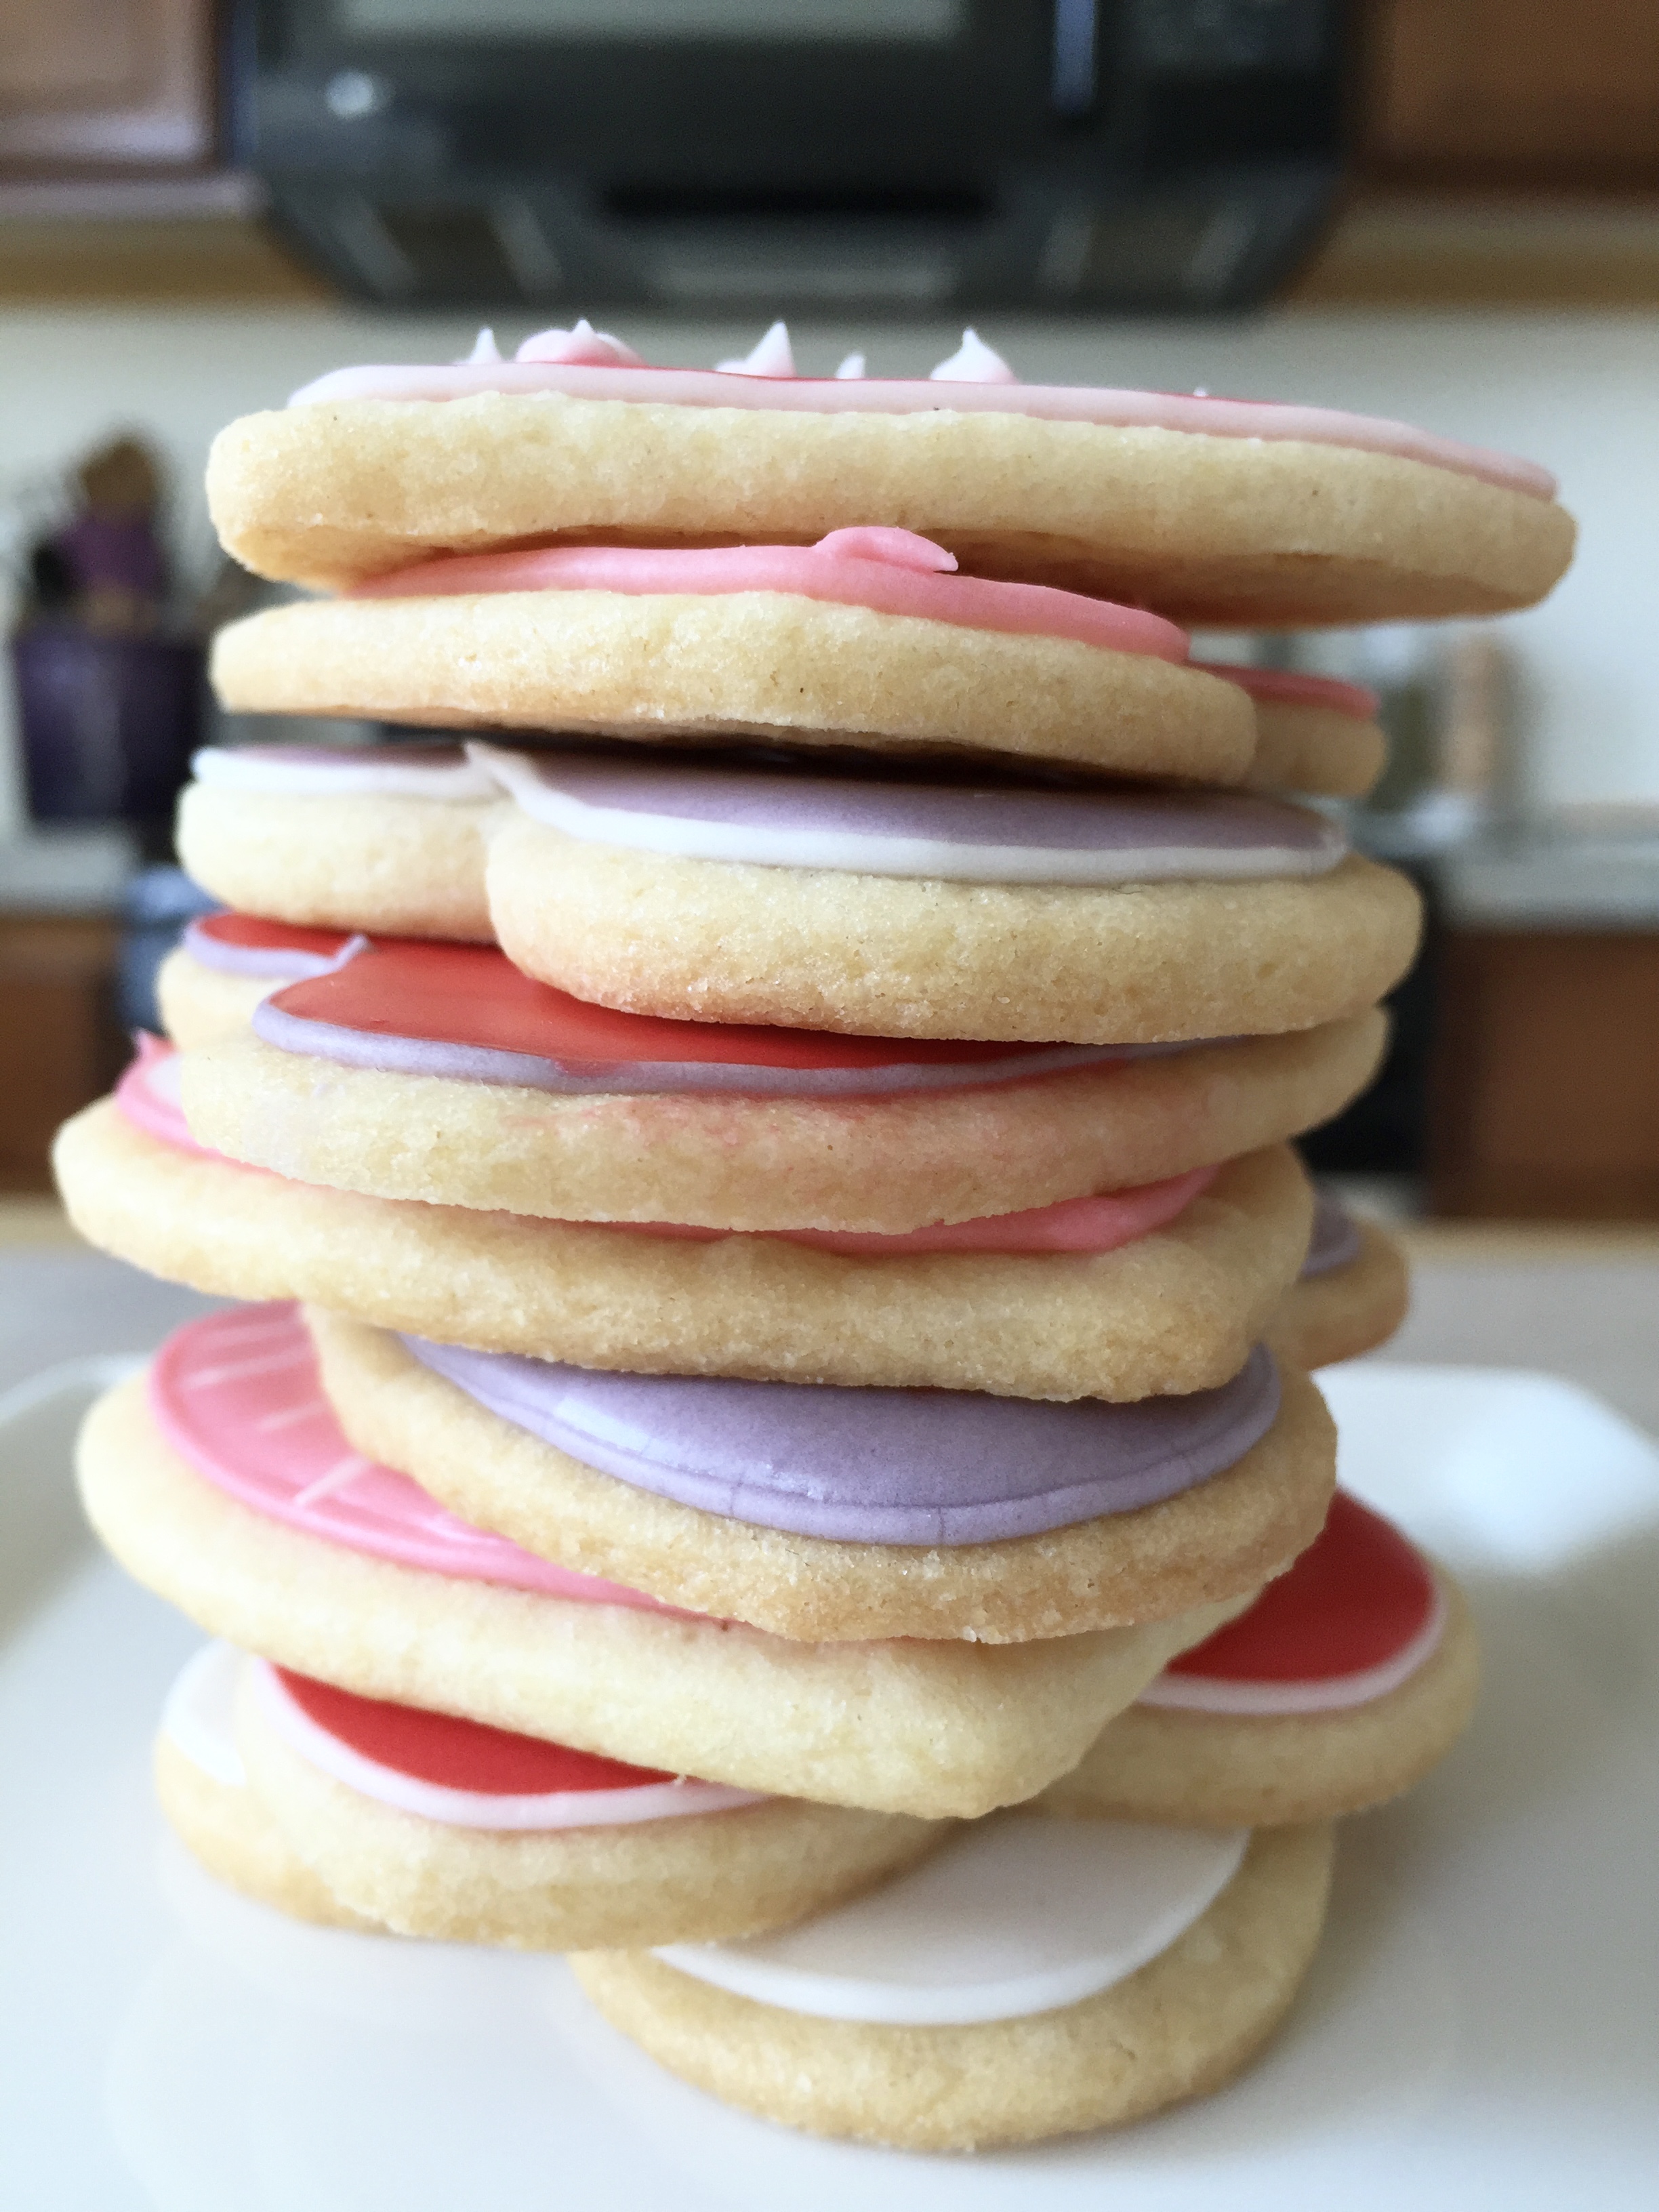
All in all, I’m really glad that I tried making royal icing. It certainly took a long time to get through all 90 cookies I made, but the end result was worth it. Now I get to share my cookies with friends and family this weekend!

PS) I decided to try making Julia’s parchment pastry cones rather than use the canvas pastry bag we have. She walks you through the steps to make these simple bags, and I have to say it was very worth it. You get to just throw the bags away when you’re done rather than clean out the canvas.

Peanut Butter Butterfinger Cookies

Happy Hallows’ Eve! As Anne and I prepare to watch the ever-important Chicago Cubs game tonight, I thought I’d share the recipe for some cookies we made this weekend. They are from The Salty Marshmallow and are the perfect Halloween-themed treat. It’s not too late to make some yourself. Maybe as you cheer on the Cubs?!

The secret to these cookies is that they include Butterfinger baking bits. Think chocolate candy-meets-homemade-baked-good. Yup. You’re welcome!

If you have trick-or-treat candy lingering into the week, you could crush anything and mix it into this delicate and chewy peanut butter cookie dough. Kit Kats, Snickers, Reese’s cups, M&Ms… The list goes on.

Peanut Butter Butterfinger Cookies (from The Salty Marshmallow)

Active time: 15 minutes | Bake time: 10 minutes | Yields: 60 cookies

Ingredients:

  • 2½ cups all-purpose flour
  • 1½ tsp baking powder
  • 1 tsp baking soda
  • ½ tsp salt
  • ½ cup granulated sugar
  • ½ cup brown sugar
  • 1 cup butter, softened
  • 1 cup creamy peanut butter
  • 1 egg
  • 1 tsp vanilla
  • 2 cups Butterfinger baking bits

Preheat oven to 375°F. Line two baking sheets with parchment paper and set aside.

Whisk together flour, baking powder, baking soda, and salt. In an electric mixer, beat butter and peanut butter until fluffy. Add egg and beat until incorporated. Beat in sugars and vanilla. While the mixer is running, slowly add in the dry ingredients. Mix until incorporated. Stir in Butterfinger baking bits.

Use a spring-loaded scooper to create tablespoon-sized balls of dough. Drop onto prepared baking sheets. Press down slightly with the back of a spoon to flatten.

Bake for 10 minutes, or until bottoms are a light golden brown. Remove even if cookies do not appear completely baked. Let cool for a few minutes before transferring to a wire rack.

From Scissors & Sage

Happy Halloween!

Olive Oil & Sea Salt Brookies

There’s a new brookie on the block, and I can’t say that I mind. They’re some of the most delicious cookies ever (although what cookie isn’t delicious?), that I’d recommend you drop whatever you’re doing to bake them. The fudgy, gooey inside earns them brownie points, but it’s the crunchier outside that deems them cookies. Hence: brookies. (See my last brookies here.)

This recipe comes straight from Katie at Butterlust. Her blog has a really wonderful array of sweet treats recipes. Go check her out!

Olive Oil & Sea Salt Brookies (via Butterlust)

Prep time: 20 minutes | Bake time: 10 minutes per batch | Yields: 42 brookies

Ingredients:

  • 1/2 cup olive oil
  • 1 cup sugar
  • 2 eggs
  • 3/4 cup all-purpose flour
  • 3/4 cup unsweetened cocoa powder
  • 1/2 tsp sea salt, plus extra for sprinkling
  • 1 tsp baking soda
  • 1 tbsp hot water
  • 1 tsp vanilla
  • 1 1/2 cups semi-sweet chocolate chips

Using an electric mixer, combine olive oil and sugar. Add the eggs, one at a time, making sure to mix well between each one. Next, add the flour, cocoa powder, and sea salt. Beat until the batter thickens, 3-4 minutes.

In a small bowl, combine hot water and baking soda and mix until dissolved. Add this, and the vanilla, to the batter. Beat until fully incorporated.

Stir in the chocolate chips using a spatula. Cover and refrigerate the batter for 30+ minutes (or overnight).

Preheat the oven to 350°F, and line baking sheets with parchment paper. Use a spring-loaded scooper to form solid mounds of batter, leaving 2 inches between each. Sprinkle with sea salt, and place in the oven. Be sure to refrigerate the batter between batches.

Bake for 10 minutes, or until the edges set. Let cool completely before transferring to a wire rack. Store brookies in an air-tight container for 3-5 days.

From Scissors & Sage

Brookie Rookie

I can’t tell if I’m late to the party or not, but I found out about brookies (part brownie / part chocolate chip cookie) only in the last few months. I was in awe when I saw them on Urban Bakes, and dropped everything to make them with Anne.

I was glad that Anne and I split the baking duties because it is essentially two recipes in one cookie. That’s a lot of prep work! Good thing brookies are hands-down worth it.

It was as if Brownie spent its whole life walking around believing it was whole. Later on, Brownie met Chocolate Chip Cookie, its other half, who complemented it in all of the ways it never knew it needed. Together, Brownie and Chocolate Chip Cookie made a new kind of whole. They are a match made in heaven.

What are you waiting for? Get baking!

The Ultimate Brookies (adapted from Urban Bakes)

Prep time: 30 minutes | Bake time: 10 minutes per batch | Yields 36 brookies + 18 chocolate chip cookies

Brownie ingredients:

  • 1 1/4 cups all-purpose flour
  • 1/2 tsp baking powder
  • 1/2 tsp salt
  • 1/3 cup unsalted butter
  • 2 oz unsweetened chocolate, chopped
  • 1 cup granulated sugar
  • 2 eggs
  • 1 tsp vanilla extract

In a small bowl, combine flour, baking powder, and salt. Set aside. In a large bowl, mix together sugar, eggs, and vanilla. Set aside. Melt the butter and chocolate in a saucepan on medium-low heat. Once the butter and chocolate have cooled, add this to the sugar, eggs, and vanilla mixture. Stir with a fork. Add the flour mixture and stir again until fully incorporated. Cover with saran wrap and refrigerate for two hours.

Chocolate Chip Cookie ingredients:

  • 1 1/4 cups granulated sugar
  • 1 1/4 cups packed light brown sugar
  • 1 1/2 cups unsalted butter, softened
  • 2 tsp vanilla extract
  • 3 eggs
  • 4 1/4 cups all-purpose flour
  • 2 tsp baking soda
  • 1 tsp salt
  • 2 1/2 cups semisweet chocolate chips

In a large bowl, use an electric mixer to cream granulated sugar, light brown sugar, and butter until light and fluffy. Beat in vanilla and eggs until blended. Use a fork to stir in flour, baking soda, and salt. Add chocolate chips and incorporate with your clean hands or a spatula. Cover with saran wrap and refrigerate for two hours.

Once the two doughs are chilled, preheat the oven to 350°F. Line two baking sheets with parchment paper. Use a 1″ spring-loaded ice cream scooper to dispense six mounds of brownies onto each baking sheet. Clean the scooper, and dispense chocolate chip cookie dough next to each brownie round. Join the two cookies using your hands to close any gaps. (This may require pinching or light molding.)

Bake brookies for ten minutes, switching rack positions at the five-minute mark. Let brookies cool on the baking sheet for one minute before transferring to a cooling rack. Serve immediately, or store in an airtight container for up to one week. Enjoy!

Notes:

  • To keep the dough chilled between baking shifts, keep it covered in the refrigerator.
  • You will have ample chocolate chip cookie dough left over, as the two recipes are not quite even. I’m keeping my cookie dough in the freezer, so as to have it on hand for when friends and family visit!

From Scissors & Sage

A Twist on the Chocolate Chip Cookie

While Christmas may be behind us, I’ve still got food–specifically dessert–on the mind.  Are you spending New Year’s Eve with friends or family?  Were you invited to a potluck but don’t know what to make?  Today, I’ve got a recipe for you that is a surefire crowd pleaser.  This take on the traditional chocolate chip cookie comes from Averie at Averie Cooks: Recipes for Sweet Teeth.  Her blog post was easy to read, had great photos, and provided clear baking instructions–a real keeper in my book!

Without further ado, here is my version of Averie’s cookies:

When I first read that these cookies had cream cheese in them, I thought it was strange.  How could cream cheese taste good in a chocolate chip cookie?  Averie assures readers that the cream cheese is indistinguishable in the cookies, and that it helps keep them soft and gooey, just how I like it! I’m so glad that I decided to whip these up because I will probably never make chocolate chip cookies again without adding cream cheese into the recipe.  They’re that good.

Below is a behind-the-scenes picture of me trying to photograph these cookies in natural light. This is definitely what a homespun photoshoot looks like!  (Photo by Anne Kenealy)

Here’s the recipe!

Cream Cheese Chocolate Chip Cookies (via Averie Cooks)

Prep time: 15 minutes | Bake time: 8 minutes per batch | Yields: 24 cookies

Ingredients:

  • 1/2 cup unsalted butter, softened
  • 1/4 cup cream cheese (original, full-fat type)
  • 3/4 cup light brown sugar, packed
  • 1/4 cup granulated sugar
  • 1 large egg
  • 2 tsp vanilla extract
  • 2 1/4 cups all-purpose flour
  • 2 tsp cornstarch
  • 1 tsp baking soda
  • 1/4 tsp salt, optional
  • 1 cup semi-sweet chocolate chips
  • 1 1/4 cups semi-sweet chocolate chunks

Using an electric hand mixer or stand mixer, combine butter, cream cheese, sugars, egg, and vanilla.  Beat on medium-high speed until well-creamed, light, and fluffy (5-7 minutes).  Scrape the sides of the bowl with a spatula.  Add flour, cornstarch, baking soda, and optional salt.  Mix only until combined (1 minute).  Add chocolate chips and chunks into the mixture.  Fold in using a spatula.

Place 3 large plates on your workspace.  Scoop 2-inch cookie dough mounds onto the plates, pressing them slightly into round formations.  Cover the plates with plastic wrap and refrigerate the dough for 2+ hours.  (You can stop here, if you wish, and bake the cookies up to 5 days later.)  Letting the dough chill will allow for taller, fluffier cookies.

Preheat the oven to 350°F.  Allow chilled cookies to sit out for 10 minutes.  Transfer the dough mounds to non-stick baking sheets or buttered regular sheets, placing them 2 inches apart.  Bake cookies for 8-10 minutes, switching rack positions halfway through.  Do not bake the cookies for more than 10 minutes even if they do not appear to be done.  They will continue baking after they come out of the oven.  Allow cookies to cool for 5 minutes on the baking sheets before transferring them to a wire rack.

Enjoy these cookies within the week, or freeze them for up to 3 months.

From Scissors & Sage