It’s Hamantaschen Season

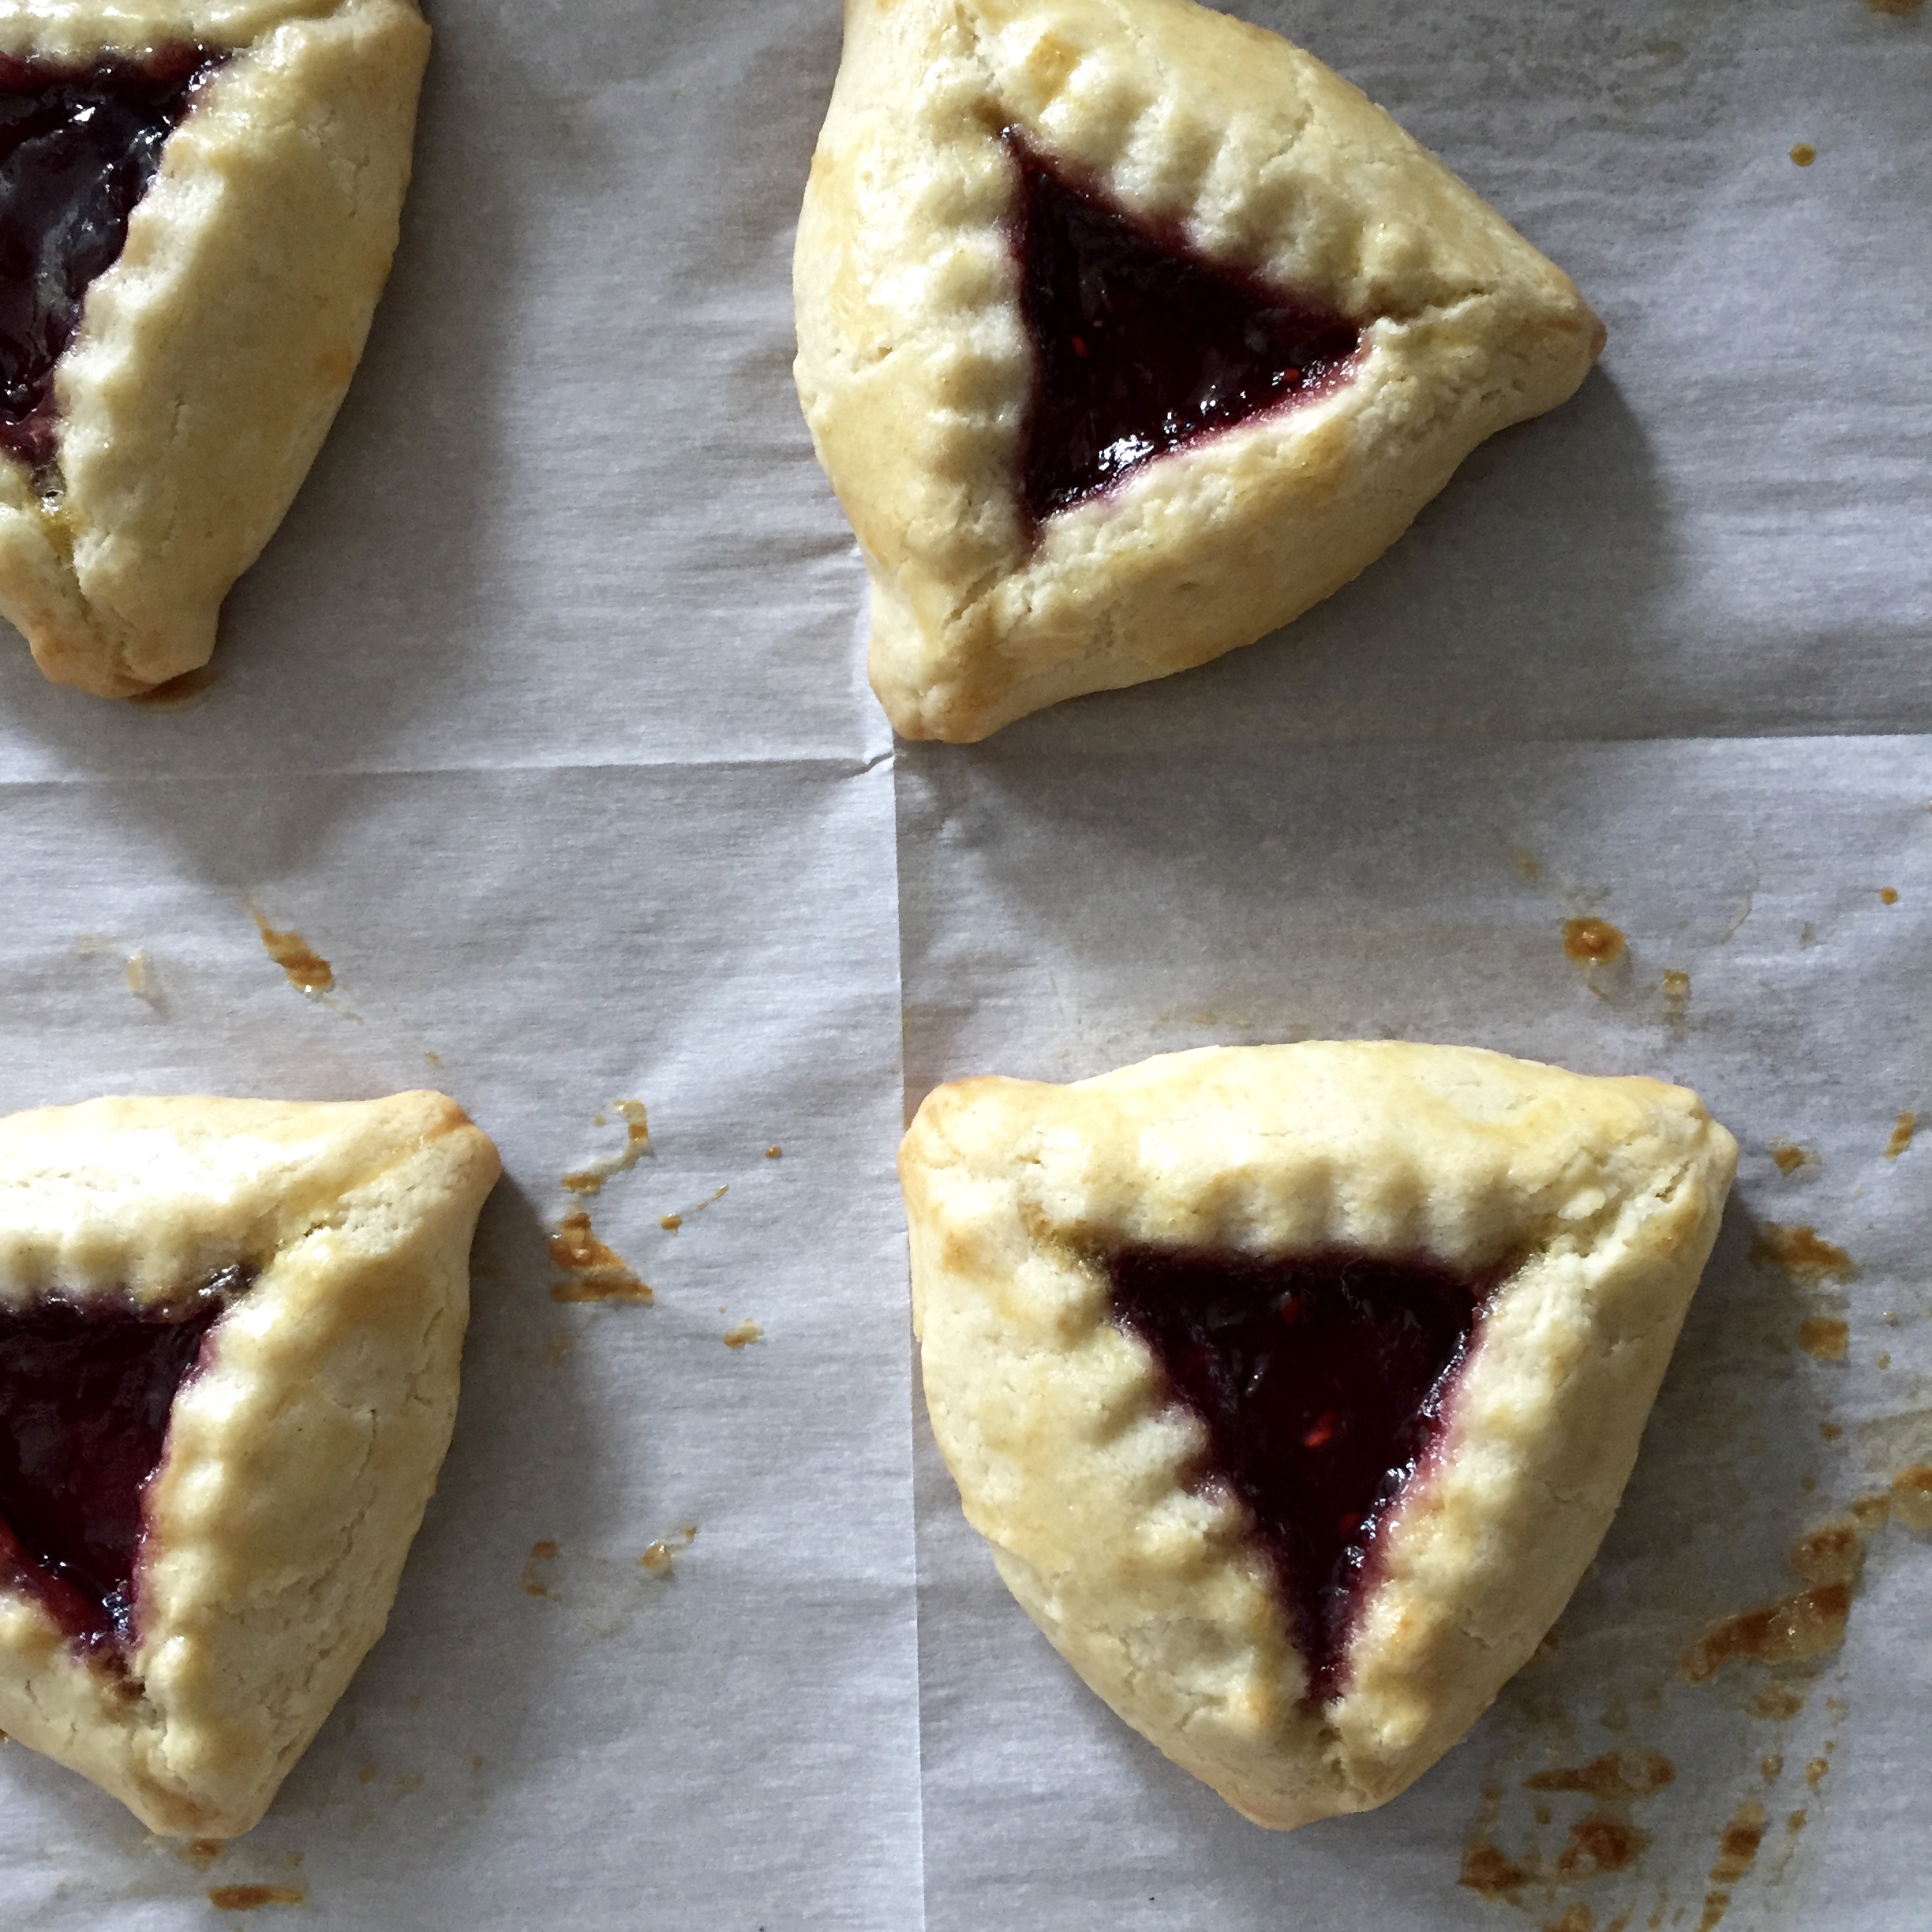
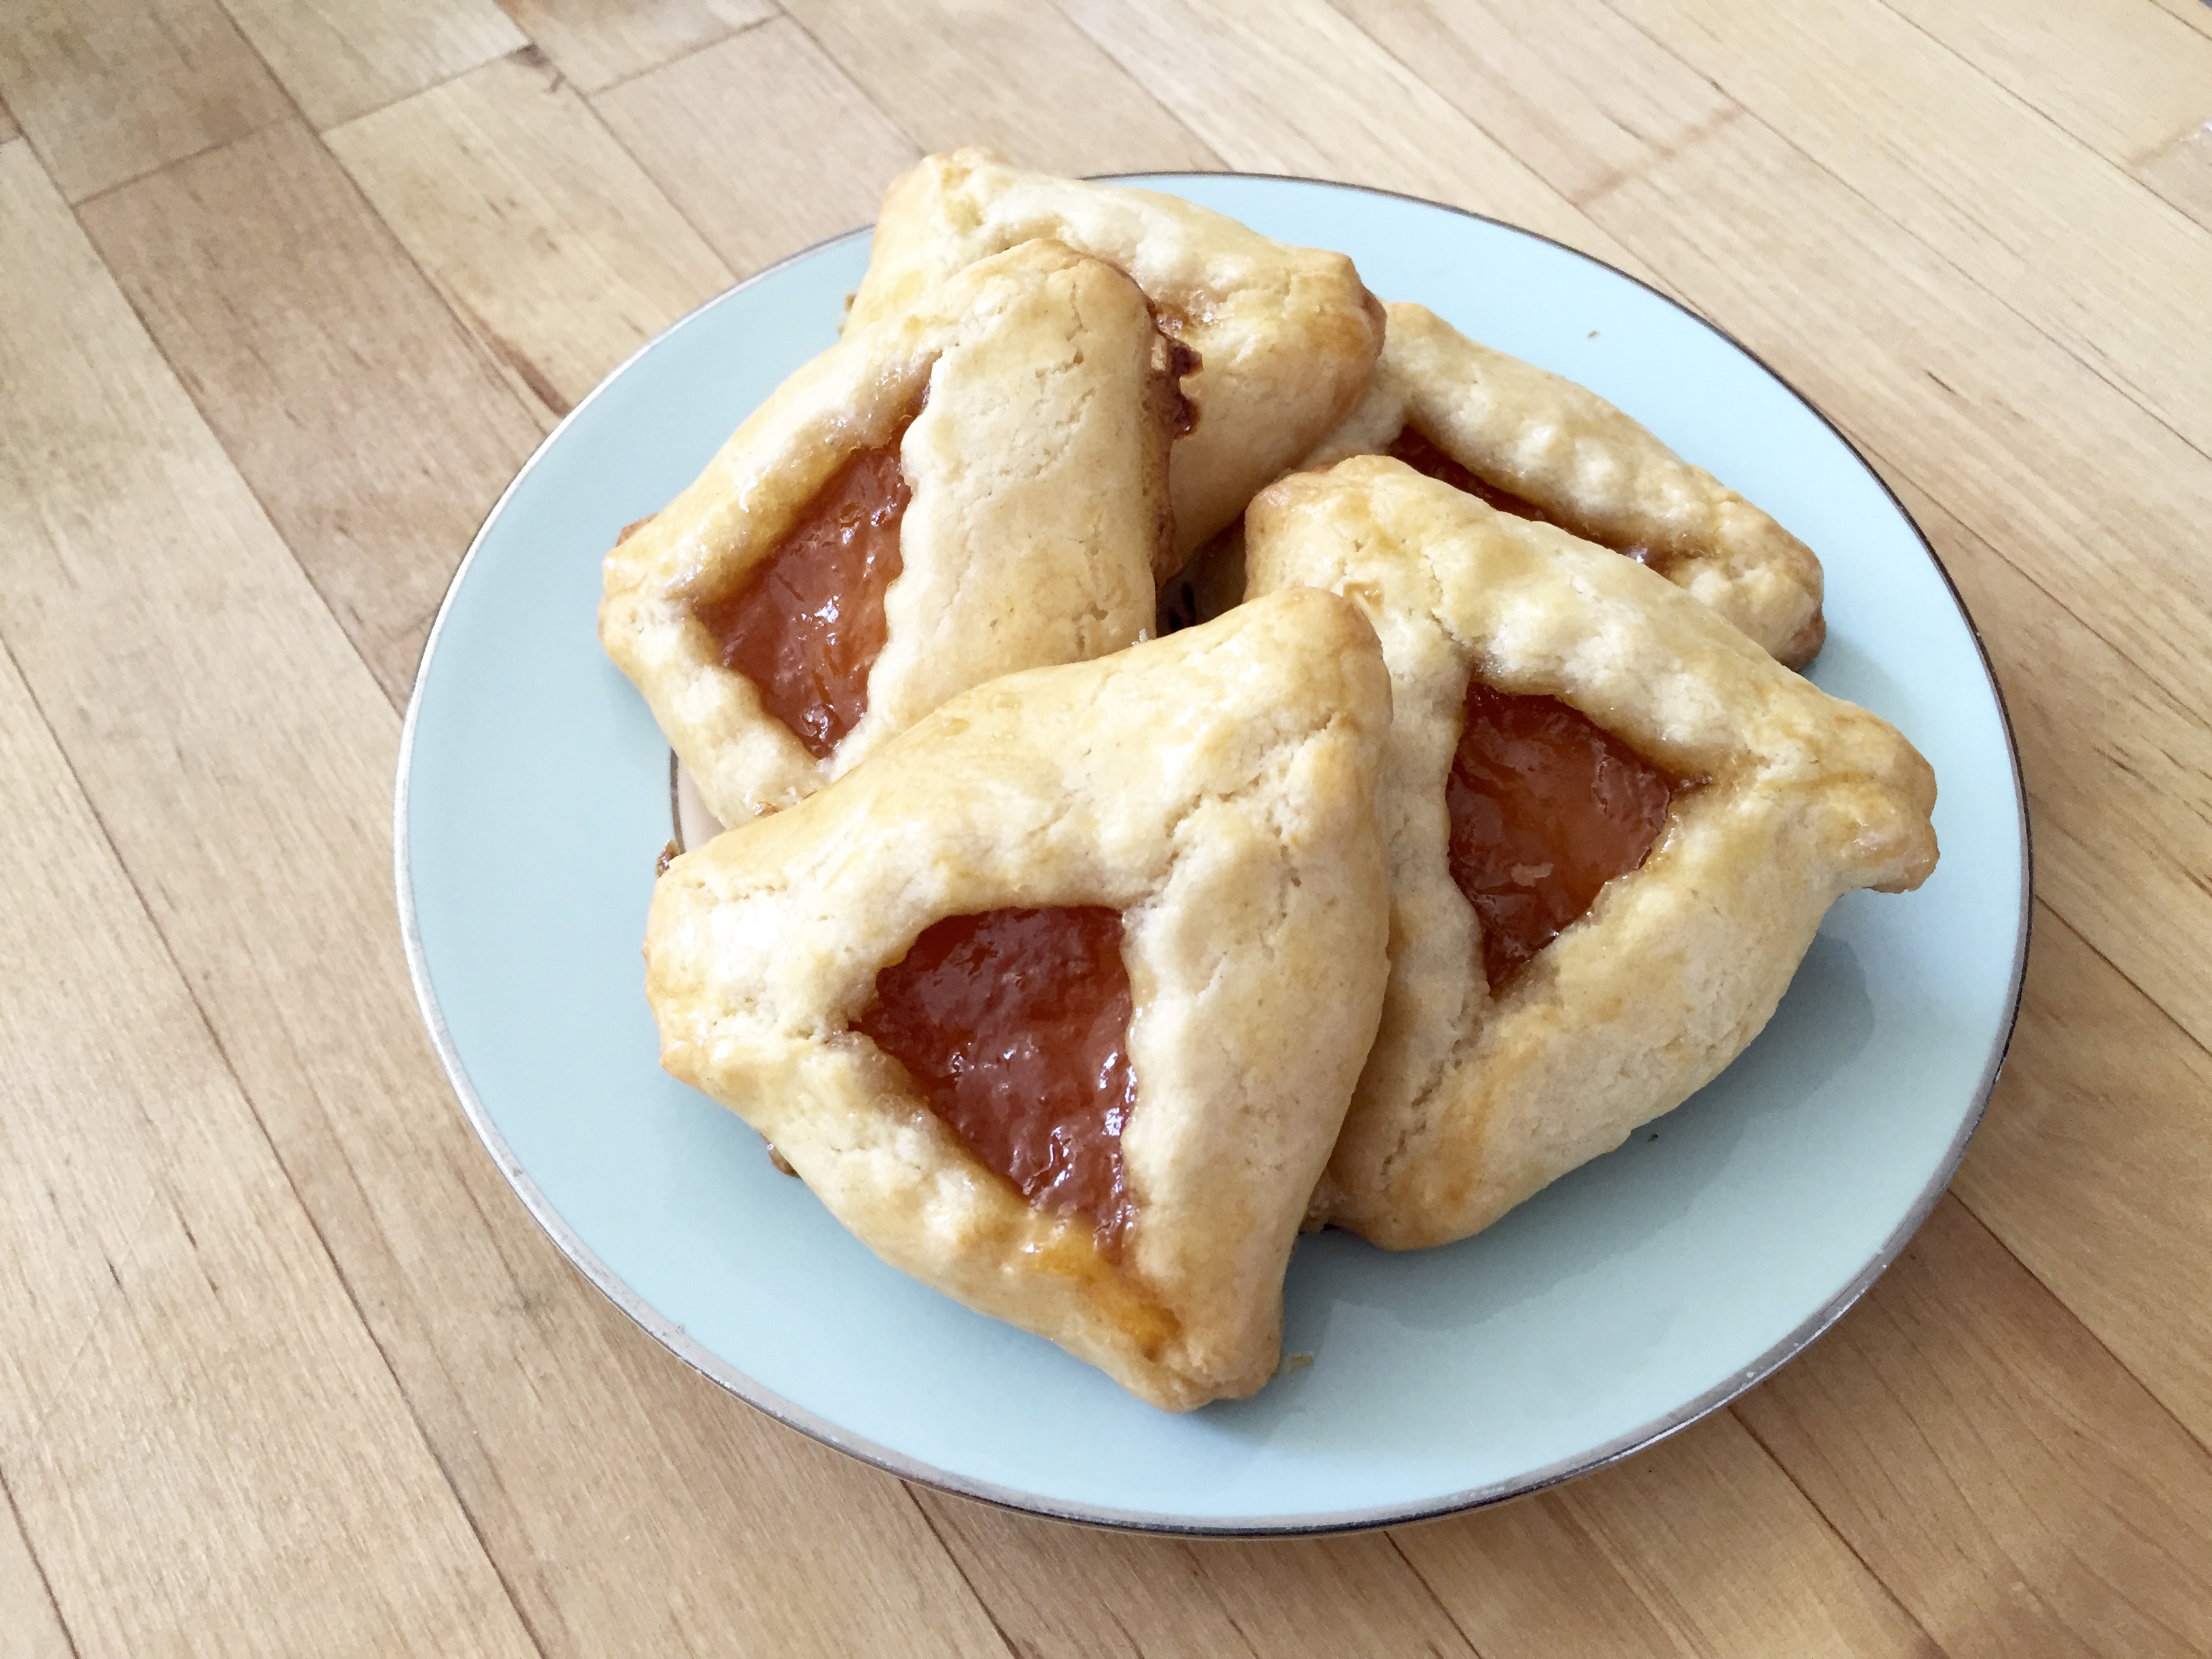
Hamantaschen season is the best season. Purim is right around the corner and although I’m not Jewish, I know a good pastry when I eat one. When I was looking into a hamantaschen recipe to try, the most popular comment I read was that these just don’t work. It was either the dough, the filling, or the triangles fell apart while baking. Many said that these weren’t worth trying, and that it’s easier to just go buy them from a bakery.

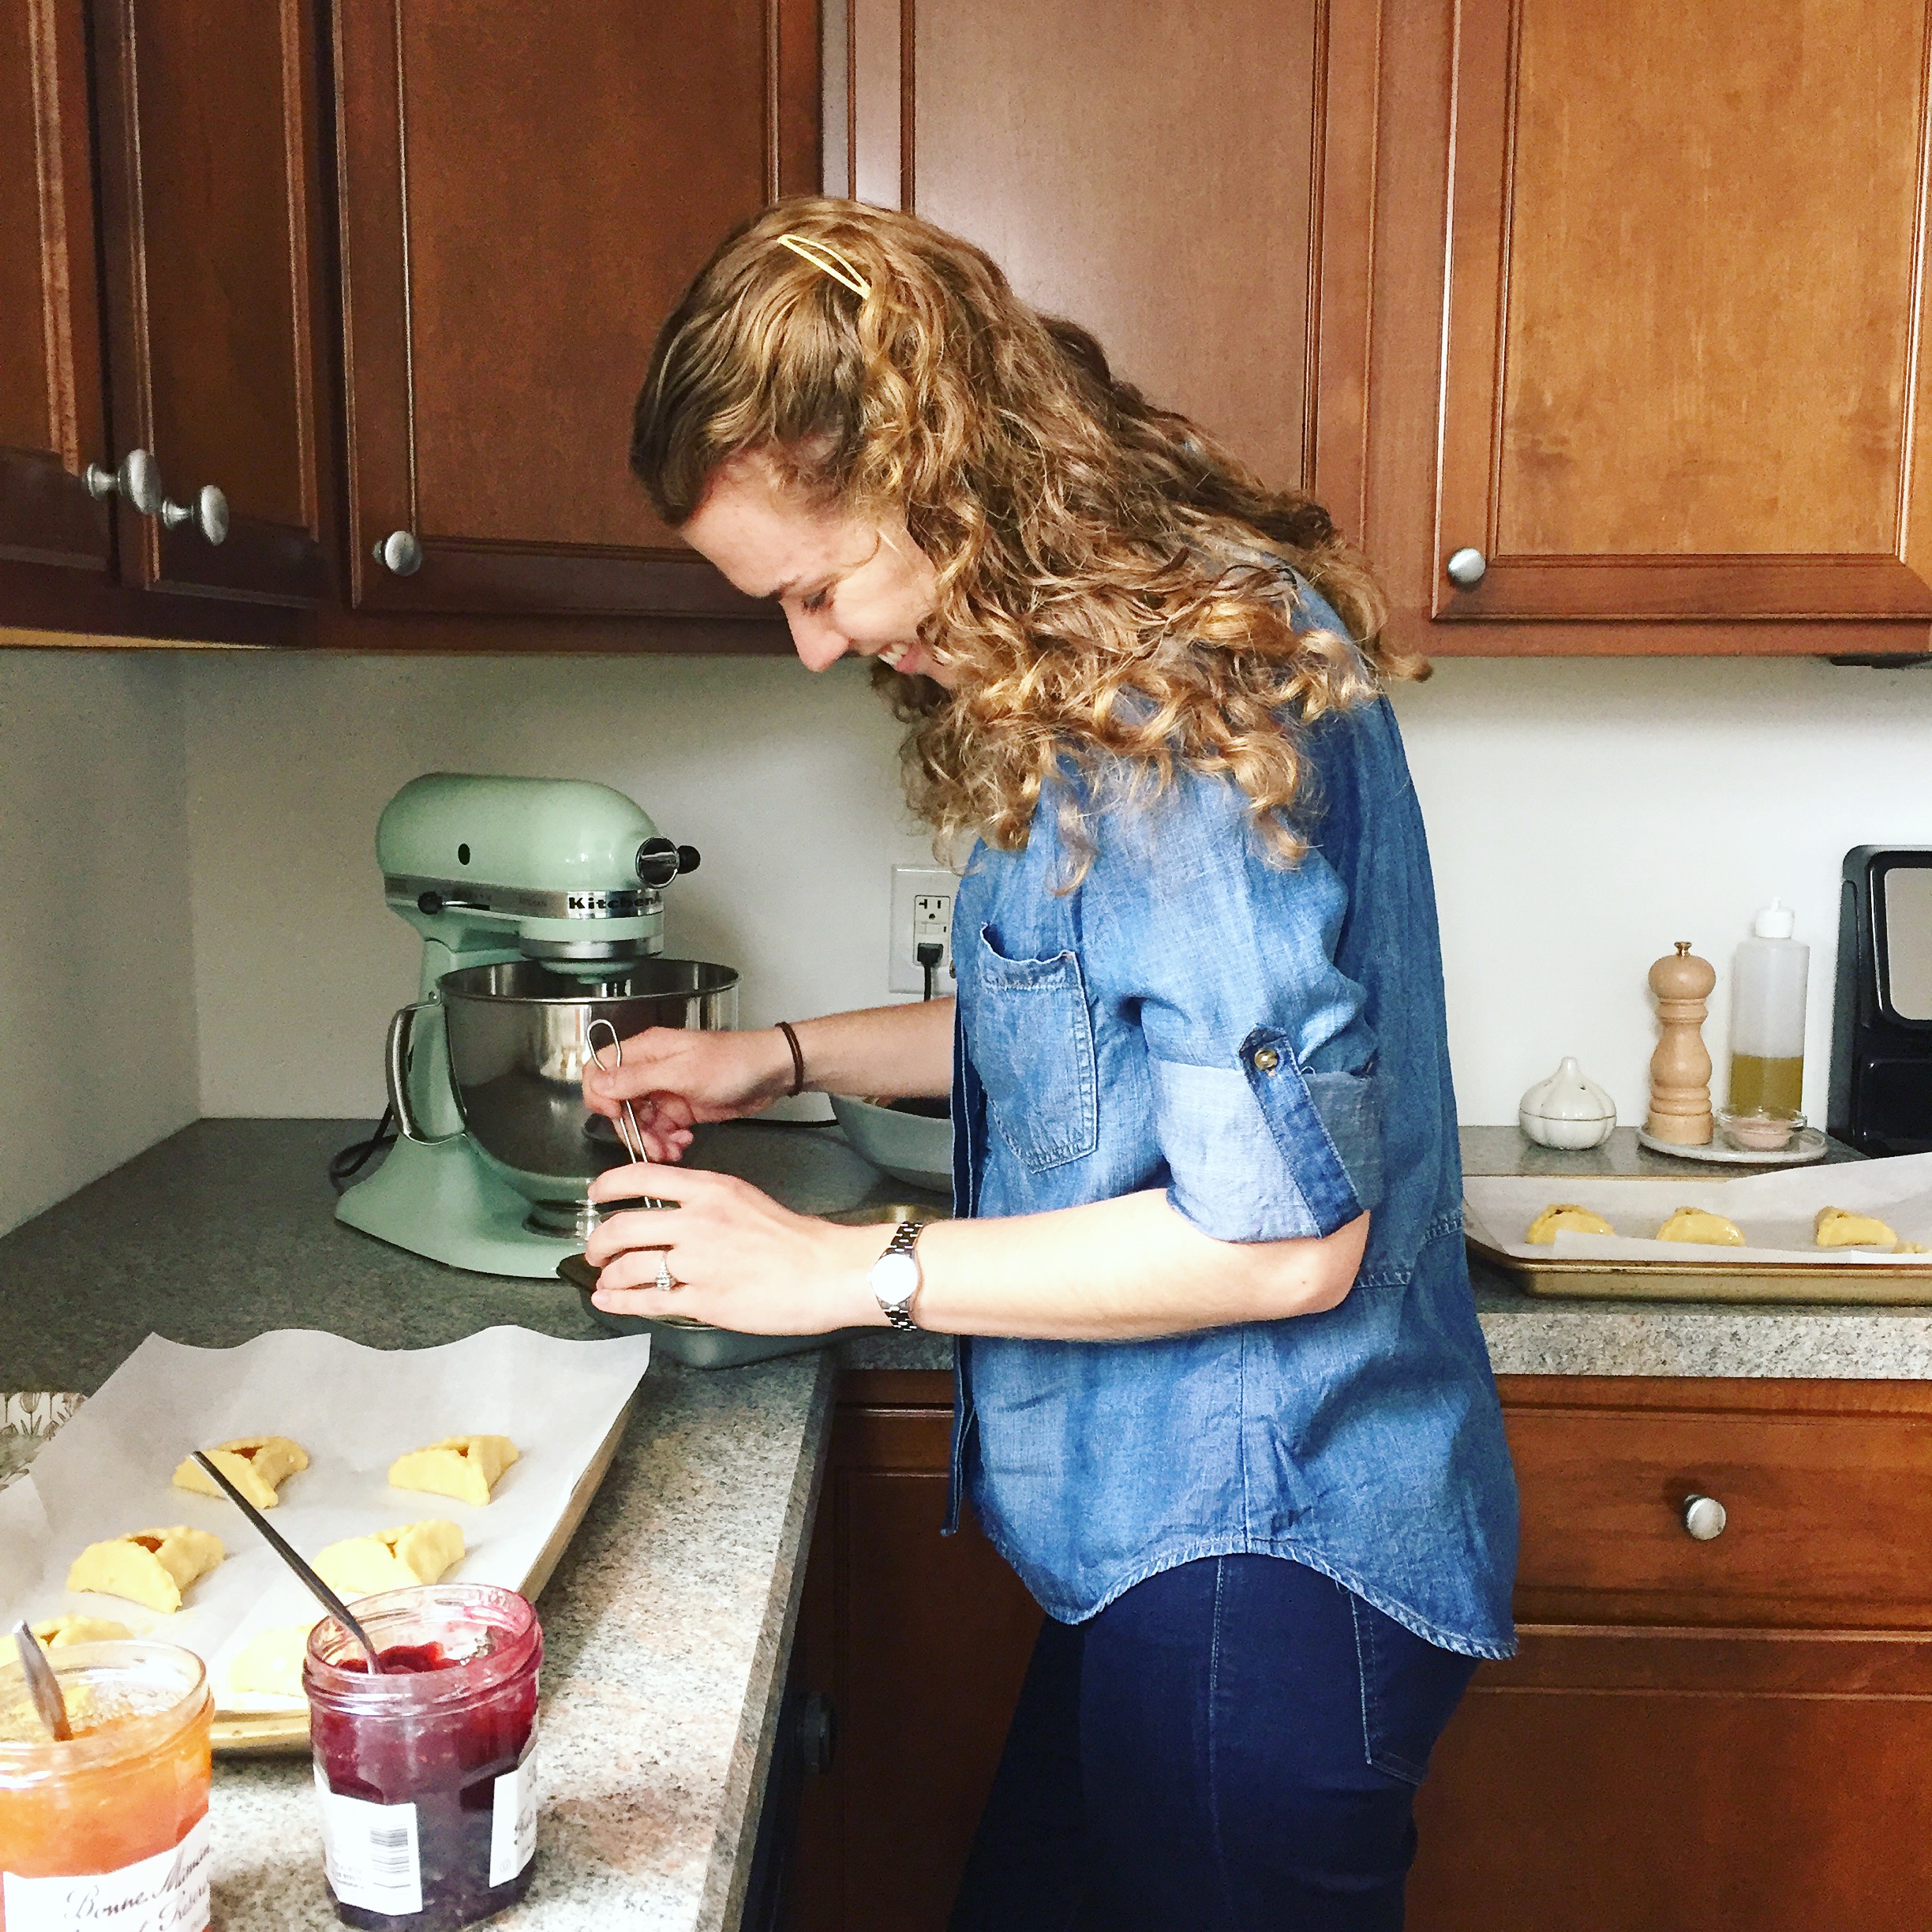
I’m here to say that there’s hope! I adapted this recipe from Bon Appetit, and Anne can attest to their swoon-worthy quality. I wouldn’t call the recipe too intensive, although there are a few steps involved. Baking with a friend or significant other definitely wouldn’t hurt! We ended up baking one disc of dough (see recipe below) and freezing the other to bake a week later. The second batch turned out just as delicious as the first.

Hamantaschen (adapted from Bon Appetit)

Active time: 35 minutes | Bake time: 16 minutes | Yields: 36 hamantaschen

Ingredients:

  • 1 1/2 tsp baking powder
  • 3/4 tsp salt
  • 4 cups all-purpose flour
  • 1 cup (2 sticks) unsalted butter, room temperature
  • 1 cup sugar
  • 3 large eggs
  • jams or preserves

Whisk baking powder, salt, and flour in a bowl. Use an electric mixer to beat butter and sugar on medium-high until pale and fluffy, five minutes. Add two eggs one at a time, beating to combine after each addition. Scrape down bowl when needed.

Reduce speed to low and slowly add the dry ingredients. Mix until the dough has come together. Divide dough in half. Form two discs about 3/4-inch thick, cover in plastic wrap, and refrigerate for 2+ hours.

Place oven racks in upper and lower thirds. Preheat to 350°F. Take out one disc from the refrigerator, and let it come to room temperature for 30 minutes. Place disc between two sheets of wax paper. Roll out dough until 1/4-inch thick. Peel back upper wax paper and use a 3-inch cookie cutter to cut out rounds. Use a spatula to transfer rounds to parchment paper-lined baking sheets. Gather scraps and repeat.

Place 1 teaspoon of jam in the center of each round. Brush a beaten egg generously around the edges of the rounds. Fold up and pinch the sides to create triangles. Brush all exposed dough and seams with egg again. Take out second disc as you put the first batch into the oven.

Bake for 16 minutes or until light golden brown, switching racks halfway through. Let cool in pan for five minutes before transferring to a cooling rack. Store in an airtight container for 3-5 days.

From Scissors & Sage

Happy Purim, and happy daylight savings!

Olive Oil & Sea Salt Brookies

There’s a new brookie on the block, and I can’t say that I mind. They’re some of the most delicious cookies ever (although what cookie isn’t delicious?), that I’d recommend you drop whatever you’re doing to bake them. The fudgy, gooey inside earns them brownie points, but it’s the crunchier outside that deems them cookies. Hence: brookies. (See my last brookies here.)

This recipe comes straight from Katie at Butterlust. Her blog has a really wonderful array of sweet treats recipes. Go check her out!

Olive Oil & Sea Salt Brookies (via Butterlust)

Prep time: 20 minutes | Bake time: 10 minutes per batch | Yields: 42 brookies

Ingredients:

  • 1/2 cup olive oil
  • 1 cup sugar
  • 2 eggs
  • 3/4 cup all-purpose flour
  • 3/4 cup unsweetened cocoa powder
  • 1/2 tsp sea salt, plus extra for sprinkling
  • 1 tsp baking soda
  • 1 tbsp hot water
  • 1 tsp vanilla
  • 1 1/2 cups semi-sweet chocolate chips

Using an electric mixer, combine olive oil and sugar. Add the eggs, one at a time, making sure to mix well between each one. Next, add the flour, cocoa powder, and sea salt. Beat until the batter thickens, 3-4 minutes.

In a small bowl, combine hot water and baking soda and mix until dissolved. Add this, and the vanilla, to the batter. Beat until fully incorporated.

Stir in the chocolate chips using a spatula. Cover and refrigerate the batter for 30+ minutes (or overnight).

Preheat the oven to 350°F, and line baking sheets with parchment paper. Use a spring-loaded scooper to form solid mounds of batter, leaving 2 inches between each. Sprinkle with sea salt, and place in the oven. Be sure to refrigerate the batter between batches.

Bake for 10 minutes, or until the edges set. Let cool completely before transferring to a wire rack. Store brookies in an air-tight container for 3-5 days.

From Scissors & Sage

Picking Favorites: Recipes for Summer

Γεια σας! That means “hello” in Greek, and is pronounced “yassas.” I also learned how to say “cheers,” “good morning/evening,” “yes/no,” a couple of dog commands (random, I know), and other nifty things to get around Greece. It was a funny thing, traveling around a country where the alphabet is fundamentally different from English. Anne quickly became good at deciphering words letter by letter to find our way around. We felt like detectives!

It’s hard to believe that our long-awaited trip to Greece has come to an end–but what a trip it was! I’m not even sure I know where to begin, and my thoughts on the whole thing aren’t fully formed yet. I’ll say this: It was incredible. Beautiful beyond belief, really, and the people we met were so hospitable and kind. Life in Greece has a different pace to it than in the U.S., and we quickly fell into its slower rhythm. The food is healthy and locally grown, and the hot sun and salt water–oh, the salt water!–were nourishment for the soul.

Now back in Philly, I am trying to hold on tightly to some of these ways of life. I write my to-do lists on smaller pieces of paper; I buy fruits and veggies from the local market; I take a break in the afternoons. These things, for now, are keeping me relaxed and mindful. Next week, I’d like to share a few photos and stories from our trip with you, as well as some travel tips that I jotted down along the way–helpful hints that I didn’t know going into our trip.

Two things on the forefront: 1) I’m featuring a fun giveaway at the end of next month. Stay tuned for how you can enter! 2) Anne and I are in the process of looking for a new apartment in Philly. We’ve been talking about finding a new home for a few months now, and we’ll be making the move in about a month! Fingers crossed we find just the right spot for us to continue growing.

As I catch up on Martha Stewart Living and Bon Appetit, I’ve been inspired by all kinds of summer recipes. I’m a little behind the eight ball from being away (i.e. I’m just now reading about “Ten fun ideas for the Fourth!”), but now I can dive into seasonal dishes. Below are some that I’d like to give a try. Enjoy!

Recipes for Summer

Corn and Fregula with Halloumi (Greek!) Cheese from Bon Appetit (click here for the recipe)

Grilled Chicken with Lemon and Thyme from Food & Wine (click here for the recipe)

Tomato Cucumber Avocado Salad from Green Valley Kitchen (click here for the recipe)

Grilled Beet Baba Ghanoush from Bon Appetit (click here for the recipe)

Herbed Summer Squash Pasta Bake from Smitten Kitchen (click here for the recipe)

Iron Skillet Peach Crisp from Bon Appetit (click here for the recipe)

Grapefruit-Jalepeno Margarita from Camille Styles (click here for the recipe)

Brookie Rookie

I can’t tell if I’m late to the party or not, but I found out about brookies (part brownie / part chocolate chip cookie) only in the last few months. I was in awe when I saw them on Urban Bakes, and dropped everything to make them with Anne.

I was glad that Anne and I split the baking duties because it is essentially two recipes in one cookie. That’s a lot of prep work! Good thing brookies are hands-down worth it.

It was as if Brownie spent its whole life walking around believing it was whole. Later on, Brownie met Chocolate Chip Cookie, its other half, who complemented it in all of the ways it never knew it needed. Together, Brownie and Chocolate Chip Cookie made a new kind of whole. They are a match made in heaven.

What are you waiting for? Get baking!

The Ultimate Brookies (adapted from Urban Bakes)

Prep time: 30 minutes | Bake time: 10 minutes per batch | Yields 36 brookies + 18 chocolate chip cookies

Brownie ingredients:

  • 1 1/4 cups all-purpose flour
  • 1/2 tsp baking powder
  • 1/2 tsp salt
  • 1/3 cup unsalted butter
  • 2 oz unsweetened chocolate, chopped
  • 1 cup granulated sugar
  • 2 eggs
  • 1 tsp vanilla extract

In a small bowl, combine flour, baking powder, and salt. Set aside. In a large bowl, mix together sugar, eggs, and vanilla. Set aside. Melt the butter and chocolate in a saucepan on medium-low heat. Once the butter and chocolate have cooled, add this to the sugar, eggs, and vanilla mixture. Stir with a fork. Add the flour mixture and stir again until fully incorporated. Cover with saran wrap and refrigerate for two hours.

Chocolate Chip Cookie ingredients:

  • 1 1/4 cups granulated sugar
  • 1 1/4 cups packed light brown sugar
  • 1 1/2 cups unsalted butter, softened
  • 2 tsp vanilla extract
  • 3 eggs
  • 4 1/4 cups all-purpose flour
  • 2 tsp baking soda
  • 1 tsp salt
  • 2 1/2 cups semisweet chocolate chips

In a large bowl, use an electric mixer to cream granulated sugar, light brown sugar, and butter until light and fluffy. Beat in vanilla and eggs until blended. Use a fork to stir in flour, baking soda, and salt. Add chocolate chips and incorporate with your clean hands or a spatula. Cover with saran wrap and refrigerate for two hours.

Once the two doughs are chilled, preheat the oven to 350°F. Line two baking sheets with parchment paper. Use a 1″ spring-loaded ice cream scooper to dispense six mounds of brownies onto each baking sheet. Clean the scooper, and dispense chocolate chip cookie dough next to each brownie round. Join the two cookies using your hands to close any gaps. (This may require pinching or light molding.)

Bake brookies for ten minutes, switching rack positions at the five-minute mark. Let brookies cool on the baking sheet for one minute before transferring to a cooling rack. Serve immediately, or store in an airtight container for up to one week. Enjoy!

Notes:

  • To keep the dough chilled between baking shifts, keep it covered in the refrigerator.
  • You will have ample chocolate chip cookie dough left over, as the two recipes are not quite even. I’m keeping my cookie dough in the freezer, so as to have it on hand for when friends and family visit!

From Scissors & Sage

Mile-High Coffee Cake Muffins

If I had to answer the If you were stranded on a deserted island, what three things would you bring? question, coffee cake would probably make the cut. It’s been a life-long love affair, and I don’t see that changing any time soon. I was the child who picked at the crumbs so all that was left was the naked cake. Don’t get me wrong, the cake is great! But I could nibble at those crumbs like it was my job. (Sorry, Mom!)

I decided to bake this coffee cake in muffin cups to make single servings (recipe adapted from this great blog). These would be great to bake if you ever have family or friends staying overnight. Imagine these on the breakfast table with coffee! You’d have one happy guest.

As the muffins came out of the oven, it slowly dawned on me that I had no idea how I was going to get them out of the pan. You can’t exactly turn them upside down! What I found to work best was to very gently turn each muffin in its cup before sliding it out. It worked surprising well, and I didn’t sacrifice a single muffin!

You’ll notice that a lot of crumbs were left behind in the now-empty muffin pan. Don’t you dare throw those away! I placed mine in a glass container to keep in the fridge for a few days. I have a hunch they will pair nicely with vanilla ice cream.

Now that I am in a full-blown crumb comma, I will leave you with the recipe below. Are you baking anything special this weekend?

Mile-High Coffee Cake Muffins (adapted from Offbeat + Inspired)

Prep time: 25 minutes | Bake time: 20 minutes | Yields: 12 muffins

Ingredients for the crumb:

  • 2/3 cup granulated sugar
  • 2/3 cup packed light brown sugar
  • 1 1/2 tsp ground cinnamon
  • 1/4 tsp salt
  • 2 sticks unsalted butter, melted
  • 3 1/2 cups cake flour

To make the crumb topping, combine sugars, cinnamon, and salt in a large bowl. Pour the melted butter over the mixture and stir with a spatula until fully incorporated. Stir in the cake flour until a sugary dough is created. Set the bowl aside to cool.

Ingredients for the cake:

  • 1 1/4 cups cake flour
  • 1/2 cup granulated sugar
  • 1/4 tsp baking soda
  • 1/4 tsp salt
  • 6 tbs unsalted butter, softened
  • 1 large egg
  • 2 egg yolks
  • 1 tsp vanilla extract
  • 1/3 cup buttermilk*

Preheat oven to 325°F. Coat a standard 12-cup muffin pan with cooking spray and set aside. In a large mixing bowl, whisk together the flour, sugar, baking soda, and salt. Use an electric mixer to add in the softened butter, and beat until the mixture forms small, moist crumbs.

In a small bowl, combine the egg, egg yolks, vanilla extract, and buttermilk. Lightly whisk ingredients until smooth, and then add this to the dry ingredients. Mix together until light and fluffy, 2-3 minutes.

Spoon the batter into the muffin pan, filling each cup about 1/3 of the way up. Next, cover each muffin cup with a generous amount of crumbs.

Bake muffins for 10 minutes in the bottom third of the oven. Switch to the upper third, and bake for an addition 8-10 minutes, or until a toothpick comes out clean. If you’d like browner crumbs, turn the oven to broil for the last two minutes. (Warning: Do NOT leave the kitchen during this time, as the crumbs can easily burn!)

Remove muffins from the oven and let cool for five minutes. Transfer muffins to a cooling rack with a cookie sheet placed underneath. Once they are completely cool, dust muffins with powdered sugar and serve!

*To make 1 cup of your own buttermilk, measure 1 tbs of lemon juice in a 1 cup measuring cup. Fill remainder with milk. Stir, let sit for 5 minutes, and use what you need!

From Scissors & Sage