Picking Favorites: Warm Weather iPhone Wallpapers

Pinterest 1

My iPhone wallpaper is not something I usually think about. I find one I like — typically an image that Apple provides — and keep it for a year or more without even batting an eyelash. There are more pressing matters to worry about, no? I started to think about my wallpaper, though, when West Elm posted an Instagram photo of two new free wallpapers they designed. They were so cute that I instantly downloaded them. Now I see cute little blue fish when I check the time on my lock screen! Anything to get me in the mindset of sun and warmth.

This inspired me to round up other wallpapers from across the Internet. I knew there had to be more fun ones out there. Below you’ll find all kinds of images to welcome the (finally) warmer weather and get you ready for beach/swimsuit/bbq/picnic season.

Do you have a favorite iPhone wallpaper? Which is your favorite here? Below you’ll find directions for setting up your new wallpaper.

Watercolor

Strokes from ban.do

Lemons

Lemons from Neiko Ng

Mermaids Don't Cry

Mermaids from ban.do

Leaves

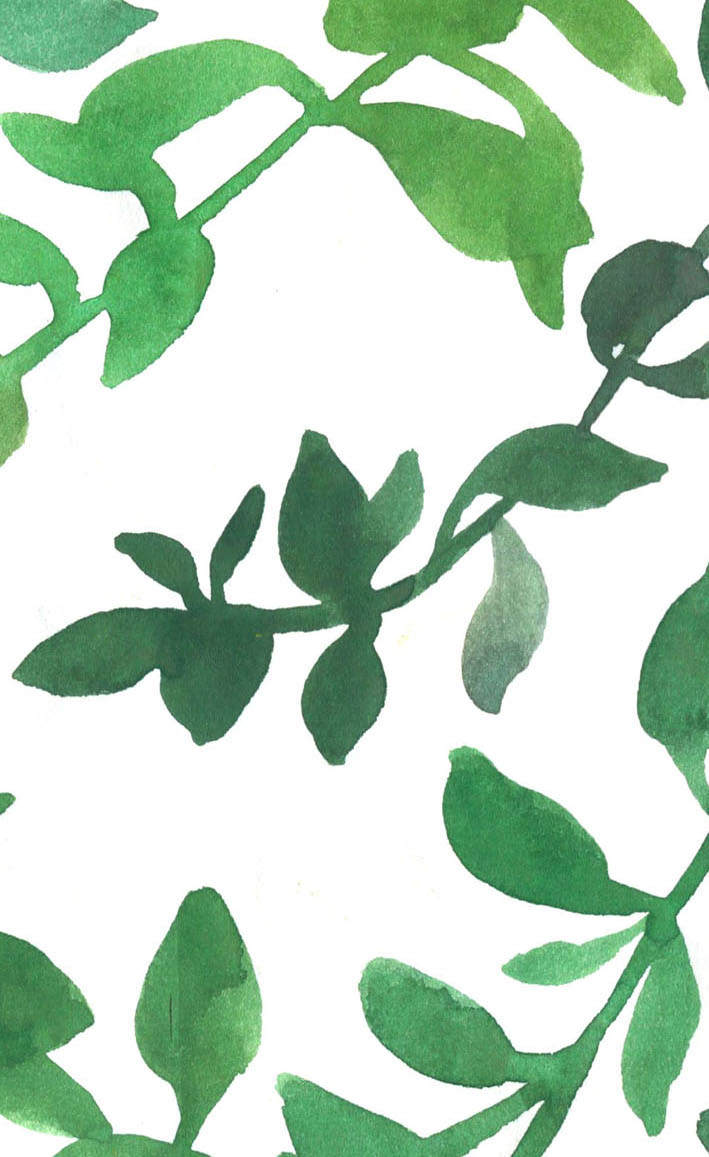
Leaves from Leah Goren

Pineapples

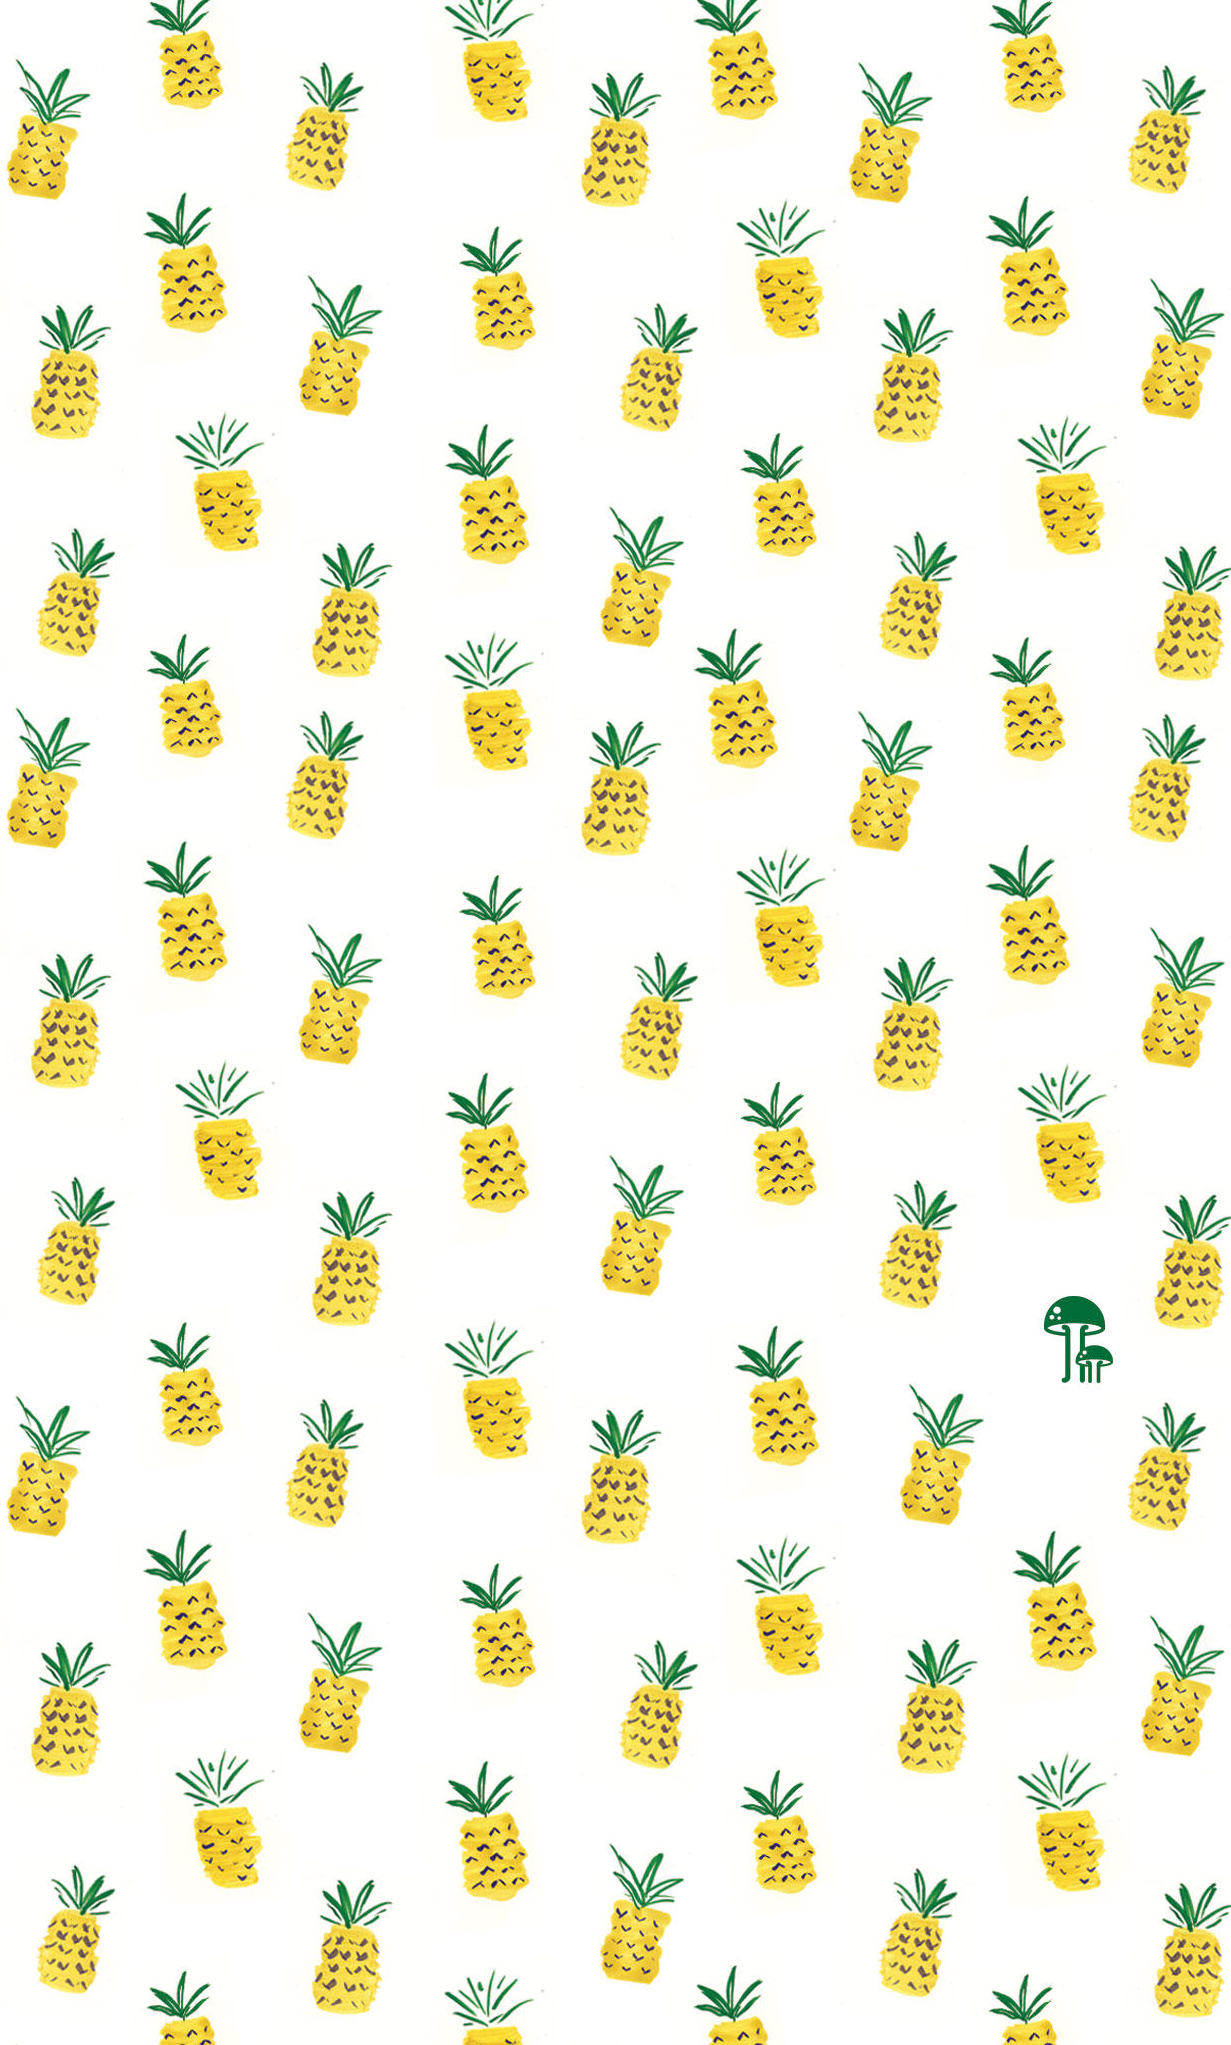
Pineapples from ModCloth

Clouds

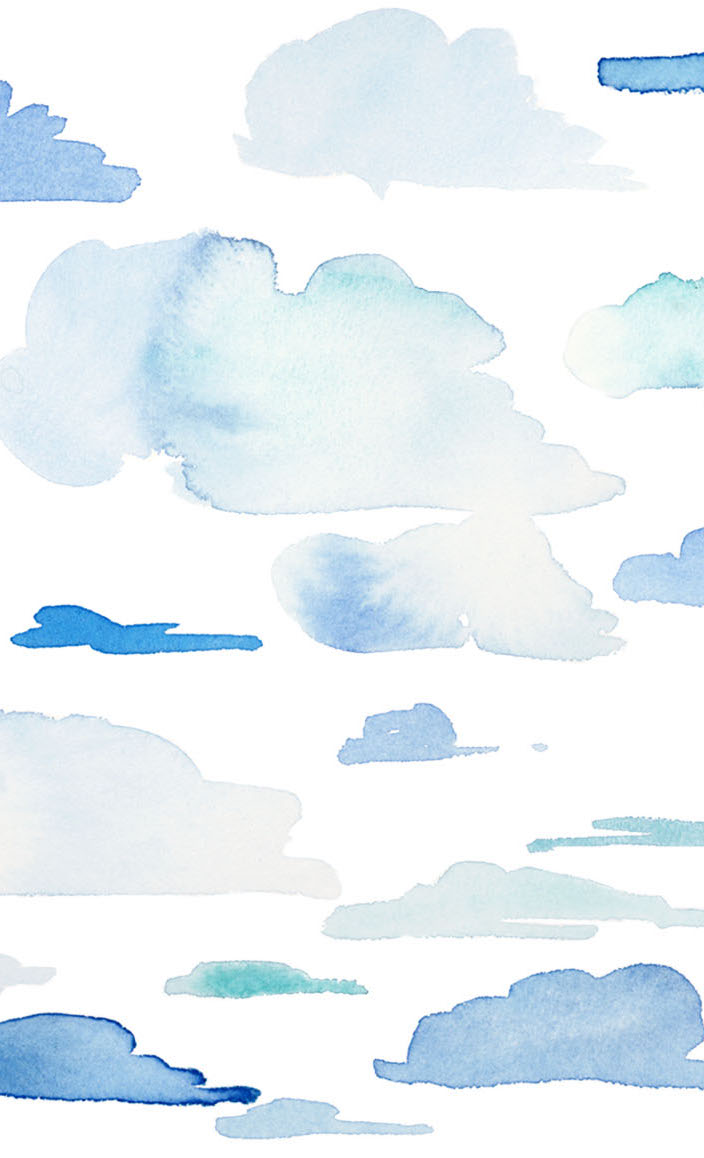
Clouds from Yao Cheng

Watermelons

Watermelons from Wonder Forest

Watercolor Plants

Plants from ban.do

Watercolor Strokes

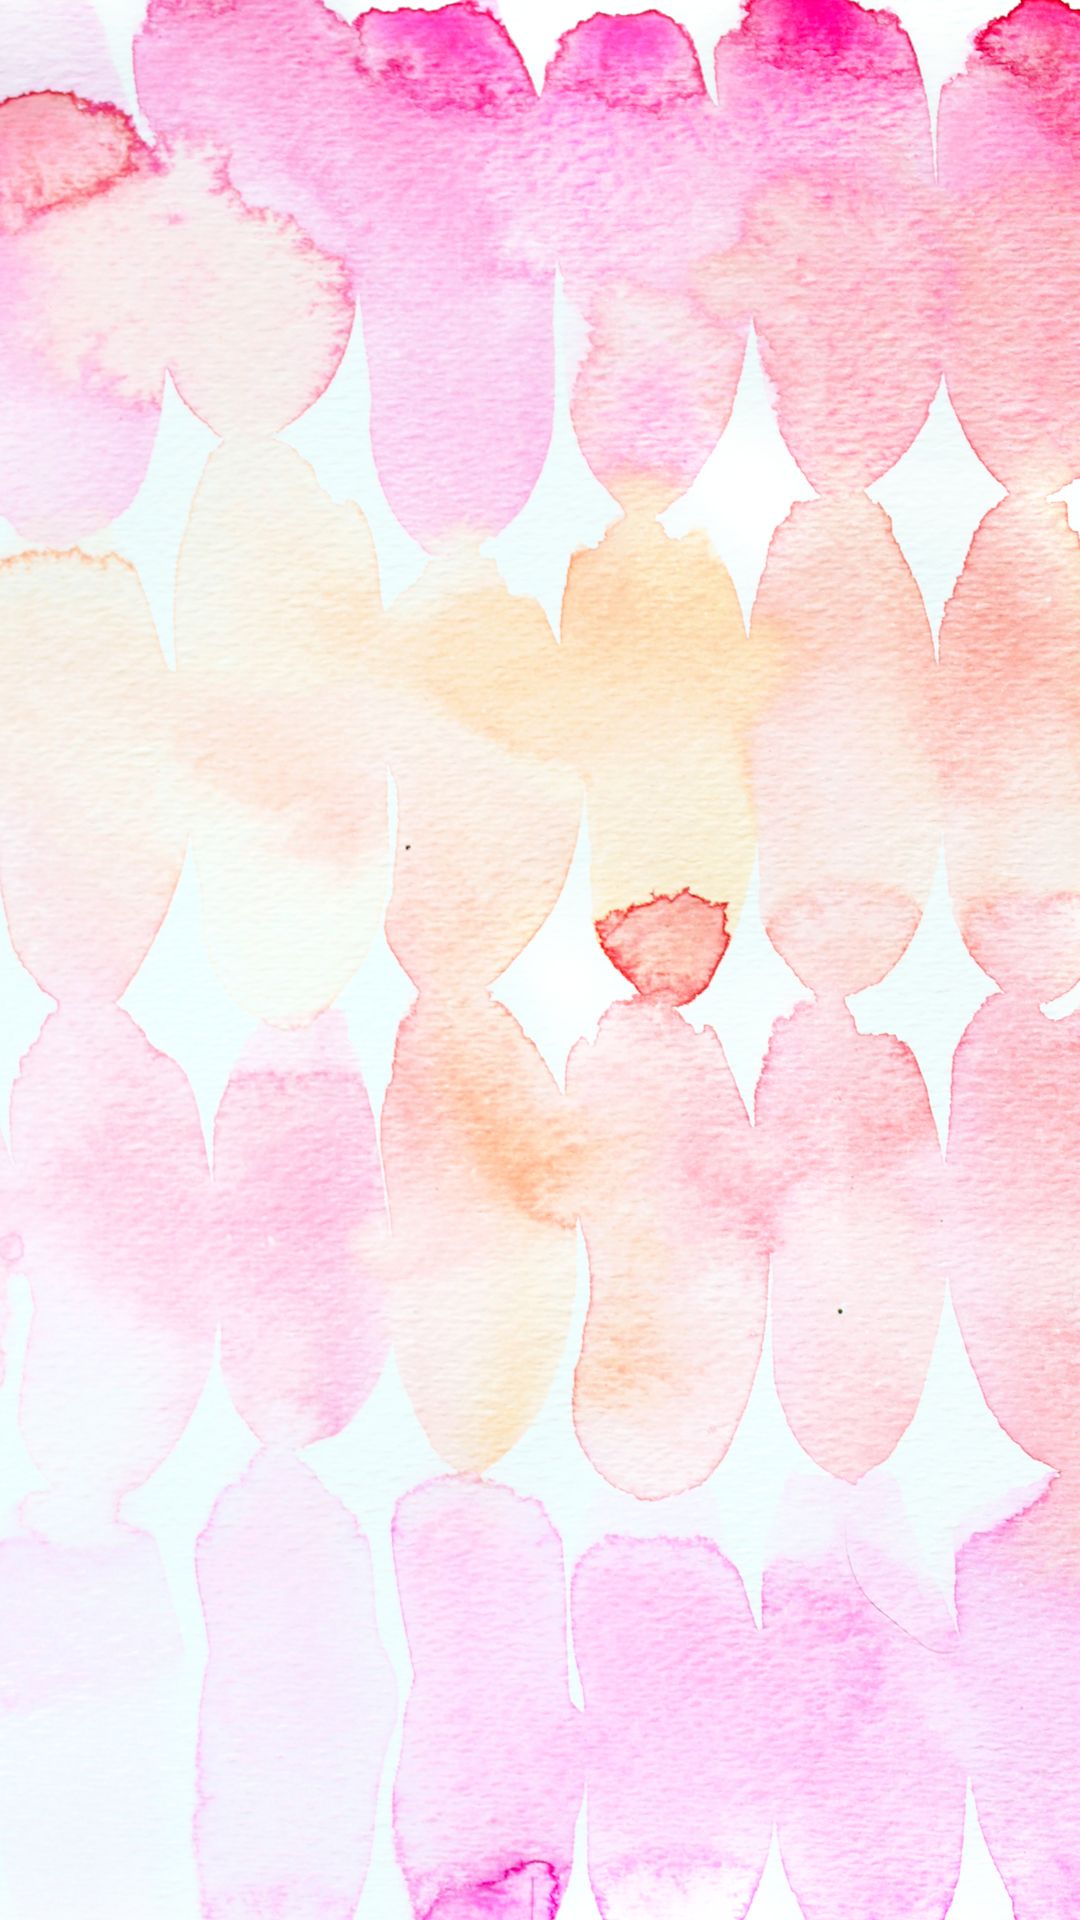
Watercolor from Lines Across

Swirls

Swirls from ban.do

Processed with VSCO with m5 preset

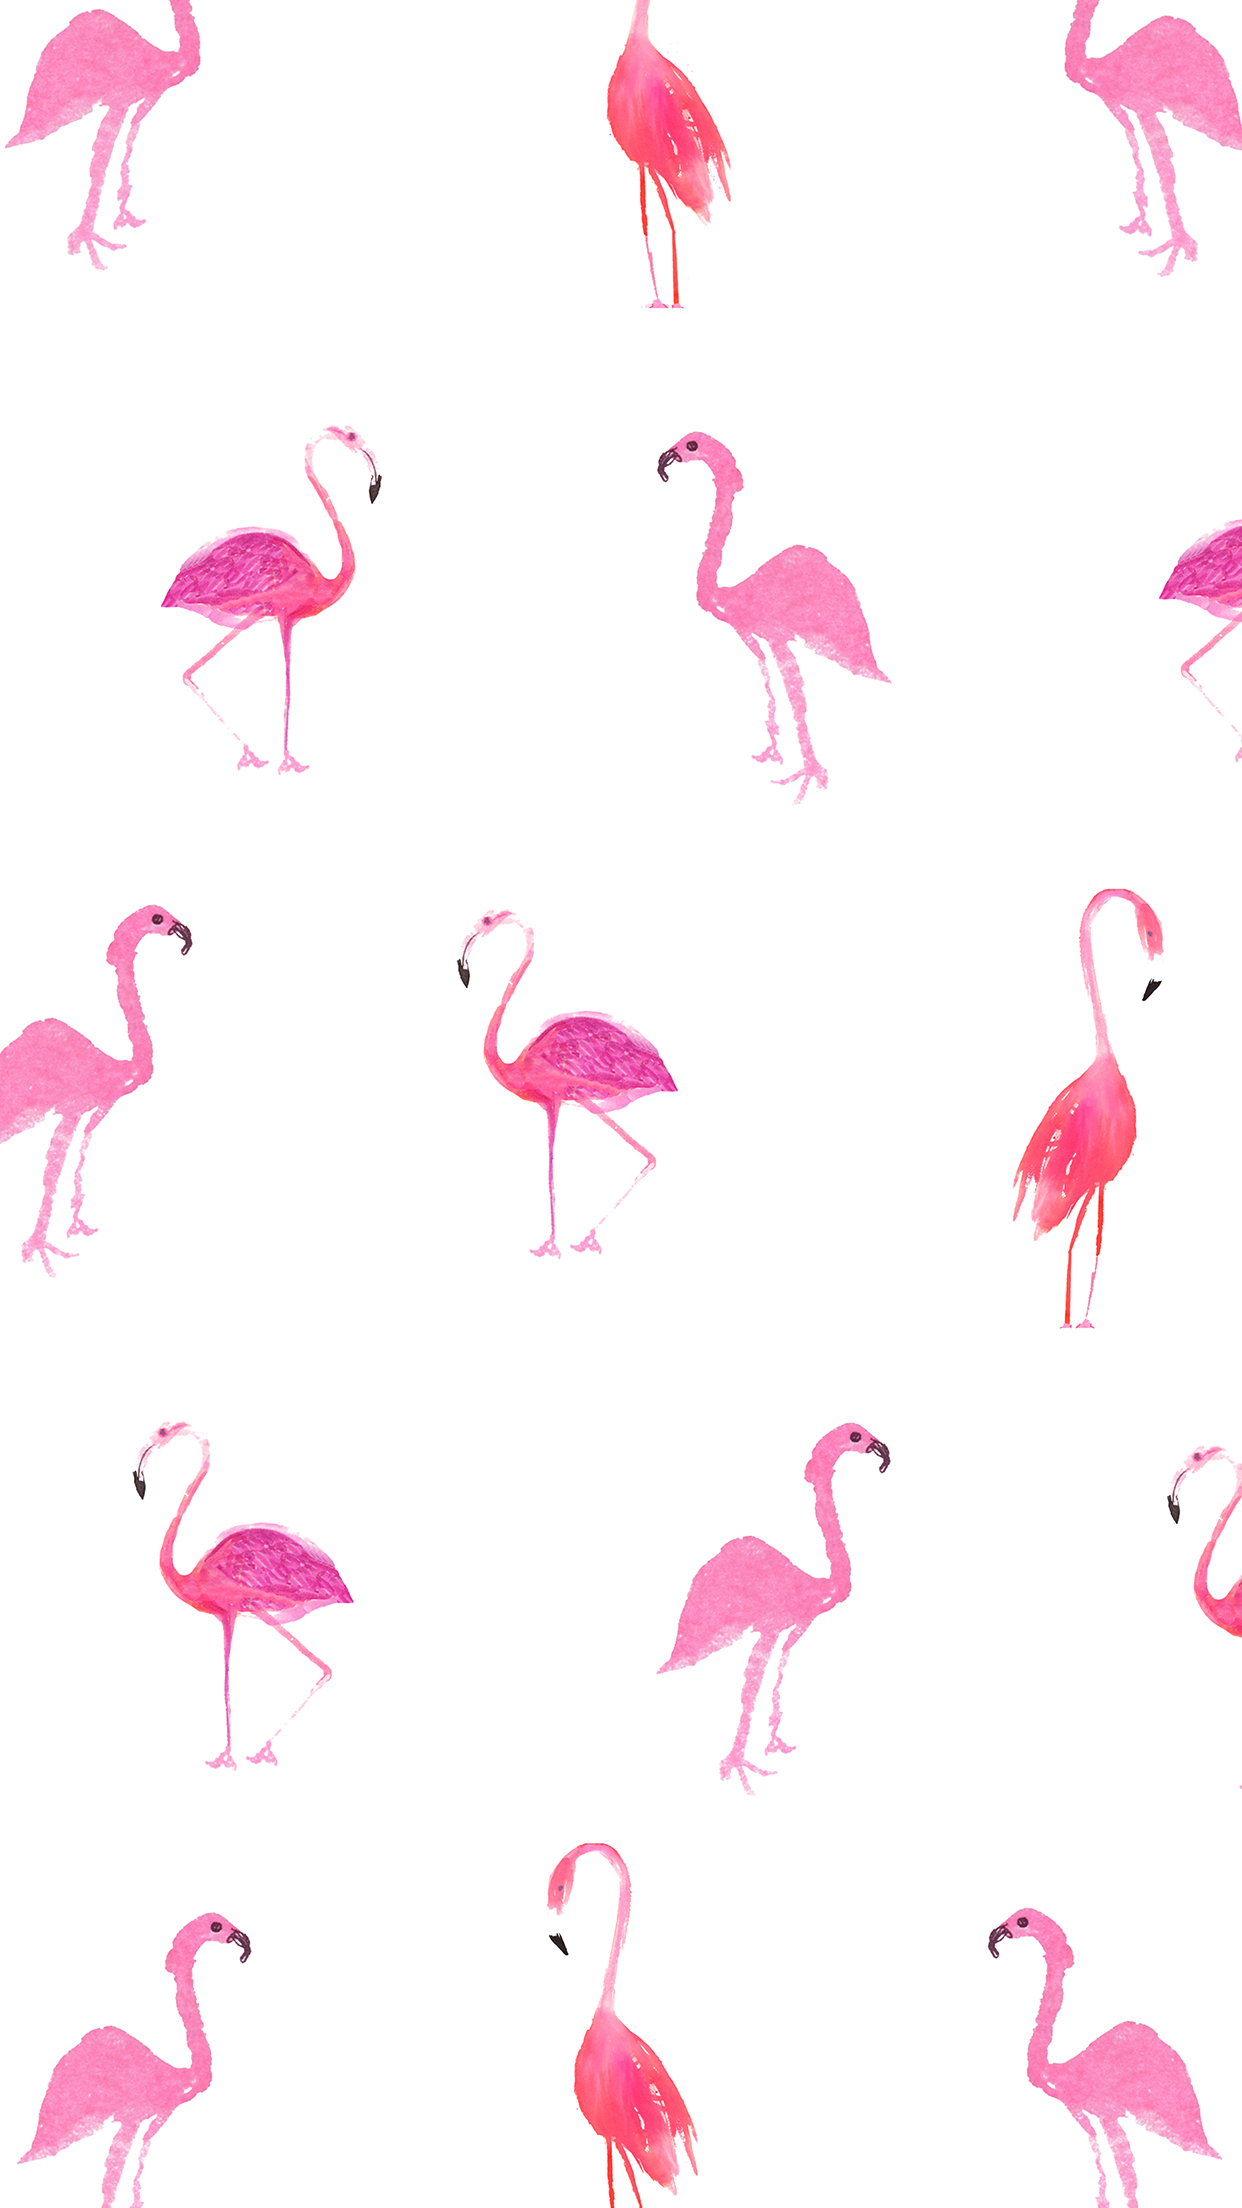
Flamingos from West Elm

Summer Fun

Summer Fun from ban.do

Processed with VSCO with m5 preset

Fish from West Elm

Strawberries

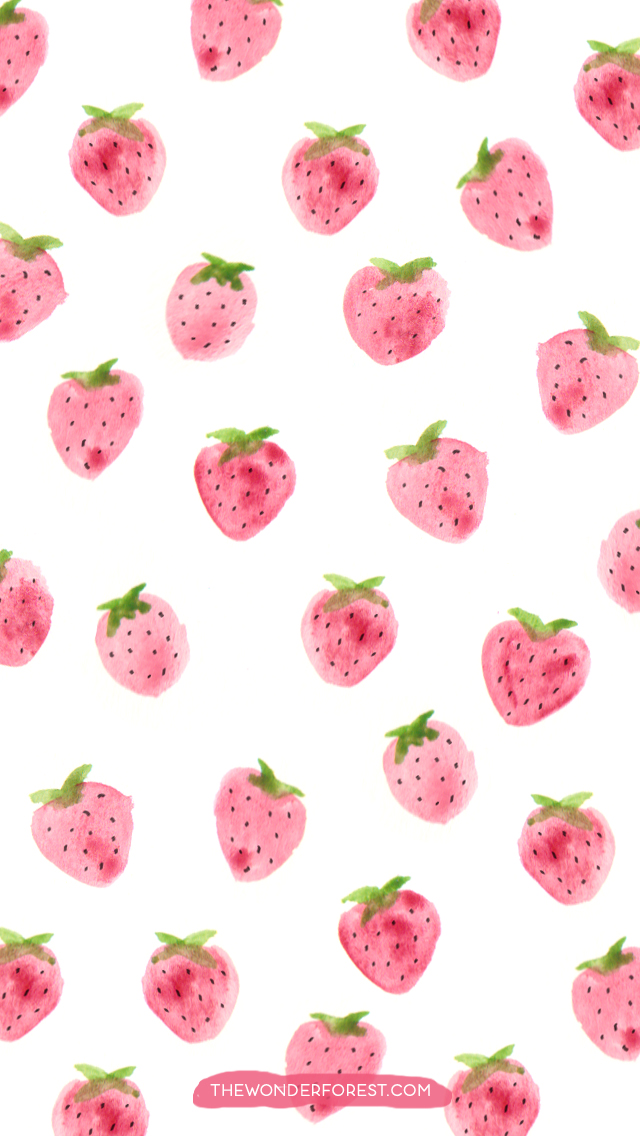
Strawberries from The Wonder Forest

Found a favorite? Here’s how it works.

If you’re reading this from your computer | Click on the image you’d like to use. Download it to your desktop, and then email or text it to your phone. Open the image on your phone, and save it to your camera roll. Open Settings > Wallpaper > Choose a New Wallpaper > Camera Roll. Select the image, move and scale it however you’d like, and make sure Still is highlighted (rather than Perspective). Click Set.

If you’re reading this from your phone/tablet | Click on the image you’d like to use. Press and hold and then click Save Image. Open Settings > Wallpaper > Choose a New Wallpaper > Camera Roll. Select the image, move and scale it however you’d like, and make sure Still is highlighted (rather than Perspective). Click Set.

Enjoy!

100th Blog Post & GIVEAWAY!

I thought I’d celebrate my 100th blog post (!!!) and the end of summer with a giveaway. It’s thanks to you readers that I continue to enjoy blogging about my various projects, so it’s high time for me to give back! I’ve been a bit MIA this summer between our trip to Greece and moving to a new apartment in Philly. All of our belongings have been in boxes for what feels like weeks now. I’m still trying to pin down my crafting supplies and baking ingredients. They’re here somewhere…

For this giveaway, I’ve teamed up with Sticky9 once again. I absolutely love this company. (Click here to see my last giveaway with them in January.) Their printed matte photos are high-quality, and who doesn’t like to physically hold pictures these days? It’s a rarity, and it’s a shame. I’ve combatted that by creating a DIY memory game using our photos from Greece.

My favorite part of this project is that you can use photos from any kind of life event, trip, or celebration. You can create the game for yourself, or give it to someone special. The photos could be of a special birthday, a newly engaged couple, a vacation, a beloved pet or child, you name it. Plus, this game is well-suited for most anyone–from a young child to a grandparent.

Anne and I have been loving our game because it brings back so many great memories. The supplies and game rules are simple, so let’s get to it.

DIY Photo Memory Game

Materials:

  • 13 unique photographs, each printed twice
  • 1 title photo to represent the game*

*Sticky9 Square Prints come in sets of 27. This is perfect: 13 photos (2x) + one extra for the title photo.

Rules (for two players):

  1. Turn all photos upside down on the floor. Scatter the pairs randomly to create either a grid (easier) or a collage (harder) of photos.
  2. The first player turns over two cards at random. If they don’t match, turn them back over for the second player’s turn. If they do match, put them to the side and play again. Continue your turn until you turn over two cards that do not match.
  3. Continue playing until no cards remain. The person with the most matched sets wins.
  4. Optional:  Play best of three to determine who will wash dishes after dinner, walk the dog early in the morning, or do the laundry next.

Like I said, this game is great for anyone. It can help children learn (especially if it’s pictures of them growing up), and it’s wonderful for adults and older adults to practice those working memory skills. Most importantly, it’s plain old fun!

One lucky winner will win a set of Sticky9 Square Prints to make their own DIY memory game. It’d be perfect for the next time you have friends over for drinks or host a game night. Help me celebrate my 100th post on Scissors & Sage, the end of summer, and YOU!

To enter, leave a comment below telling me what photos you’d use for your memory game. Let me know! I’ll email the randomly-selected winner on Monday, September 21st.

Happy commenting!

PS) Can’t wait to find out if you’ve won?  Visit Sticky9 now to pick out your very own Square Prints or one of their other awesome products!

Frozen Lemon Iced Tea

There’s a specialty foods shop in my hometown called Susan Lawrence. One summer when I was visiting my parents, my mom introduced me to their frozen lemon iced tea. Now, I’m not usually one for iced tea. But this… This was a game changer.

This drink combines unsweetened iced tea and lemon sorbet. The sorbet replaces traditional ice cubes, and it naturally sweetens the iced tea as it melts. Isn’t that genius? It tastes truly amazing, and is a super fun drink–perfect for when friends or family come over, or just when you need something sweet after a long, hot day. I’ve finally set out to create my own version of Susan Lawrence’s frozen lemon iced tea. While I don’t know exactly what goes into theirs, I can say that it tastes very similar!

When Anne and I were in Chicago last week we met up with her friends Clare and Megan, who were also in town visiting family. They live in Santa Cruz, California, and grow an incredible lemon tree in their yard. Clare gives us lemons every time we see her! We’ve already used one to make tasty lemon squares, and next up is this lemon sorbet. Thanks, Clare!

(Store-bought lemon vs. Clare’s lemon)

Frozen Lemon Iced Tea

Active time: 15 minutes | Inactive time: 3+ hours | Yields: 6 cups iced tea and 3 cups lemon sorbet

Sun Tea ingredients:

  • 2 bags Tazo Earl Grey or other black tea
  • 6 cups water

In a clear glass bowl or pitcher, combine six cups of tap water and two bags of Tazo Earl Grey tea. Set in a sunny spot, and let sit for three hours. When the tea is sufficiently brewed, cover and transfer to the refrigerator.

Lemon Sorbet ingredients:

  • 1 cup sugar
  • 1 cup water
  • 1 cup fresh-squeezed lemon juice
  • 1 tbs lemon zest

Bring sugar and water to a boil in a small saucepan. Set aside, and let cool completely. Combine simple syrup, lemon, and zest, and pour mixture into the bowl of an ice cream machine. Churn sorbet for 25-30 minutes, and then transfer to an airtight container to freeze for 2+ hours.

To make frozen lemon iced tea, pour iced tea into a glass until half full. Use an ice cream scoop to place 3-4 scoops of sorbet in the glass. Swirl with a straw and enjoy!

Notes:

  • Sun tea is easily customizable. Use more tea bags, let it sit it the sun longer, or add herbs to the water. It’s up to you!
  • If you do not have an ice cream machine, you can combine the simple syrup, lemon juice, and zest in an airtight container and place it in the freezer. Stir the mixture every 30 minutes or so for two hours.

From Scissors & Sage

Adventures in Greece & 10 Greek Tips

Good news: We found our next home! Phew. I am so excited to get to know a new neighborhood (East Passyunk!) and rearrange furniture to my heart’s content. It’s larger than our current apartment by about double, and it offers amenities we’ve never had before: Central air! Washer and dryer in unit! Second bedroom! DISHWASHER!

Until then, you can find me on the living room floor, purging old papers and slimming down craft supplies such as scrap paper and saved ribbons from gifts past. (It’s official. I’m a crafting hoarder.) Organizing my embroidery thread box was nearly the death of me, but now it looks GOOD. We’re also going to visit Anne’s family in Chicago for the next week! I think a Cubs game and a trip to the family farmhouse in Wisconsin will do us some good.

While we were in Greece, we took a lot of pictures, and below are some of my favorites. I hope that they give you a little flavor of our three weeks away. Our destinations included Athens and six Greek islands: Paros, Antiparos, Naxos, Koufonisi, Santorini, and Crete. If you have any questions at all about my pictures (like where exactly they were taken), please leave a comment below! I’d be more than happy to give you specific details.

Also below you will find my “10 Tips for Traveling Greece.” I did a lot of research before leaving Philly about all kinds of Greek things. These ten tips are ones that I did not find elsewhere. If you are planning a trip to Greece (which you should REALLY do), I hope these recommendations help!

  1. Bring a sturdy pair of sunglasses. Athens and the Greek islands are incredibly bright–both from the intense sun and the white, reflective architecture.
  2. Pack shoes with traction. Many streets in Greece are made of marble, which is surprisingly slippery.
  3. The metro system in Athens is the most efficient I have ever experienced. Taking it to and from the airport, or to and from Piraeus (the main port in Athens) is very easy.
  4. It might be wise to book ferries for late morning/early afternoon. Early morning ferries require a very early start time, while ferries too late in the day will require you to navigate your next destination in the dark.
  5. The smaller the Euro bills, the better. Paying with bills over 10€ can be tricky at times. If you have 50s on you, break them in places like supermarkets or museums.
  6. Tipping about 8% in restaurants is normal and expected.
  7. Bring your own water bottle when eating out. It is much cheaper to purchase it from a corner store or supermarket than it is to purchase it at the restaurant.
  8. Bread is often an added expense at restaurants (0.50-2€/person). If you do not want/need bread, leave it on the table untouched and it shouldn’t be added to the bill. If you are gluten free/allergic, ask for them to not bring the bread as the host is seating you.
  9. That being said, dips do not come with bread/pita. So if you plan on ordering a dip, hold onto your bread because you will want every last piece of it. (The dips and hummus in Greece are unbelievably tasty.)
  10. Know that everything will work out. Prepare yourself, be organized, and pack as little as humanly possible. The less you need to lug up and down cobblestone streets the better. Bring Woolite to hand wash clothes, or find a local laundromat for a few Euros. Less luggage = happier traveler!

Have a great week!

Picking Favorites: Recipes for Summer

Γεια σας! That means “hello” in Greek, and is pronounced “yassas.” I also learned how to say “cheers,” “good morning/evening,” “yes/no,” a couple of dog commands (random, I know), and other nifty things to get around Greece. It was a funny thing, traveling around a country where the alphabet is fundamentally different from English. Anne quickly became good at deciphering words letter by letter to find our way around. We felt like detectives!

It’s hard to believe that our long-awaited trip to Greece has come to an end–but what a trip it was! I’m not even sure I know where to begin, and my thoughts on the whole thing aren’t fully formed yet. I’ll say this: It was incredible. Beautiful beyond belief, really, and the people we met were so hospitable and kind. Life in Greece has a different pace to it than in the U.S., and we quickly fell into its slower rhythm. The food is healthy and locally grown, and the hot sun and salt water–oh, the salt water!–were nourishment for the soul.

Now back in Philly, I am trying to hold on tightly to some of these ways of life. I write my to-do lists on smaller pieces of paper; I buy fruits and veggies from the local market; I take a break in the afternoons. These things, for now, are keeping me relaxed and mindful. Next week, I’d like to share a few photos and stories from our trip with you, as well as some travel tips that I jotted down along the way–helpful hints that I didn’t know going into our trip.

Two things on the forefront: 1) I’m featuring a fun giveaway at the end of next month. Stay tuned for how you can enter! 2) Anne and I are in the process of looking for a new apartment in Philly. We’ve been talking about finding a new home for a few months now, and we’ll be making the move in about a month! Fingers crossed we find just the right spot for us to continue growing.

As I catch up on Martha Stewart Living and Bon Appetit, I’ve been inspired by all kinds of summer recipes. I’m a little behind the eight ball from being away (i.e. I’m just now reading about “Ten fun ideas for the Fourth!”), but now I can dive into seasonal dishes. Below are some that I’d like to give a try. Enjoy!

Recipes for Summer

Corn and Fregula with Halloumi (Greek!) Cheese from Bon Appetit (click here for the recipe)

Grilled Chicken with Lemon and Thyme from Food & Wine (click here for the recipe)

Tomato Cucumber Avocado Salad from Green Valley Kitchen (click here for the recipe)

Grilled Beet Baba Ghanoush from Bon Appetit (click here for the recipe)

Herbed Summer Squash Pasta Bake from Smitten Kitchen (click here for the recipe)

Iron Skillet Peach Crisp from Bon Appetit (click here for the recipe)

Grapefruit-Jalepeno Margarita from Camille Styles (click here for the recipe)