Frozen Lemon Iced Tea

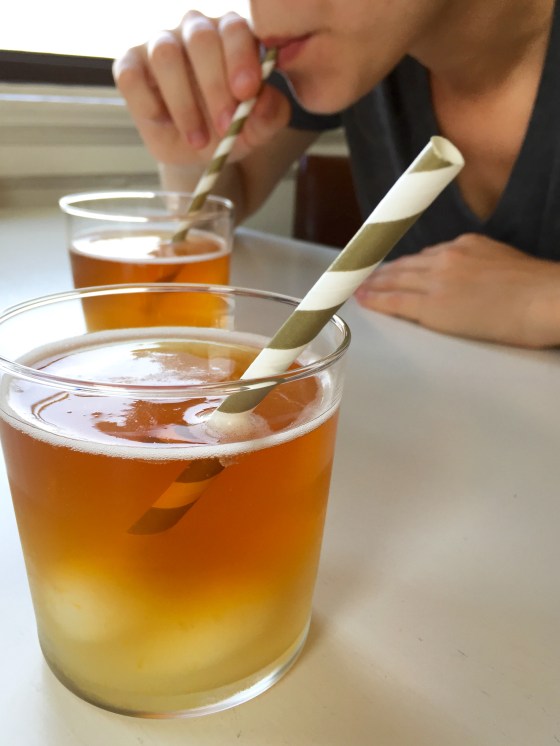
There’s a specialty foods shop in my hometown called Susan Lawrence. One summer when I was visiting my parents, my mom introduced me to their frozen lemon iced tea. Now, I’m not usually one for iced tea. But this… This was a game changer.

This drink combines unsweetened iced tea and lemon sorbet. The sorbet replaces traditional ice cubes, and it naturally sweetens the iced tea as it melts. Isn’t that genius? It tastes truly amazing, and is a super fun drink–perfect for when friends or family come over, or just when you need something sweet after a long, hot day. I’ve finally set out to create my own version of Susan Lawrence’s frozen lemon iced tea. While I don’t know exactly what goes into theirs, I can say that it tastes very similar!

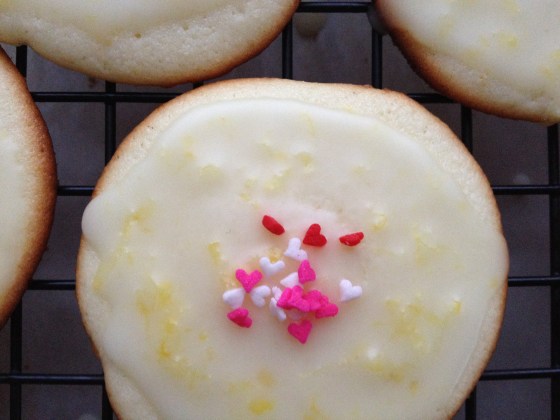
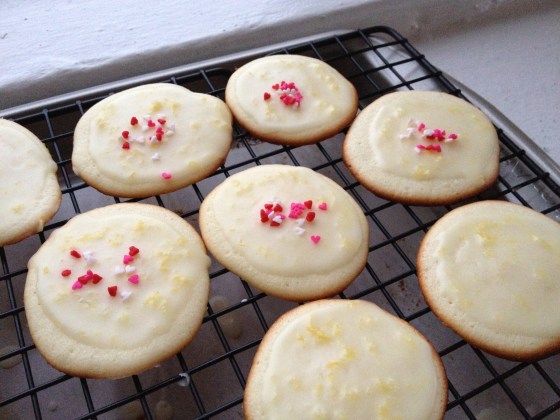
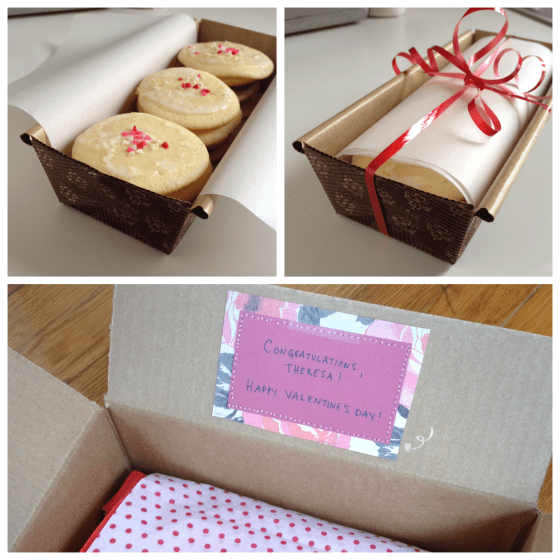
When Anne and I were in Chicago last week we met up with her friends Clare and Megan, who were also in town visiting family. They live in Santa Cruz, California, and grow an incredible lemon tree in their yard. Clare gives us lemons every time we see her! We’ve already used one to make tasty lemon squares, and next up is this lemon sorbet. Thanks, Clare!

(Store-bought lemon vs. Clare’s lemon)

Frozen Lemon Iced Tea

Active time: 15 minutes | Inactive time: 3+ hours | Yields: 6 cups iced tea and 3 cups lemon sorbet

Sun Tea ingredients:

  • 2 bags Tazo Earl Grey or other black tea
  • 6 cups water

In a clear glass bowl or pitcher, combine six cups of tap water and two bags of Tazo Earl Grey tea. Set in a sunny spot, and let sit for three hours. When the tea is sufficiently brewed, cover and transfer to the refrigerator.

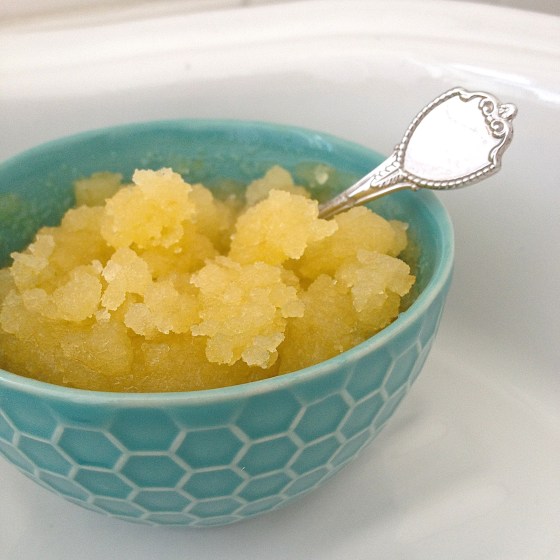
Lemon Sorbet ingredients:

  • 1 cup sugar
  • 1 cup water
  • 1 cup fresh-squeezed lemon juice
  • 1 tbs lemon zest

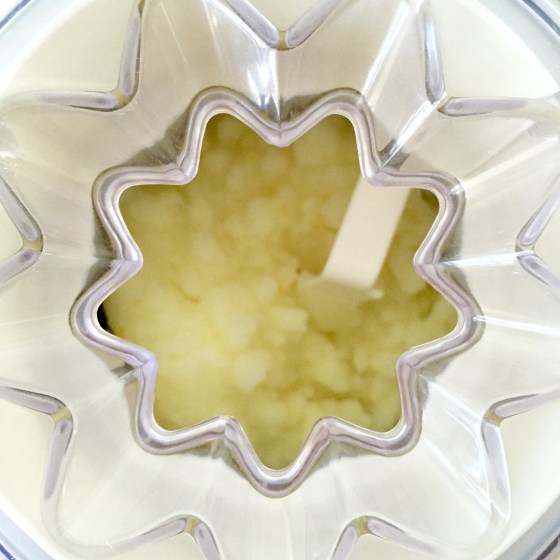
Bring sugar and water to a boil in a small saucepan. Set aside, and let cool completely. Combine simple syrup, lemon, and zest, and pour mixture into the bowl of an ice cream machine. Churn sorbet for 25-30 minutes, and then transfer to an airtight container to freeze for 2+ hours.

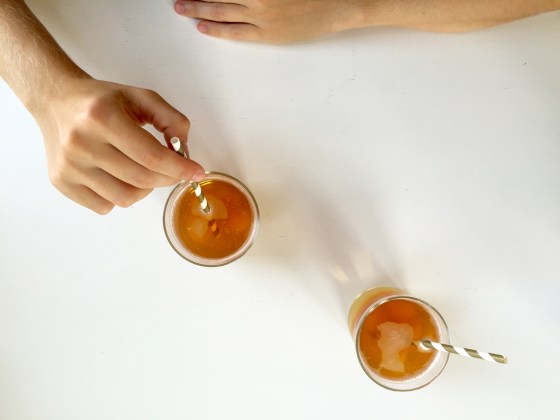
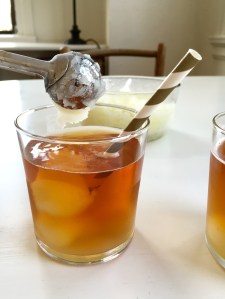
To make frozen lemon iced tea, pour iced tea into a glass until half full. Use an ice cream scoop to place 3-4 scoops of sorbet in the glass. Swirl with a straw and enjoy!

Notes:

  • Sun tea is easily customizable. Use more tea bags, let it sit it the sun longer, or add herbs to the water. It’s up to you!
  • If you do not have an ice cream machine, you can combine the simple syrup, lemon juice, and zest in an airtight container and place it in the freezer. Stir the mixture every 30 minutes or so for two hours.

From Scissors & Sage

Cocktail Concocting With: Jayme Henderson

This week I am so excited to introduce a new blogging friend, Jayme Henderson. I discovered her blog a few months ago, and just can’t get enough! She is a gardener and sommelier based in Denver, Colorado. She also happens to write the wine column at the Kitchn. Her love for all-things-paired is quite evident in her own blogging and photography. I can only hope that my photographs look as wonderful as hers some day!

Last Monday, I shared a tour of my and Anne’s bar cart. Now, Jayme is here to show us how it’s done.

Blood Orange Whiskey Cocktail (Recipe below!)

Hello! My name is Jayme Henderson, and I write the blog Holly & Flora. It’s where I post original cocktails, wine-and-recipe pairings, and DIY projects. I am constantly inspired by my home garden, and my projects reflect that love. If I could spend the rest of my days surrounded by tomatoes, herbs, and flowers, trust me, I would. For now, I balance my time in the garden between working as a full-time sommelier here in Denver and writing the wine column at the Kitchn.

I was completely flattered when Victoria asked me to create a cocktail and guest post here at Scissors & Sage. I immediately felt right at home when I discovered her blog. I always look forward to her interesting and well-written tutorials. Many thanks, Victoria!

I eagerly anticipate the onset of citrus season. Not only are the bright, delicious fruits a refreshing respite in the dead of winter, but they also remind me of my grandfather. He was a second-generation citrus grower in Florida, my home state, so the aroma of oranges transports me back home. It was only natural for me to create an orange cocktail.

This particular cocktail’s flavor profile is balanced between being slightly sweet and a little bitter. The finish is refreshing and savory, with notes of baking spices. That’s definitely the somm coming out in me with those descriptors! I chose Tin Cup Whiskey as the base spirit. It’s a Colorado whiskey with a bourbon-style profile, complemented by a spicy, peppery kick. Vodka, gin, and sparkling wine all pair well with blood orange juice, but swapping them out for whiskey provides a richer and more savory flavor.

The other key ingredient I added is Amaro Nonino Quintessentia. What exactly is an amaro? An amaro is a bitter-sweet, herbaceous Italian digestif, a liqueur usually consumed after a meal. Nonino is especially enjoyable. Unlike other styles of amaro, which can be intensely herbaceous and even medicinal, Nonino is balanced and has slightly bitter notes of burnt orange and spices. I like to enjoy a skosh of it after a rich meal. It is one of those sipping spirits that warms the soul and makes you slow down. And it’s a killer addition to a whiskey-based cocktail.

Thanks again, Victoria, for letting me drop in and share a cocktail here! And cheers to enjoying citrus season, surviving the chill, and having the patience for spring’s arrival!

Haven’t gotten enough of Jayme? Find her on Instagram, Twitter, and Facebook!

Blood Orange Whiskey Cocktail (Serves One)

Ingredients:

  • 1 1/2 ounces whiskey or bourbon
  • 1/2 ounce Amaro Nonino Quintessentia
  • 2 1/2 ounces freshly squeezed blood orange juice (about two blood oranges)
  • 1/4 ounce freshly squeezed lemon juice (about a quarter of a lemon)
  • 1/2 ounce agave nectar
  • 2-3 dashes orange bitters
  • Sprig of thyme

Juice the citrus and set aside. Then, fill a cocktail shaker with ice. Add the whiskey, amaro, blood orange juice, lemon juice, agave nectar, and bitters. Shake until nicely chilled. Strain and pour into a cocktail glass filled with fresh ice. Finally, squeeze the thyme sprig a few times to release its aroma and garnish!

Notes:

  • This recipe can be easily doubled, and tastes great served up shaken and strained.
  • If you have trouble finding blood oranges, navels or other types can be substituted.
  • Depending upon the sweetness of the blood oranges, increase or decrease the amount of agave nectar, to taste.

All photos taken by Jayme Henderson

Sour Cream Bundt Cake with Citrus Glaze

A bundt tin is one of those kitchen items that you use maybe once a year.  It doesn’t nestle into any other stacked tins because it’s just so oddly shaped, and perhaps you’ve even gotten rid of one because you’ve thought, “I’m never going to use this.”  You’re probably right, although I should warn you that this cake makes that tin worth keeping.

I don’t think I’ve ever made a bundt cake before, so I went with a simple flavor profile for the cake itself.  The sour cream in this recipe makes the cake incredibly moist and just plain perfect.  I also have to say it’s quite exciting getting to flip the baked cake over to reveal the molded shape.  It’s the little things, right?

The citrus glaze I concocted for this cake is mouthwateringly good.  You could even use the glaze on other types of cakes/loaves/cookies and pair it with all kinds of flavors.

Here is the recipe in printable form.  Enjoy!

Sour Cream Bundt Cake with Citrus Glaze

Prep time: 20 minutes | Bake time: 50-60  minutes | Yields: 1 bundt cake

For the batter:

  • 9 tbsp unsalted butter, softened
  • 3/4 cup granulated sugar
  • 2 large eggs, beaten
  • 3/4 cup flour, sifted
  • 1 tsp vanilla extract
  • 1 tsp baking powder
  • Pinch of salt
  • 2/3 cup sour cream

For the glaze:

  • 1 1/2 cups confectioner’s sugar
  • Pinch of orange zest
  • Pinch of lemon zest
  • 1 tbsp fresh orange juice
  • 2 tbsp fresh lemon juice

Grease and lightly flour a bundt tin.  Preheat oven to 350°F.  Use an electric mixer to beat butter and granulated sugar in a large bowl until light and fluffy.  Add half of beaten eggs into the mixture and beat well.  Repeat with second half of eggs.  Add vanilla extract.

Mix sifted flour, baking powder, and salt together in a separate bowl.  Stir half of it into the butter mixture with half of the sour cream.  Beat well.  Add remaining ingredients and mix well.  Spoon into the bundt pan and level batter with a spatula.

Bake for 50-60 minutes, or until golden brown.  Let cake cool in tin for 5 minutes, then transfer to a cooling rack.

Next, mix glaze ingredients in a small bowl until blended.  Pour or brush over cake immediately.

From Scissors & Sage 

Honey Citrus Hand Scrub

IMG_0916

Our skin is the largest organ in the human body and it’s seriously got its work cut out for it.  Skin protects our bodies from infections and prevents us from getting sick.  According to KidsHealth.org, it also “keeps your insides from falling out,” which is definitely an added bonus.

Our hands do a lot of things for us, like cook, shake hands, tend a garden patch, craft, hold babies or pets or cell phones, or scratch that terribly itchy itch.  Why not show them some love?  This hand scrub exfoliates, moisturizes, and leaves your hands smelling great!

Honey Citrus Hand Scrub (Adapted from Lovesome Blog)

  • 1 tsp honey
  • 1-2 tbs olive oil
  • 1-2 tbs fresh-squeezed grapefruit juice
  • 1 cup sugar
  • 2 tsp grapefruit zest
  1. Place the sugar in a medium bowl and set aside.
  2. In a small bowl, combine honey, olive oil, and grapefruit juice.  When mixed, add these ingredients to sugar.
  3. Add in the grapefruit zest, and stir until fully incorporated.
  4. If the scrub is too dry, add 1/2 tsp of olive oil at a time.  If it is too wet, add 1/4 cup of sugar.

IMG_0899

Here’s a bit more information on each of the ingredients:

Honey

Honey is great for a few reasons.  While it’s known to moisturize skin, it also has antibacterial and antioxidant properties!  It works well for any skin type, and is sure to leave your skin feeling terrific.

Olive Oil

Olive oil is an important ingredient here.  Maybe this is my Italian talking, but olive oil is great for skin, hair, nails, and diet.  It helps lock in moisture, and is high in vitamins A and E.  Olive oil can also protect sensitive skin from sun damage.

Grapefruit Juice/Zest

Adding grapefruit to your diet (and hand scrub!) will help your body both inside and out.  It helps flush toxins from your body and skin cells, leading to healthier skin.  Grapefruit juice has vitamins and minerals that can help even skin tone and gently cleanse the skin.

Sugar

Sugar acts as the exfoliator in this recipe, and it certainly does its job.  The nice part is that it can be found in most pantries and is relatively inexpensive.

IMG_0906IMG_0935

The above picture is from a few days after I made my scrub.  It crystallized nicely from the honey, and has a coarse texture.  Happy crafting!

Lemon Ricotta Cookies

Last month, Scissors & Sage hosted its very first comment contest.  I am happy to announce that the winner of this Valentine’s themed mystery treat was Theresa of TheresaBuoy!  This experience gave me an opportunity to meet a new blog friend across the country, and to expand my blogging horizons (literally).  Thank you to all who participated.  I look forward to future contests on this blog!

The mystery treat I baked for Theresa was a batch of lemon ricotta cookies.  Perhaps you have never heard of these – I hadn’t until about a month ago.  I was in Isgro Pasticceria with my family when I saw these little fellows in the display case.  Now, I am Italian.  Like Brooklyn Italian.  But I had never heard of lemon ricotta cookies!  I was embarrassed.  I was confused.  I knew I had to try and make these myself, so my uncle helped me track down Giada De Laurentiis’s well-regarded recipe.

Lemon Ricotta Cookies (adapted from Giada De Laurentiis)

Prep time: 15 minutes | Cook time: 15 minutes | Yields: 52 cookies

Cookies:

  • 2 1/2 cups all-purpose flour
  • 1 1/2 tsp baking powder
  • 1 tsp salt
  • 1 stick unsalted butter, softened
  • 2 cups sugar
  • 2 eggs
  • 15 oz whole milk ricotta cheese
  • 3 tbs lemon juice
  • 1 lemon, zested
  • Sprinkles (optional)

Glaze:

  • 1 1/2 cups powdered sugar
  • 3 tbs lemon juice
  • 1 lemon, zested

Preheat oven to 375 °F.  In a medium bowl, combine the flour, baking powder, and salt.  In a large bowl, combine the butter and sugar using an electric mixer until fluffy (3-4 minutes).  Add the eggs and beat until fully incorporated.  Add the ricotta cheese, lemon juice, and lemon zest.  Beat to combine.  Stir in the dry ingredients.

Line two cookie sheets with parchment paper.  Scoop 1 tbs of batter per cookie.  Bake for 15 minutes or until slightly golden brown along the edges.  Remove from oven.  Transfer cookies to a cooling rack and let stand for 20 minutes.

Combine the powdered sugar, lemon juice, and lemon zest in a small bowl.  Stir until smooth.  Spoon the glaze onto each cooled cookie.  Add sprinkles if desired.  Let the glaze harden for 2+ hours.  Package the cookies for up to two weeks.

From Scissors & Sage

I packaged these cookies up for Theresa in a decorative paper loaf pan.  These cookies are the perfect springtime cookie.  They are light and citrusy, and can be enjoyed in combination with this warming weather!