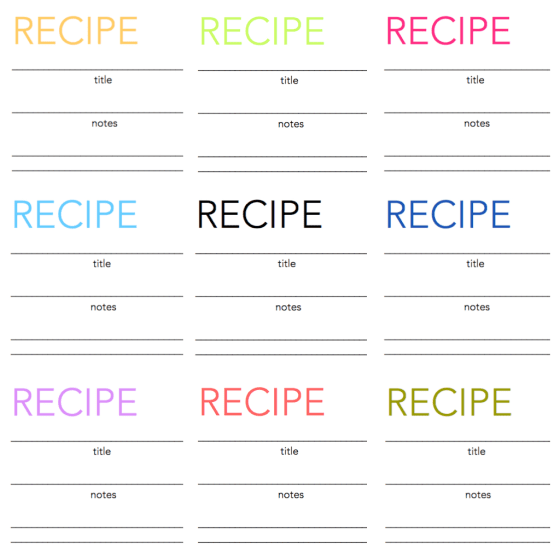
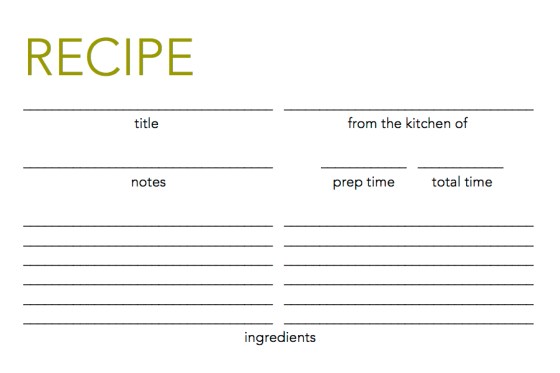
This week I decided to try something new and make my very own recipe cards! I’m the recent owner of a beautiful recipe box, so these cards are a natural accompaniment. While the process was painstaking at times, I am so happy with the end result. I used Microsoft Word to create my template, and I customized the nine colors you see above. I wanted to create a clean, distraction-free design for ease of writing. It’s up to you to add your own flare, whether it’s an artsy doodle of a delicious pie, or your own elegant hand lettering.
Let’s talk logistics. This recipe template is 4″ x 6″. (You can, of course, print it smaller or larger using the scale option when printing.) It’s best to print the cards on either text weight or cover weight paper. To print the card double-sided, first print page 1 of 1 only. Then, feed the same paper back into the printer and only print page 2 of 2. Once your recipe cards are printed, cut them, leaving a 2/8″ border on the left and right, and a 3/8″ border on the top and bottom. This will create an exact 4″ x 6″ recipe card.
These recipe cards are meant to be versatile. Print all one color, or print one of each! Use them for your own recipe collection, or give a whole blank set as a gift. The options are limitless!
Now, I want to see how you use your printed recipe cards! How will you fill them in? What are you cooking and baking this season? Share your cards on Instagram using #scissorsandsage and I’ll repost them!
Cantaloupe
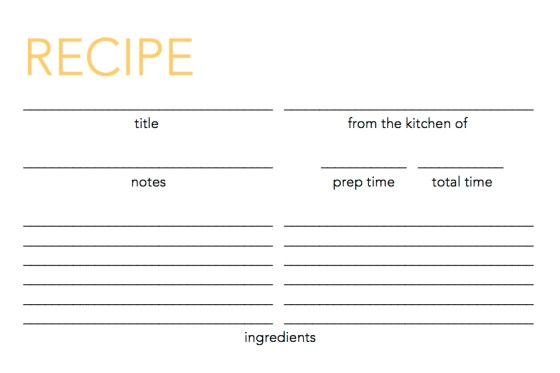
Here is what the back of each recipe card looks like:
Click here to download and print Cantaloupe.
Honeydew

Click here to download and print Honeydew.
Strawberry
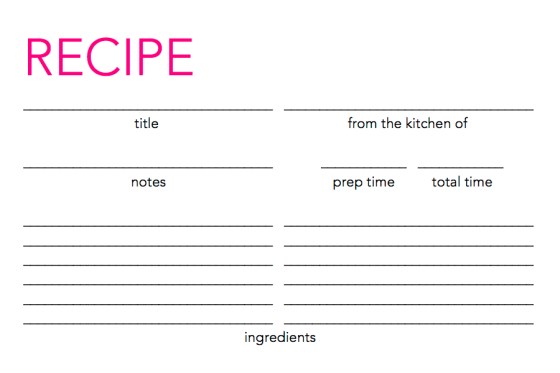
Click here to download and print Strawberry.
Sky

Click here to download and print Sky.
Licorice

Click here to download and print Licorice.
Blueberry

Click here to download and print Blueberry.
Lavender

Click here to download and print Lavender.
Salmon
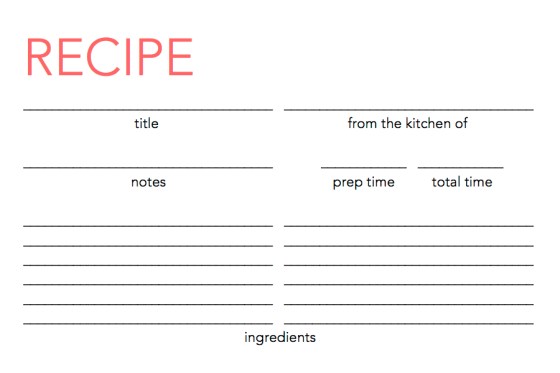
Click here to download and print Salmon.
Asparagus
Click here to download and print Asparagus.

Don’t forget to share your recipe cards! I’d love to see how you fill yours in. Tag them with #scissorsandsage and I’ll repost them!


