One of the things I am most grateful for in my life is the fact that I was raised around food. It’s not that I ate like a 5-year-old queen (which I did), but that the memories I have of spending time with my family in the kitchen are remarkably strong. Whether we were cooking, baking, eating, or talking (we were always talking), the kitchen was our gathering spot. Three of my four Italian grandparents were incredible cooks and bakers. The fourth was known more for his eager appetite — the way to his heart was through his stomach! Recently, I have been adapting the skills and values that I learned from my grandparents as I begin to find my way around my own kitchen.
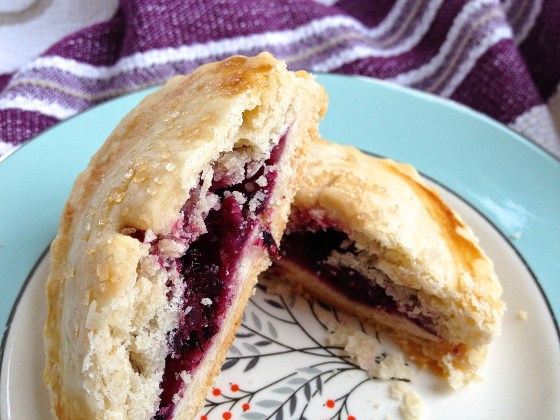
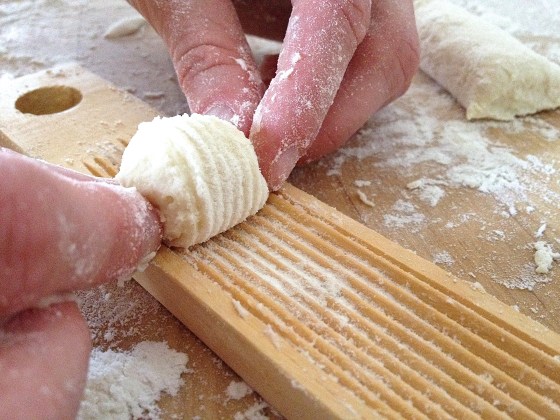
In today’s recipe, I have used my grandpa’s beloved cookie cutter, my mom’s dough-rolling technique, and Anne’s grandma’s flakey dough recipe. While I had never in my life eaten a hand pie until the very moment they came out of my oven, these are something that I am sure my grandparents would have enjoyed eating. Who wouldn’t like a mini pie?
In The Flavor Thesaurus, Niki Segnit writes about the pairing of blackberry and apple as follows: “Like Simon and Garfunkel: perfectly respectable solo careers, can go octuple platinum together. Apple is Simon, by the way, the dominant partner. Blackberry does the high notes.”
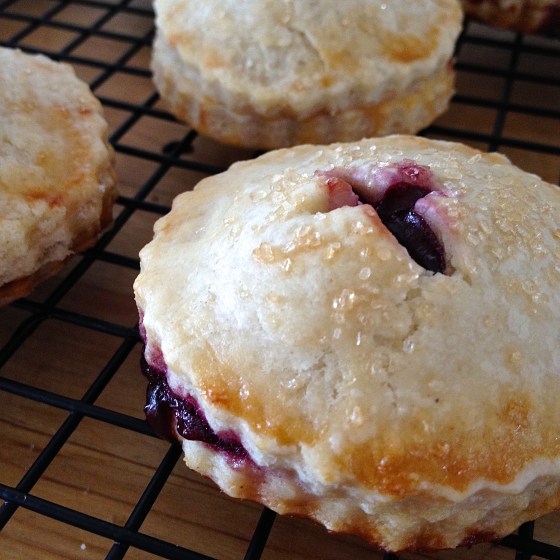


Blackberry-Apple Hand Pies

Prep time: 45 minutes | Bake time: 30-35 minutes | Yields: 10 pies
Compote ingredients (Adapted from epicurious):
- 2 cups blackberries
- 1 large golden delicious apple, peeled and cut into 1/4-inch cubes
- 2 1/2 tbs all-purpose flour
- 1/4 tsp cinnamon
- 1/2 cup white sugar
- 1/4 cup milk
- 2 tbs demerara sugar
Virginia’s Flakey Dough ingredients:
- 2 cups flour, sifted
- 1 tsp salt
- 3/4 cup shortening
- 4 tbs cold water
In the morning, whip up a batch of Virginia’s flakey dough. Combine flour, salt, and 1/2 cup of shortening in a medium-sized bowl. Use two butter knives to make criss-cross motions with your hands/arms. The dry ingredients should begin mixing slightly with the shortening. Add the remaining 1/4 cup of shortening, leaving it slightly chunkier in pea-sized pieces. Then, add 1 tbs of water at a time, sprinkling it over the dough and mixing it in with your forefinger. (I used 6 tbs of water to reach a consistency that I liked.) Gather the dough in a flattened ball, plastic wrap it, and stick it in the refrigerator for 45+ minutes. Go relax!
When you’re ready to start the compote filling, put oven racks in the upper and lower thirds of the oven and preheat to 375°F. In a nonstick saucepan or wok, cook the blackberries, apple, flour, cinnamon, and white sugar on medium heat. It’s important to stand nearby and stir almost continuously with a spatula. The mixture will begin to thicken and turn a beautiful deep purple. After 5 minutes, or when the mixture begins to bubble, set aside in a shallow bowl to cool. Next, take a whiff. You’ll get a sneak preview of what heaven smells like.
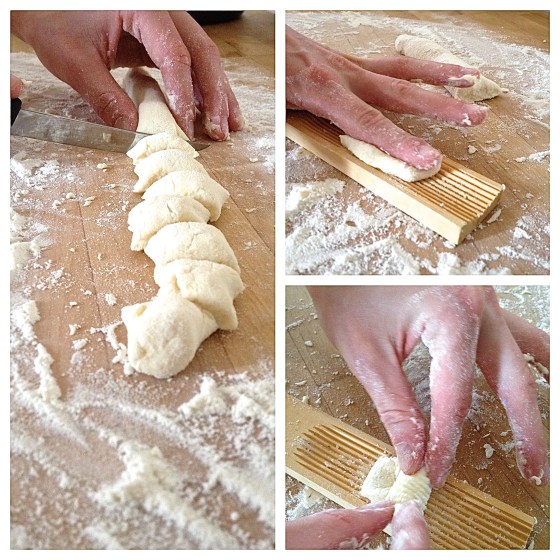
Enter my mom’s dough-rolling technique: Take the chilled dough out of the refrigerator. Cut it in half and put half back in the refrigerator, wrapped. Cut two generously-sized pieces of waxed paper and place the half-ball of dough in between them. Using a rolling pin, start to shape the dough into a flattened circle. Turn the waxed-paper setup often to create a circle when rolling. Roll until the dough has reached 1/4-inch thick. Peel back the top layer of waxed paper and use a cookie cutter to punch the dough out. Reserve scraps.
Using a spring-loaded ice cream scooper, place a tsp-sized amount of compote on half of the cutouts. Brush milk around the edges of these cutouts. Then, press a second cutout over the compote and into the bottom layer’s edges. Brush the top of the pie with milk and sprinkle demerara sugar over it. Use a sharp knife to carefully cut a small “x” shape into the top of the pie. Transfer completed hand pies to a parchment-lined baking sheet.
Take the other half of dough out of the refrigerator and repeat this process. Repeat a third time using all of the remaining dough scraps. (I am a firm believer in No Scrap Left Behind.)
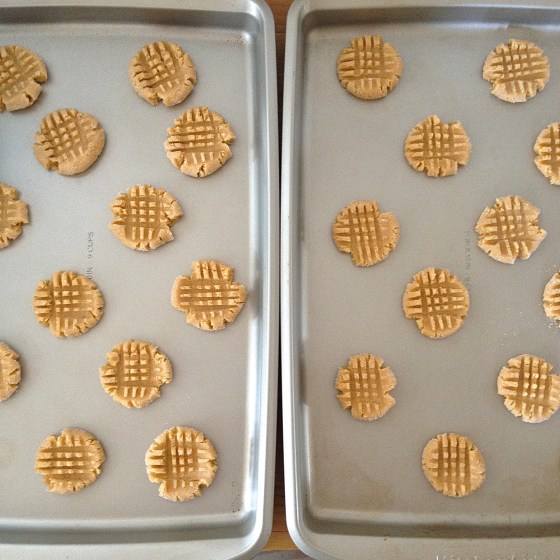
Place the baking sheets in the oven, and set a timer for 15 minutes. When the timer goes off, switch the baking sheet positions and bake for an additional 15 minutes. Transfer baked hand pies to a cooling rack when they have reached a golden brown color.
I ended up having about half of my compote mixture left over in the end. I placed mine in the freezer to make more hand pies in the near future! These little pies pair nicely with the tartness of Greek frozen yogurt. They are also easy to pack into any bagged lunch because they are self-contained.
From Scissors & Sage
Some more tips: Note that because this is a lengthy process, I found it helpful to clean as I go. That way, I don’t have an overload of dishes to wash at the end of my baking. Make the dough ahead of time. Take a rest as the compote cools. These are all suggestions that might help make your baking experience more fun and enjoyable. Happy baking!