So long, 2016!

Happy New Year, everyone!

As 2016 is coming to an end, I thought I’d share a bit about my year with you. It was kind of a funny year for Scissors & Sage. I found that I didn’t have a chance to write many blog posts on the things that Anne and I were crafting, baking, and doing together. A lot of my creative energy has been going toward planning for our wedding (July 2017!), preparing for the holidays at terrain, and making homemade Christmas gifts for our loved ones.

There are countless reasons why 2016 wasn’t the greatest year ever. You all have your own reasons; I won’t rehash them here. But yesterday I found out that I did not get a job that I had been hoping for for several months. It would have been a perfect next step in my music therapy career. I am disappointed and disheartened to say the least, but I am glad to be able to leave this in 2016. I am excited to see what new opportunities are ahead in the new year.

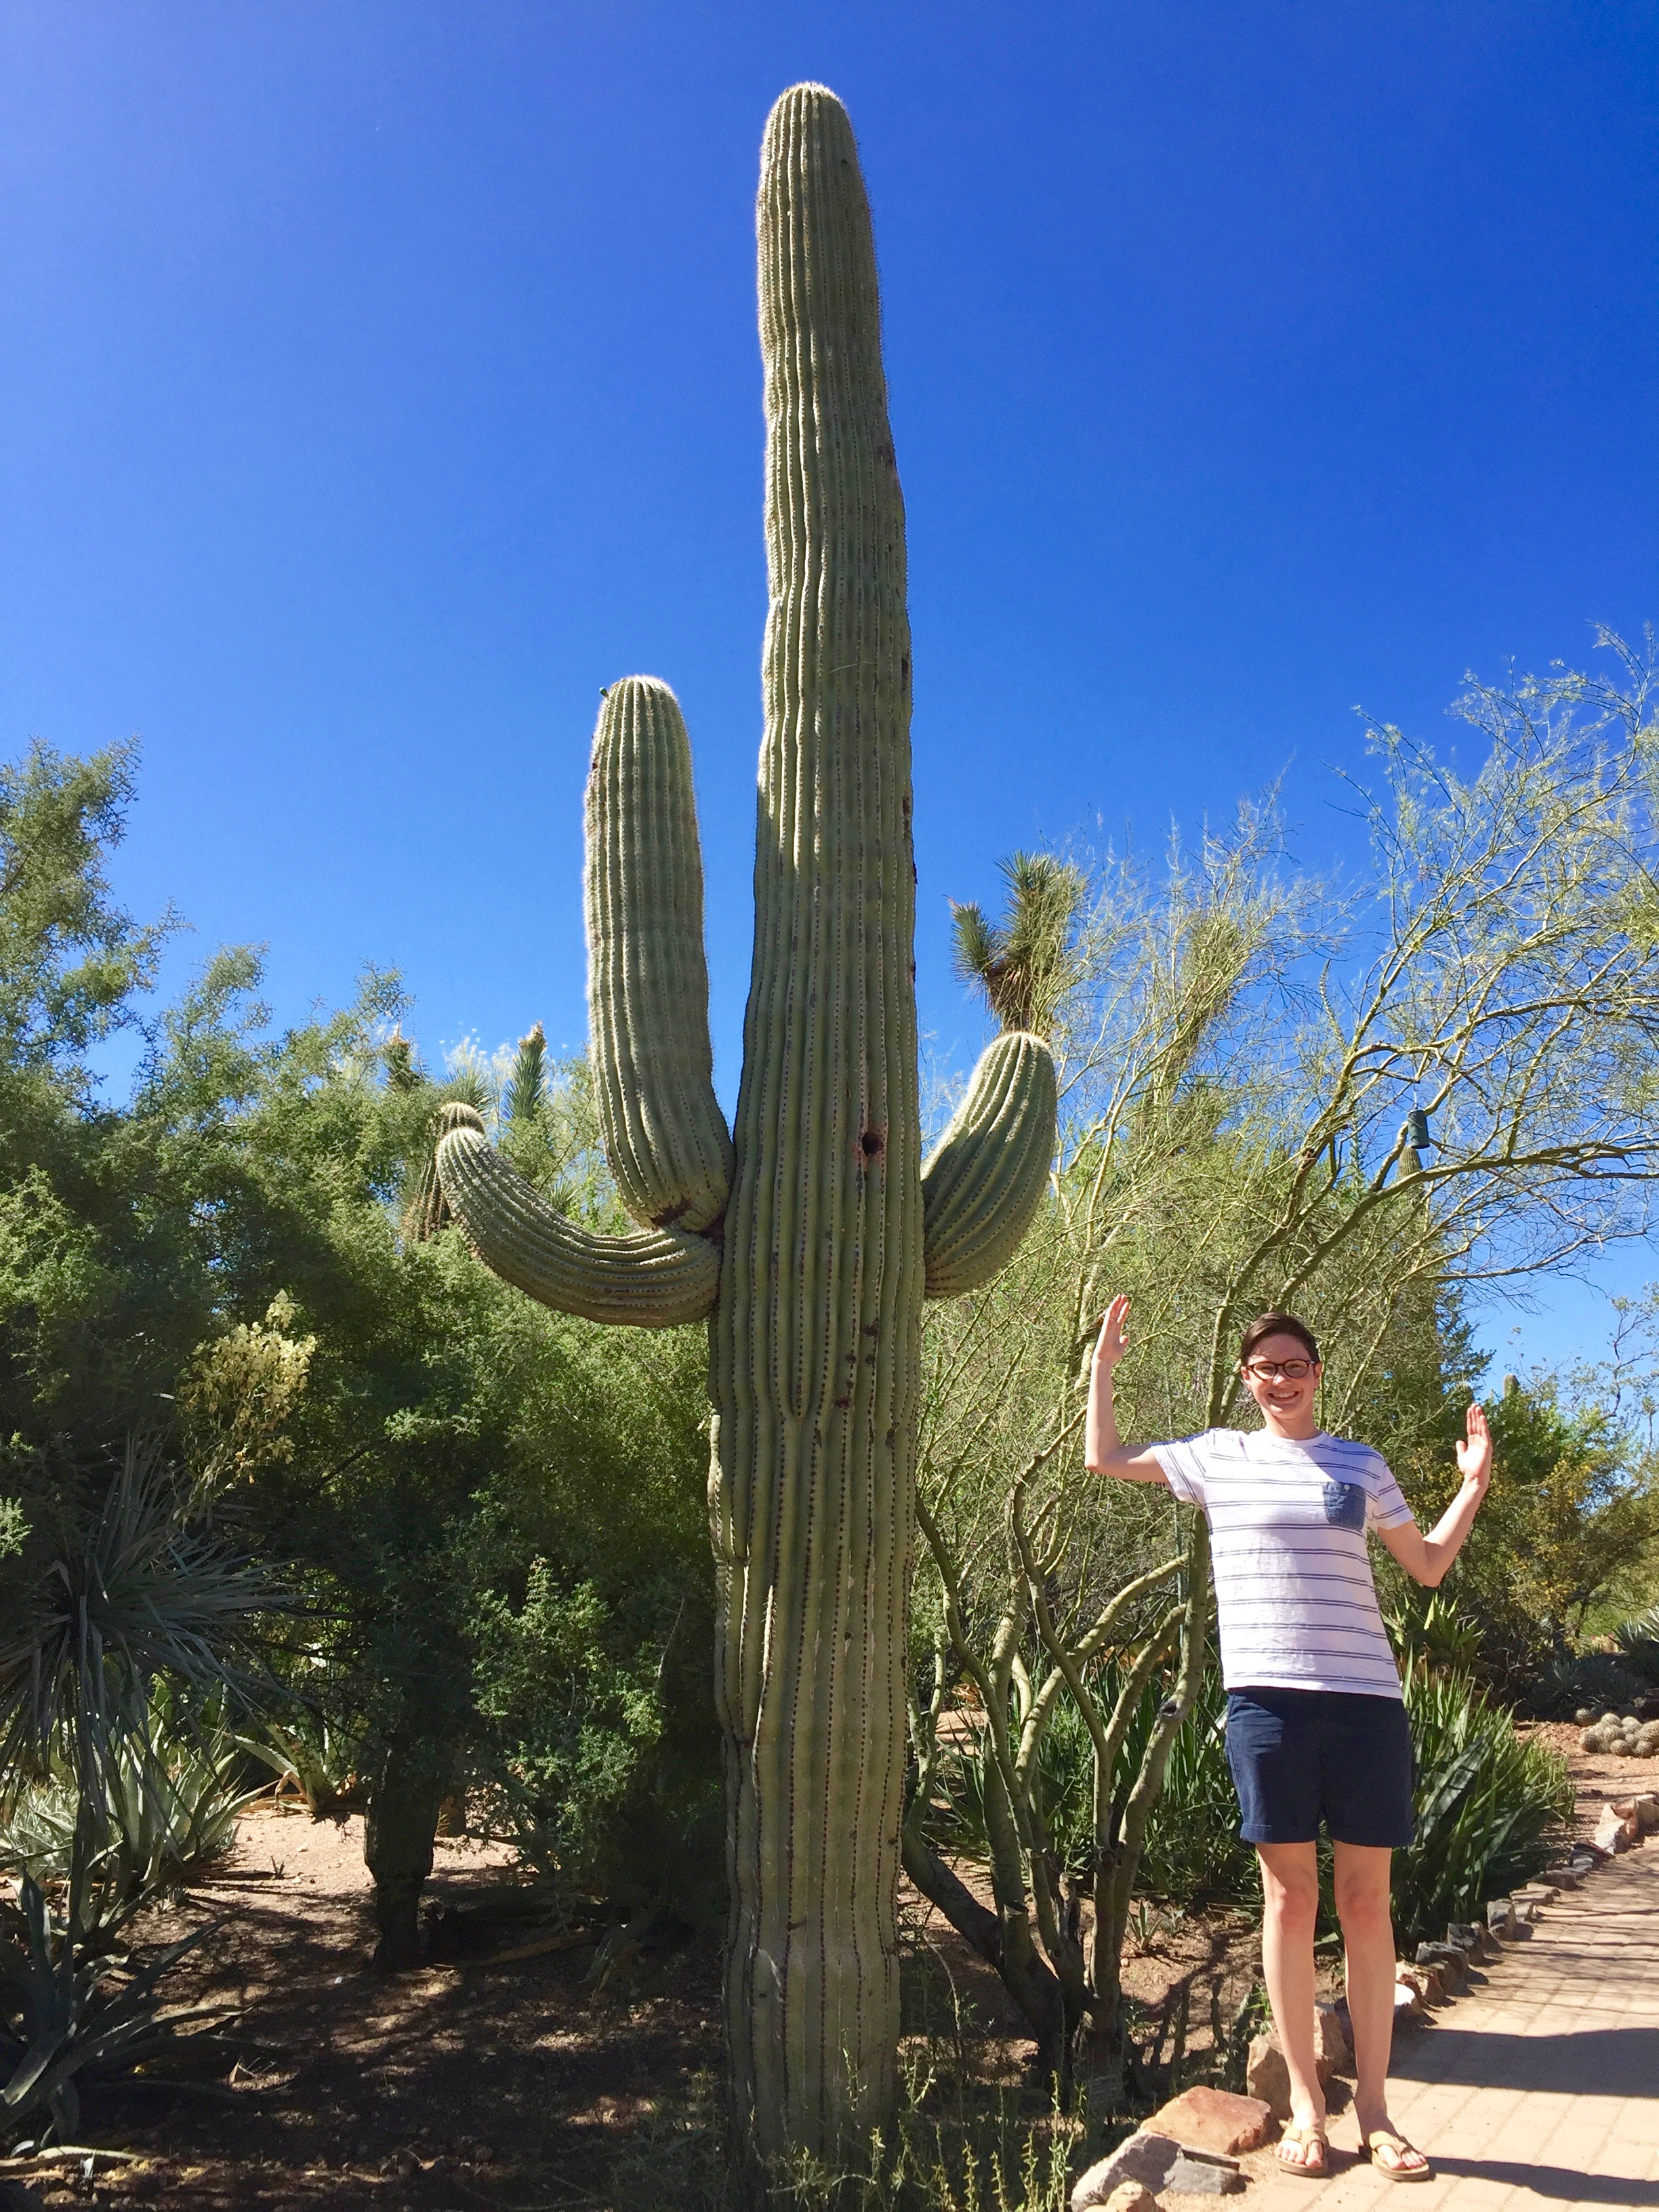
There was also a lot of love in 2016. Anne and I were able to connect with many friends and family this year, and it left me feeling very whole. We traveled to Arizona to see some of Anne’s family and go to Cubs spring training. We witnessed my cousins graduate from college and my sister from her master’s program. Anne and I went lazy river tubing and felt like kids again. We brought my parents to Chicago and Wisconsin for the first time to meet Anne’s extended family and to spend time wedding planning together. My sister got married and I gained a brother. I spent a night singing with my closest college acapella friends. The Cubs won the World Series. My family had its first-ever holiday book club (we read Another Brooklyn by Jacqueline Woodson), and it was a huge success.

I am so excited to ring in the new year tonight. There is a lot on the horizon for 2017, and I can’t wait to embrace it all.

janWe played in the snow in January. [Philadelphia, PA]

febI got fancy for Valentine’s Day in February. [Philadelphia, PA]

mar
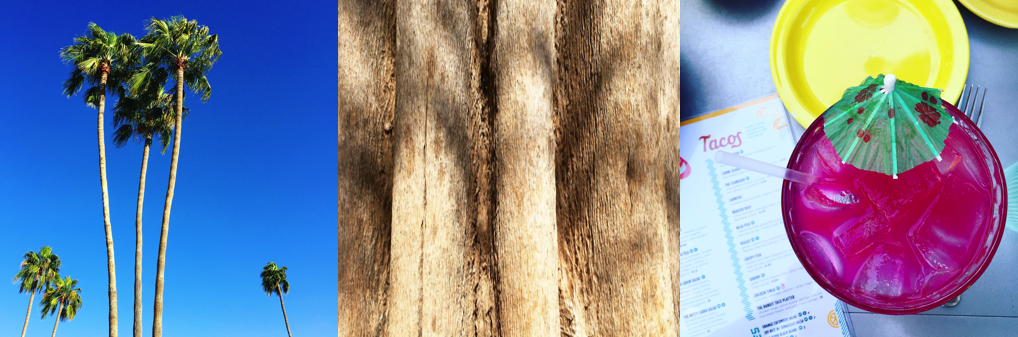
I tried a prickly pear margarita in March. [Phoenix, AZ]

aprI got in bed a little early in April. [Philadelphia, PA]

may
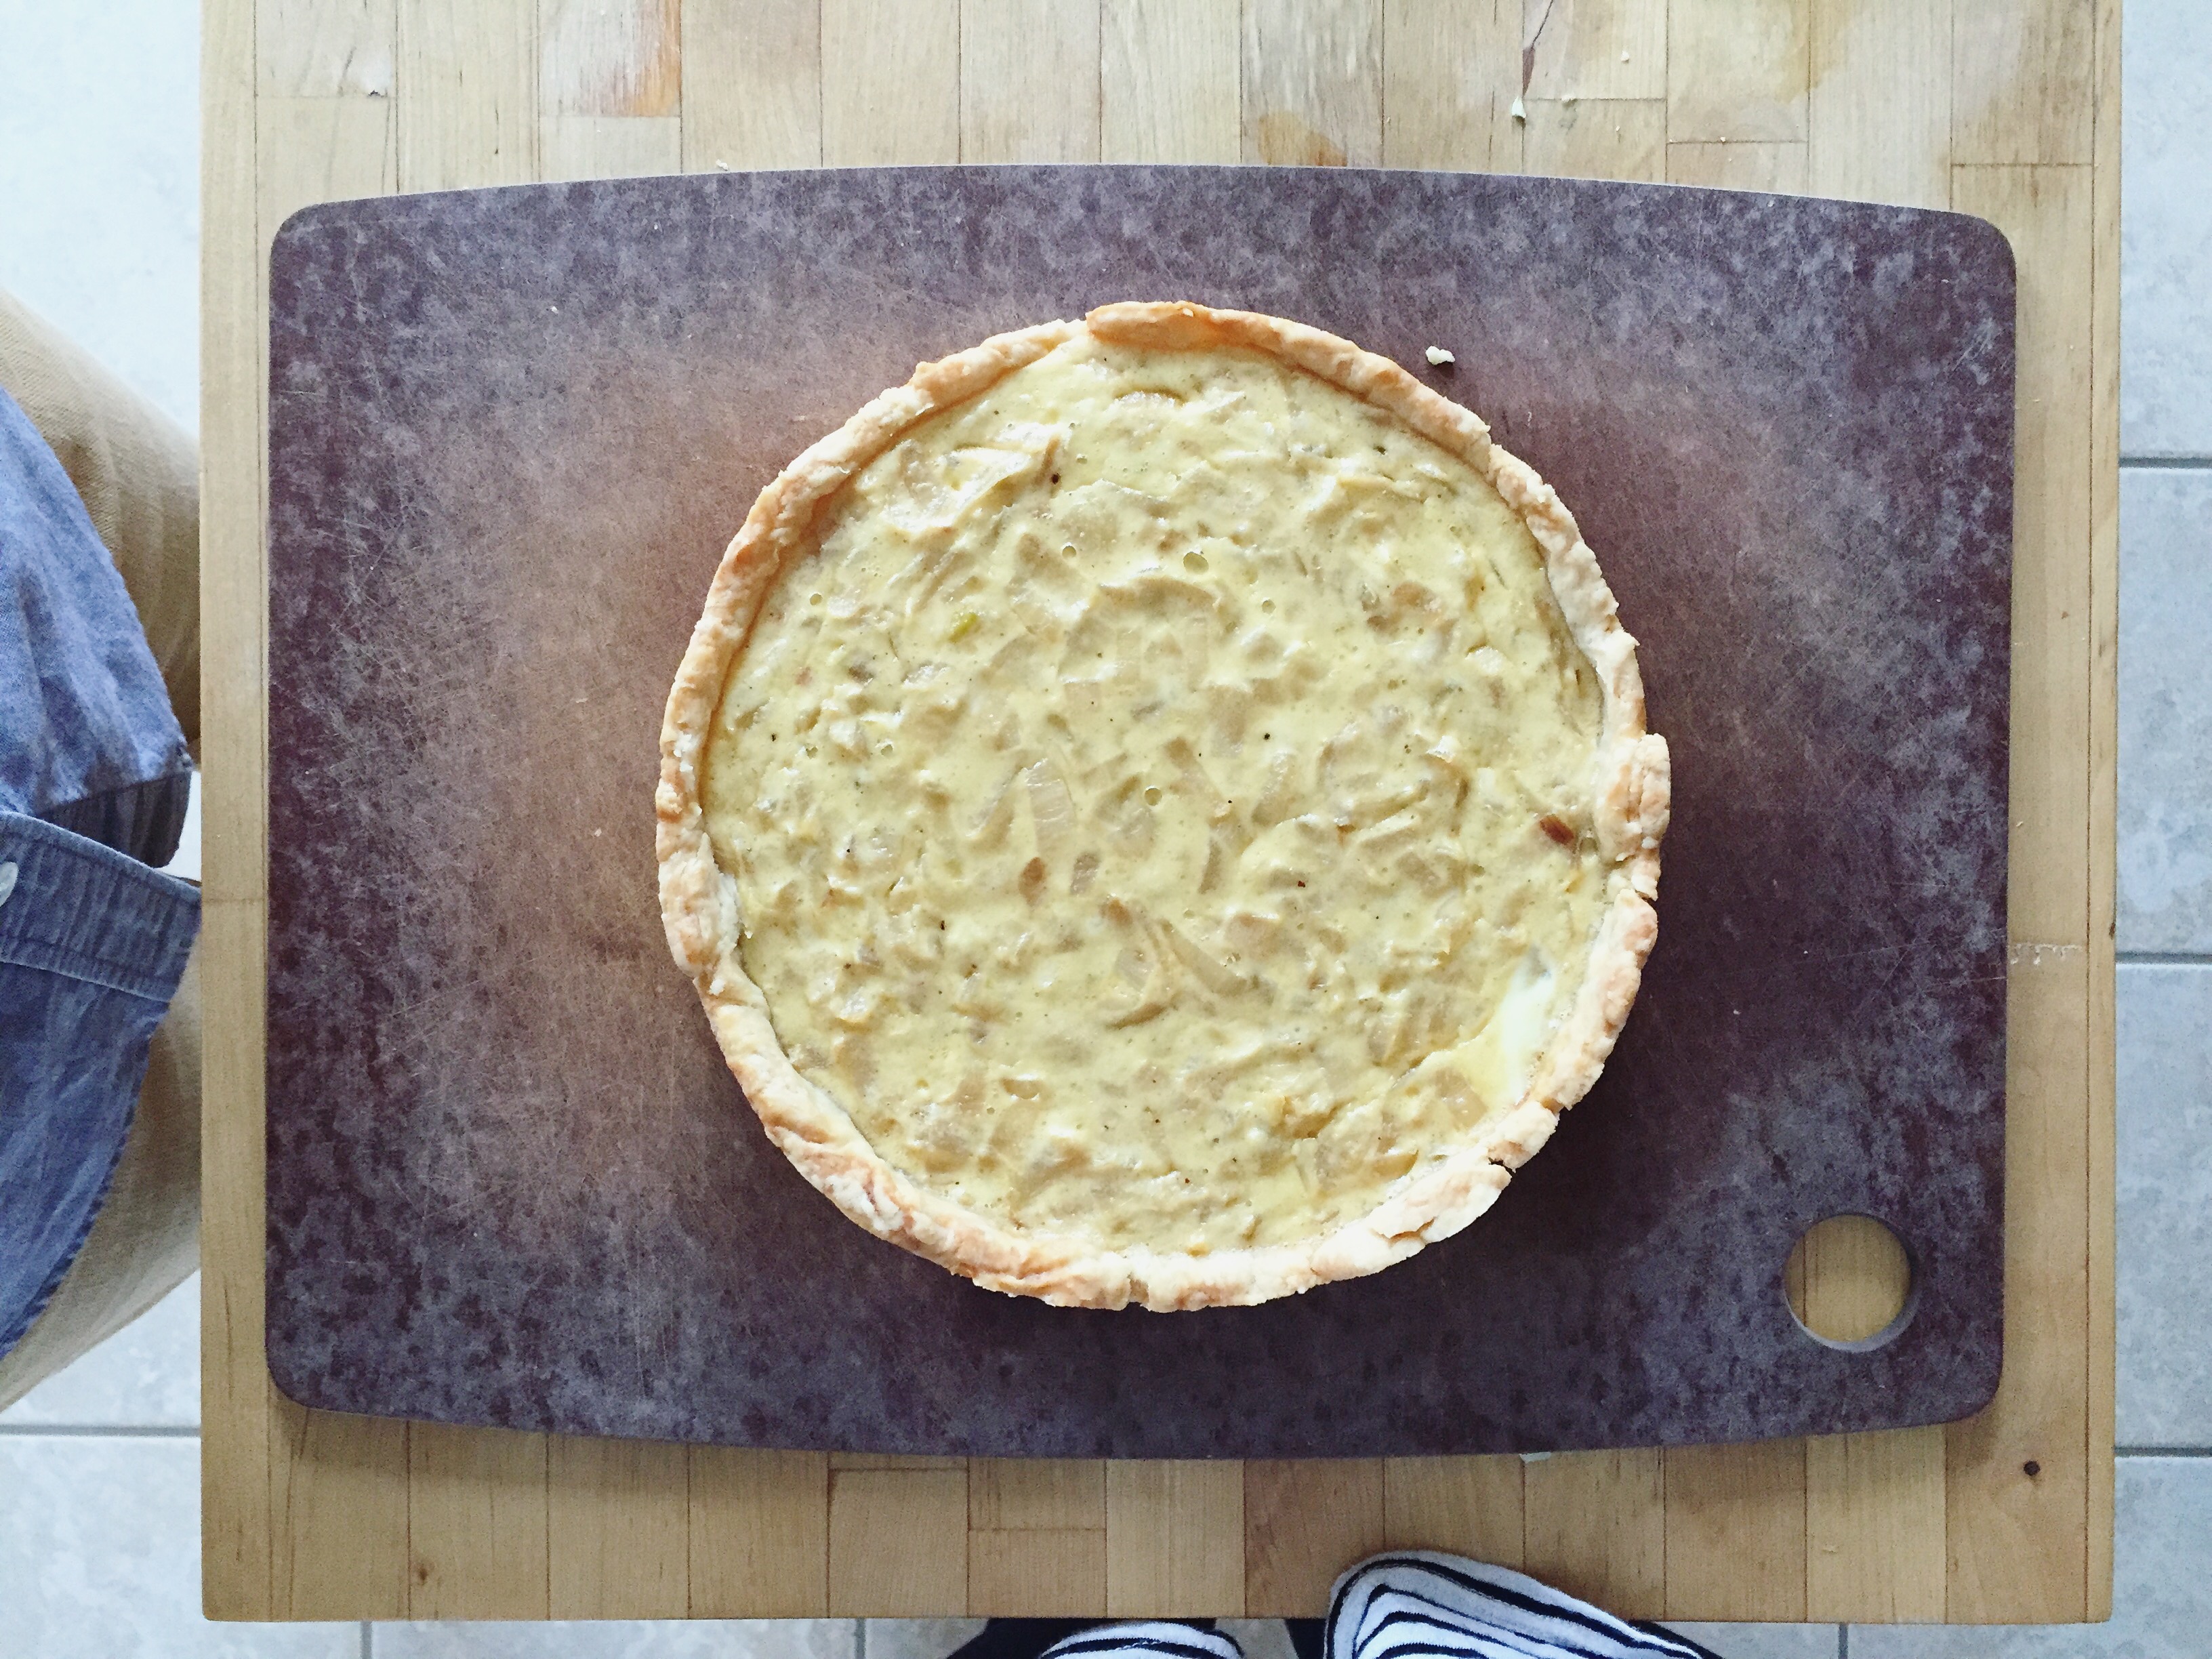
We made a quiche in May. [Philadelphia, PA]

junI almost stole a dog named Luna in June. [Arcadia Beach, OR]

jul
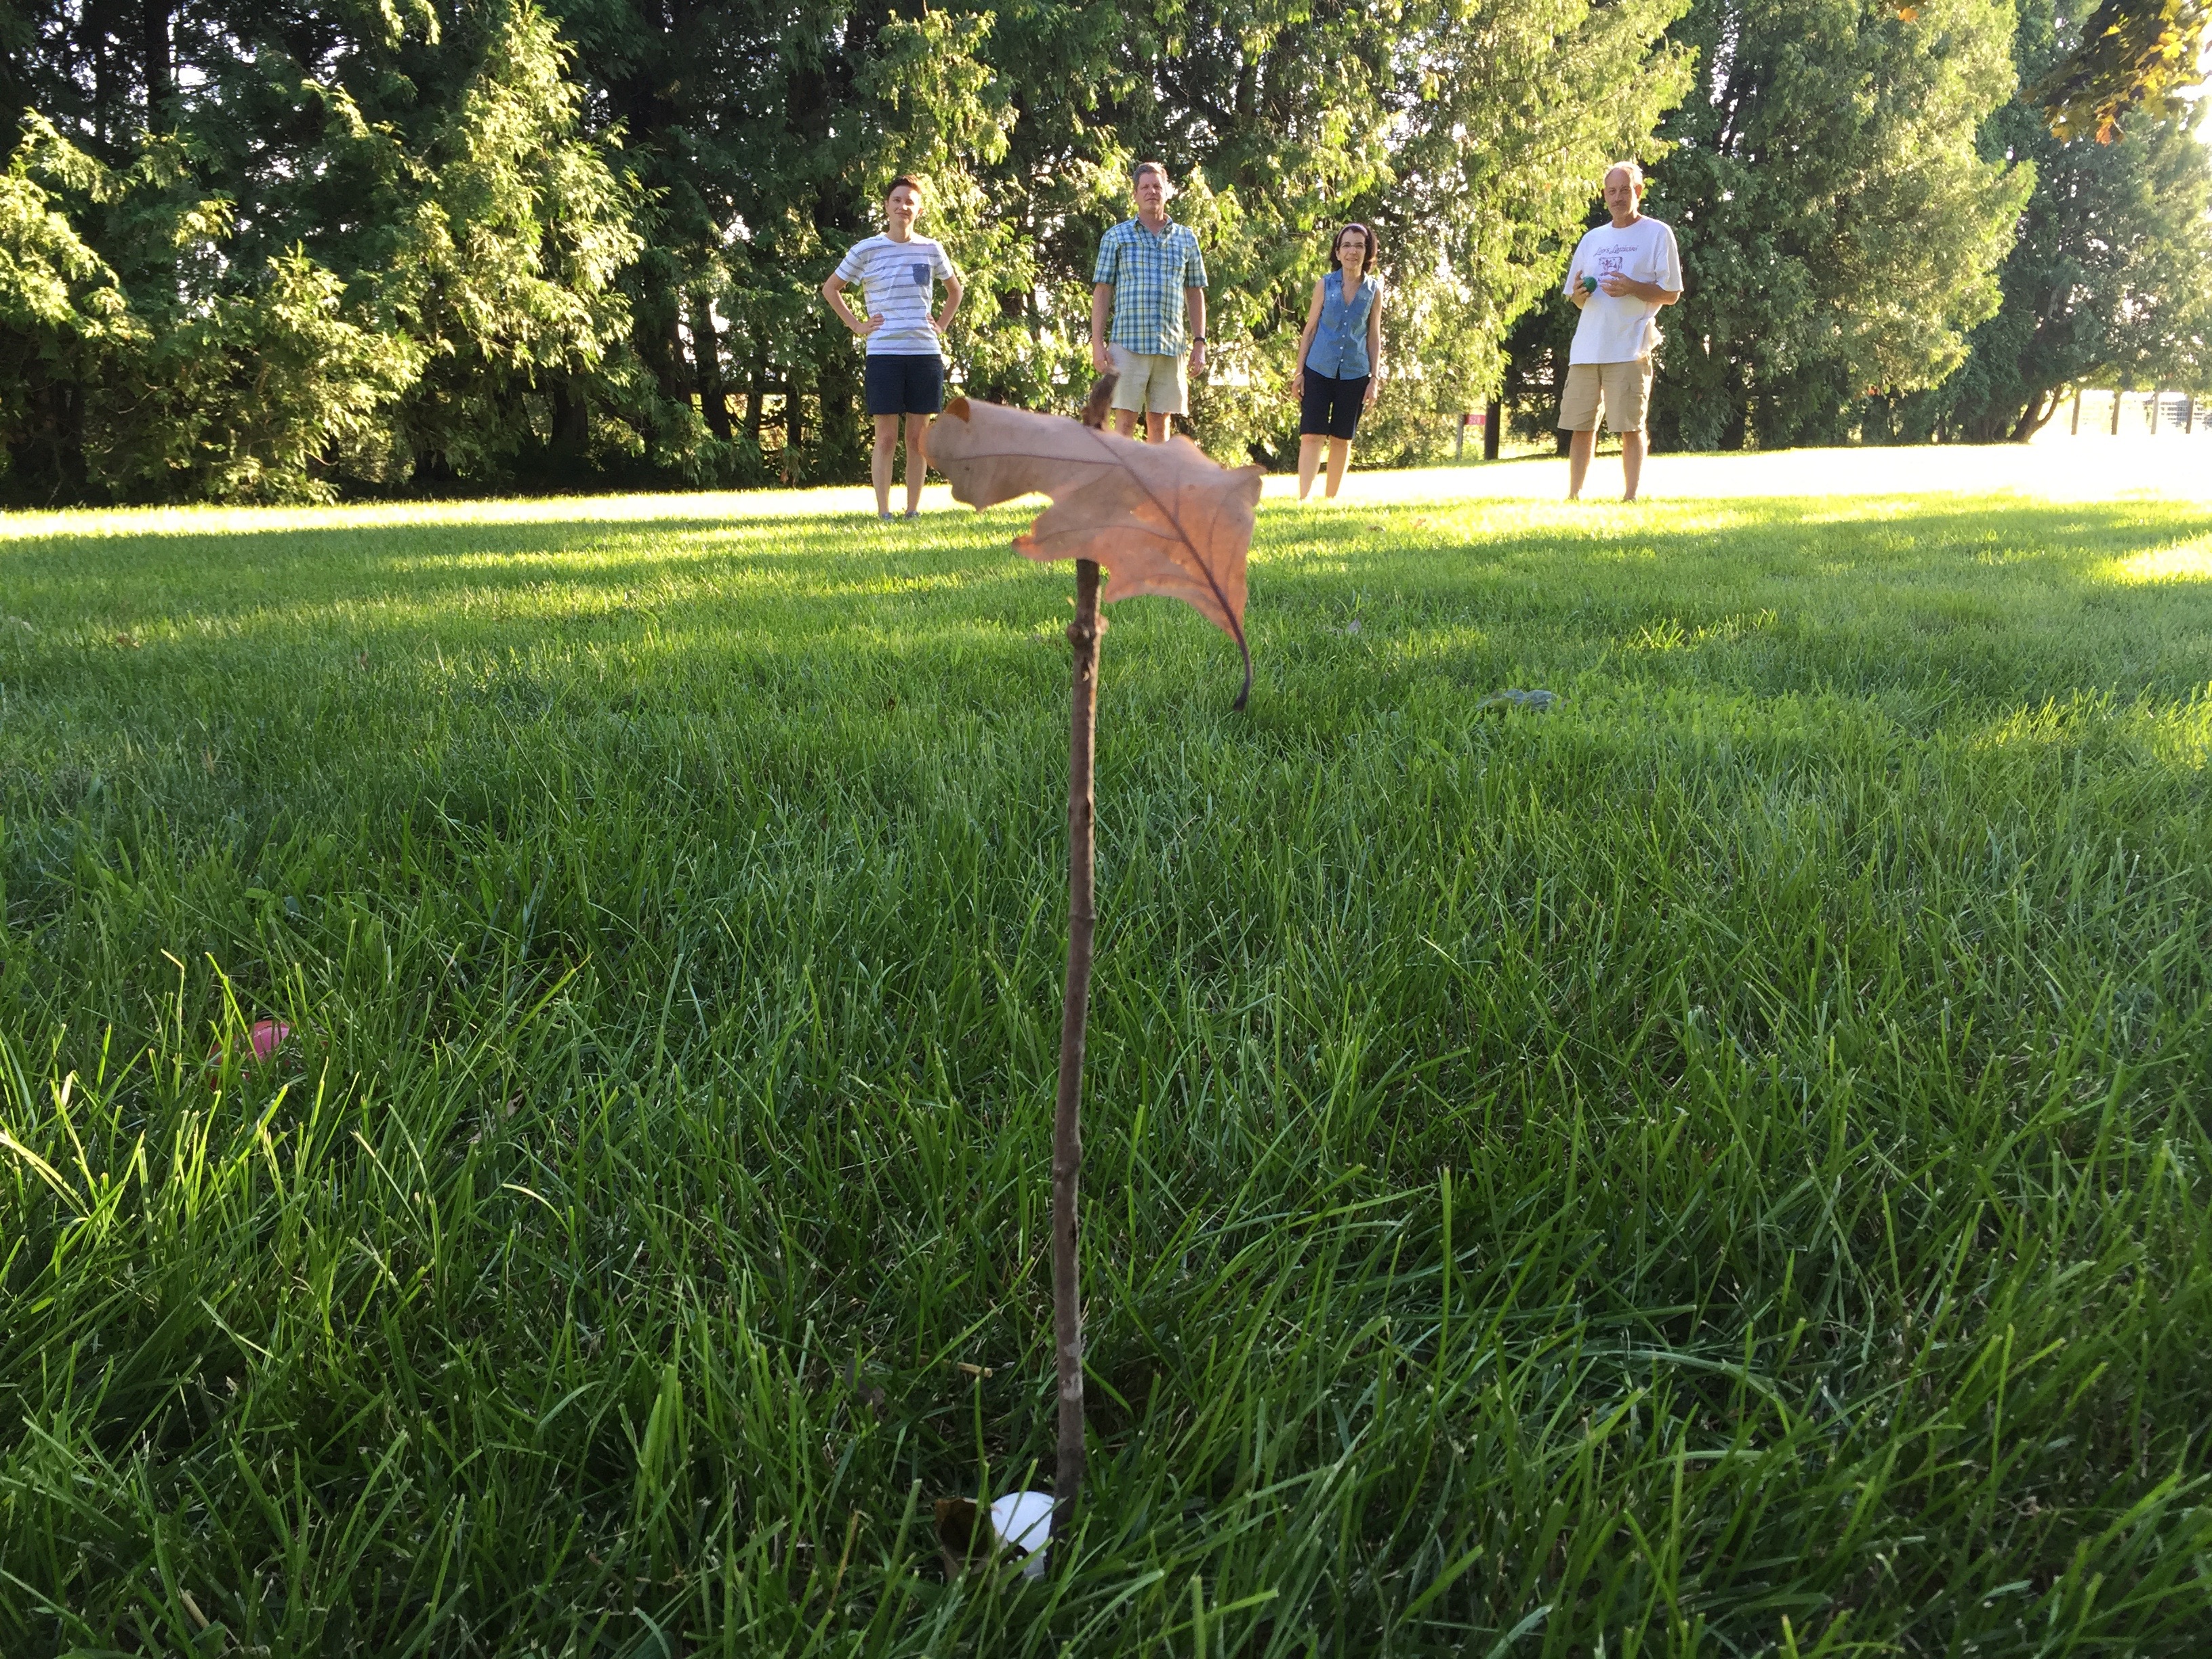
We played bocce in July. [Platteville, WI]

augWe picnicked in August. [Platteville, WI]

sepMy sister got married in September. [Amity, OR]

oct
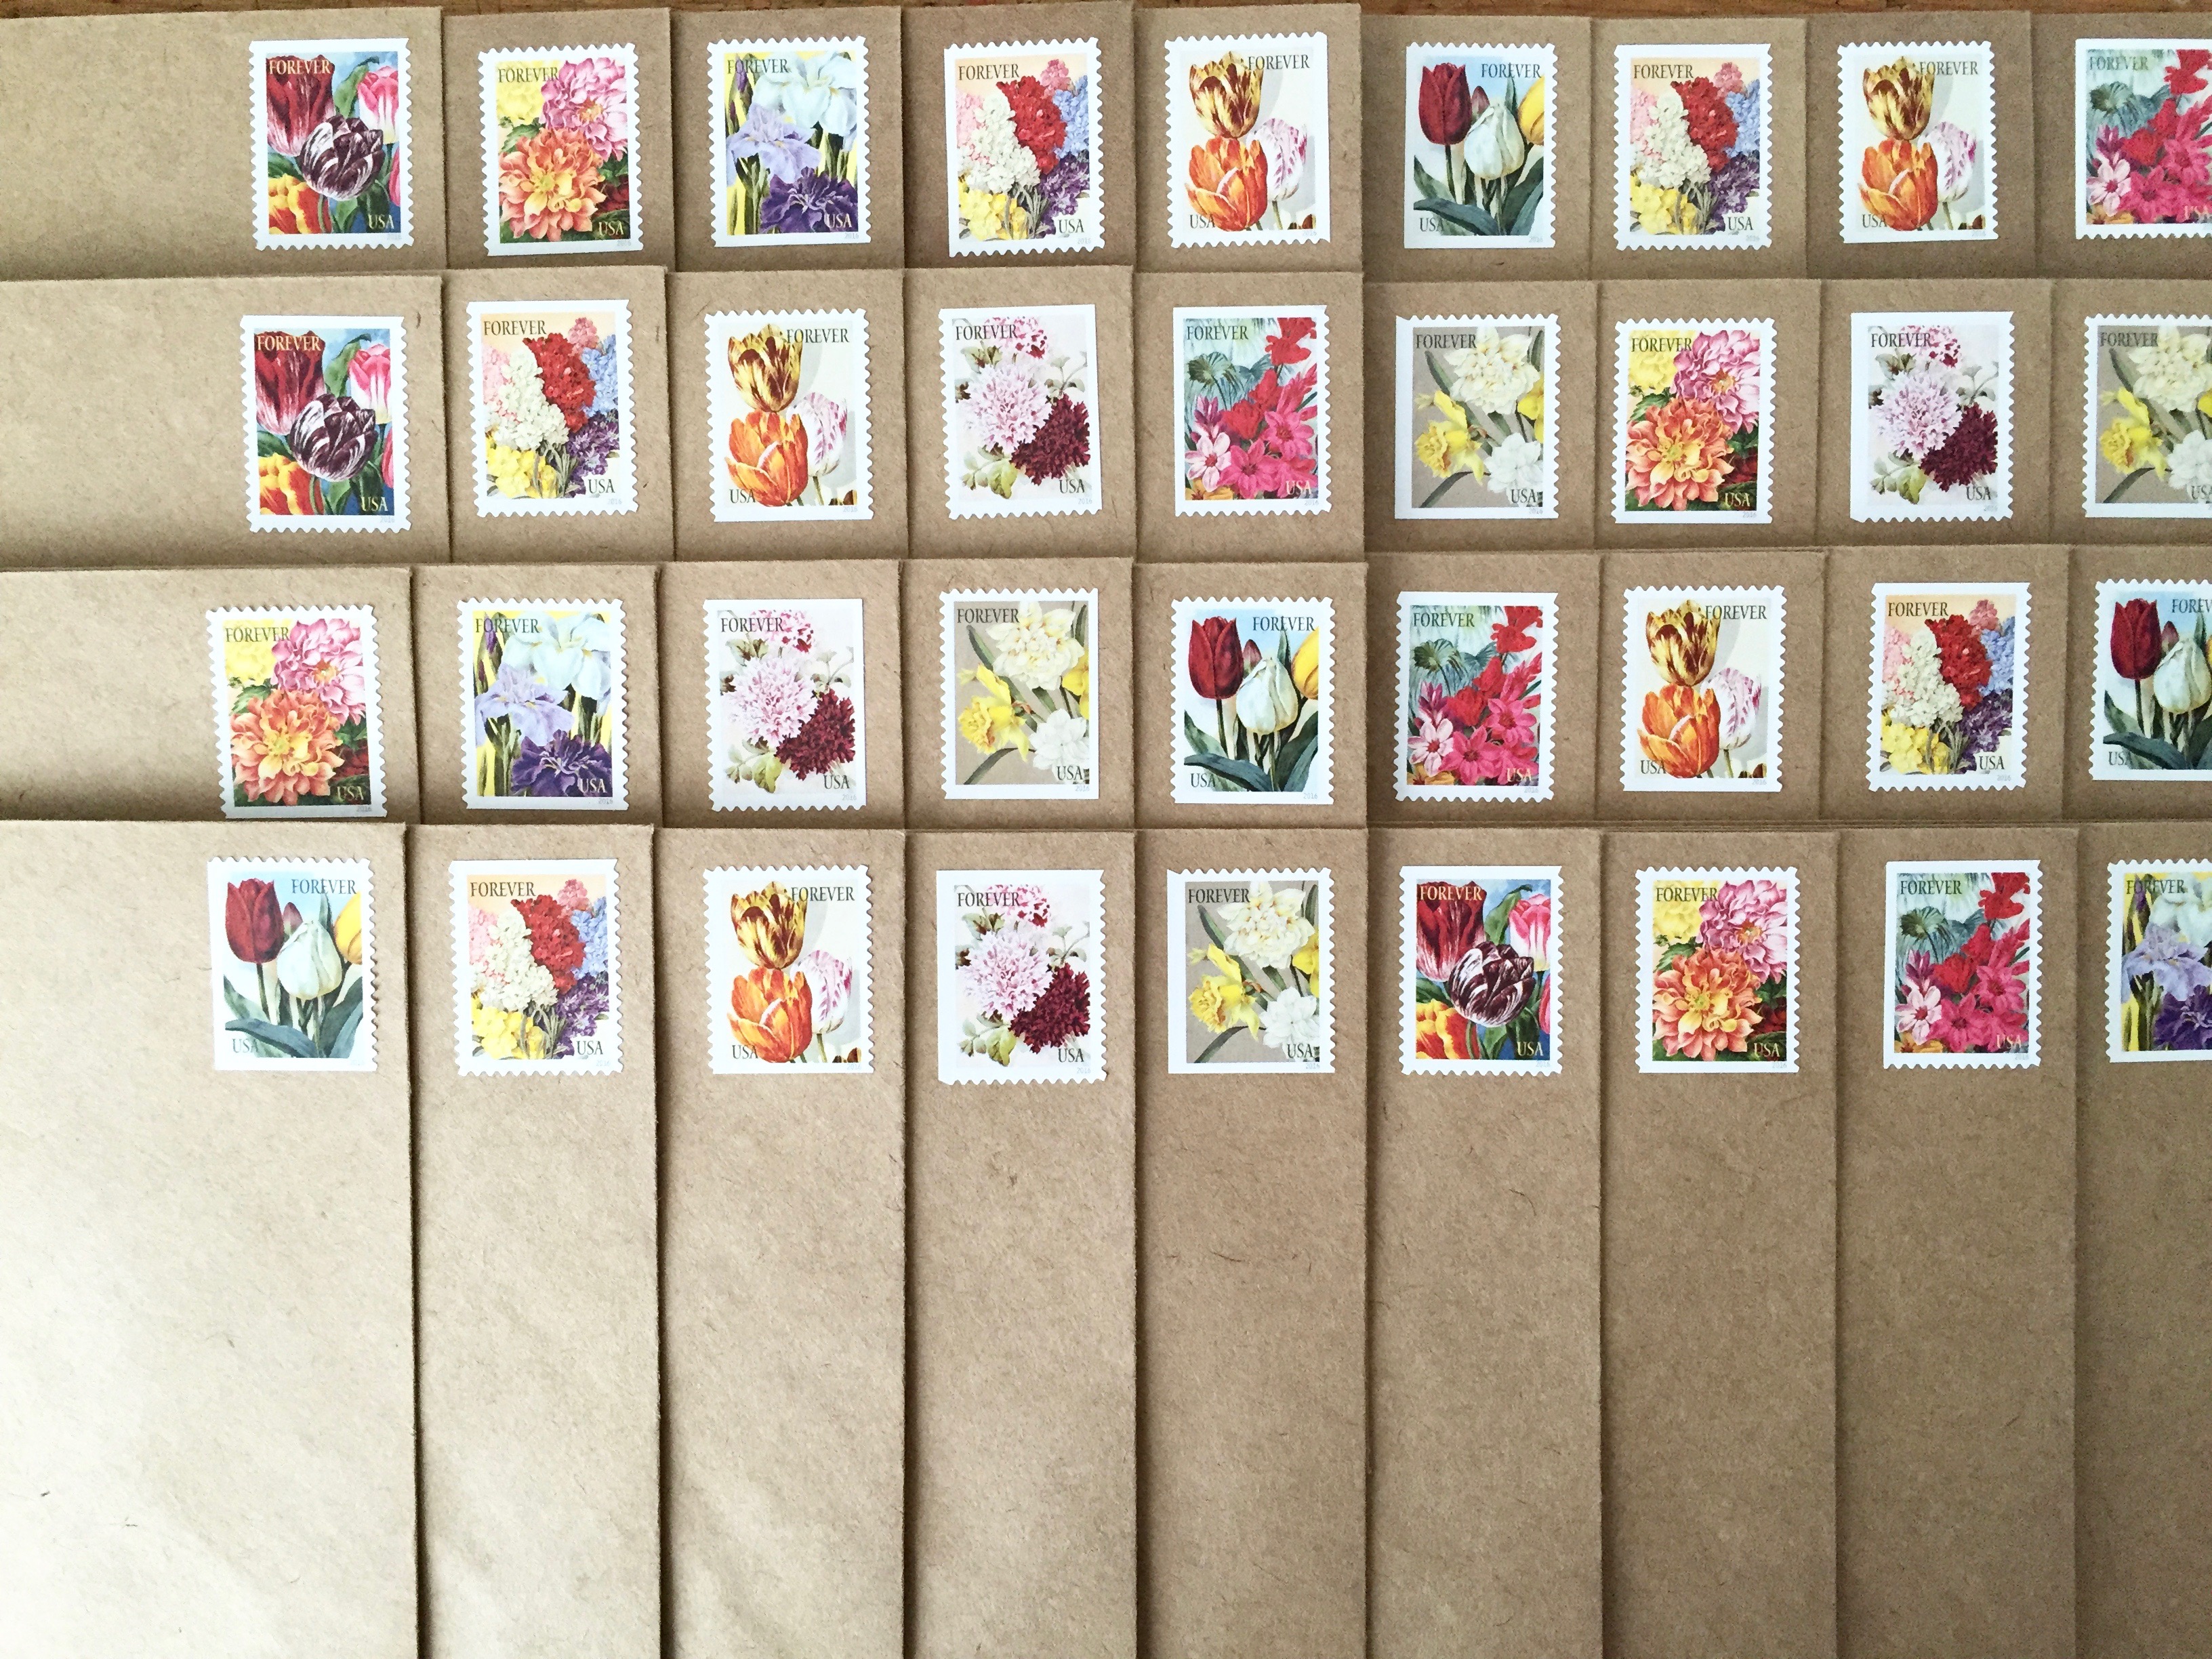
We stamped envelopes in October. [Philadelphia, PA]

nov
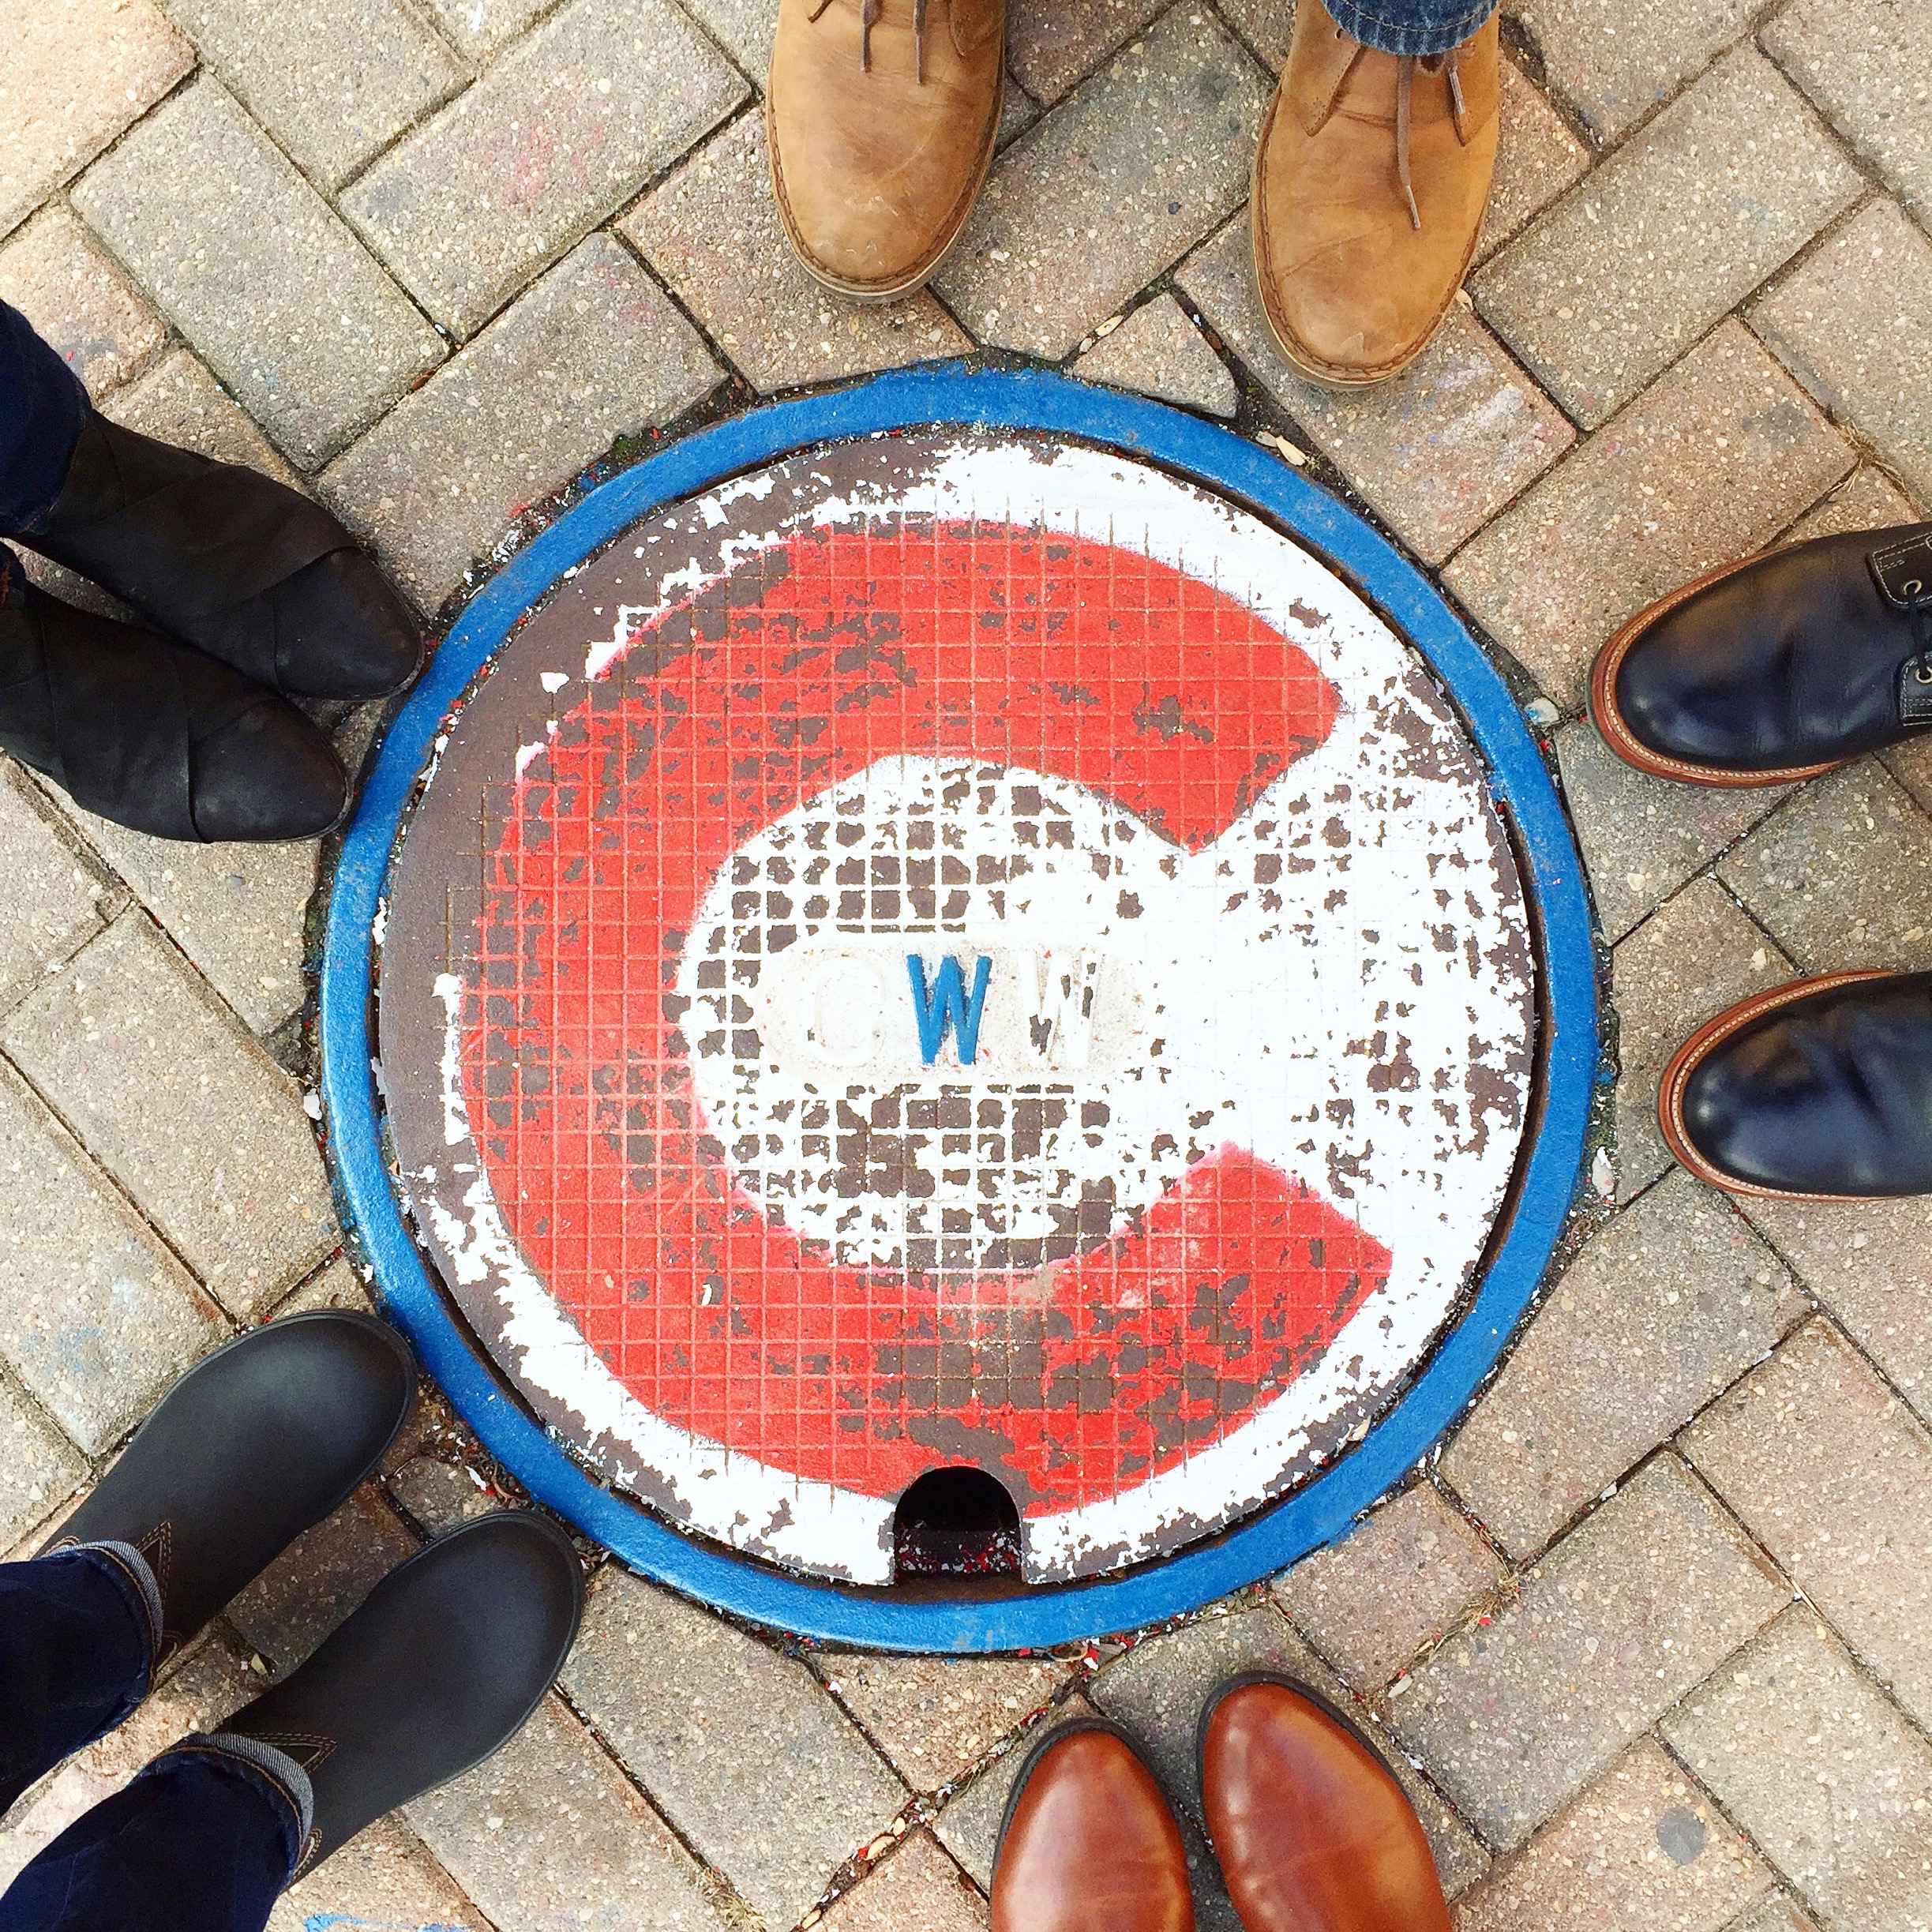
The Cubs won the World Series in November. [Chicago, IL]

decWe got festive in December. [Glen Mills, PA – We Laugh We Love Photography]

Our Trip to Arizona

If all you know of succulents and cacti is that they are easy, slow growing additions to a desk or a bedside, you are gravely unprepared for Arizona. Prickly pear, agave, and saguaro cacti line highways, grow wild in the desert, and are the foundation for many a home’s hardscaping. These, in combination with citrus trees and skyscraper-level palm trees, make for a vacation for the books.

Within an hour of arriving at Anne’s aunt and uncle’s house in Scottsdale, I nearly crashed my bike as I ogled the biggest barrel cactus I had ever seen. Little did I know this was just the beginning. Our trip was filled with time at the pool, delicious food, cool museums, Cubs spring training games, and a lot (A LOT) of plants. If you’re planning a trip to the Phoenix area, I cannot recommend the following enough. Some of these suggestions originally came from Sarah Rhodes (@arrowandapple) and Jayme Henderson (@hollyandflora). Thanks you two!

To-Dos in Arizona

Desert Botanical Garden | The Desert Botanical Garden is filled to the brim with native plants and wildlife, but it’s unlike any other botanical garden I’ve ever been to. Saguaro and organ pipe cacti reach 70 feet into the sky, and the agave will measure close to your wingspan. Be sure to carve out at least half a day here in order to walk all of the trails, eat at the relaxing restaurant, and browse the gift shop for plants. Oh, and don’t forget to go home with a few saguaro seeds from a volunteer. Mine are germinating, and if all goes well, they’ll grow 1-2 inches in the first year!

Phoenix Public Market | This open air market is definitely worth adding to your list. It’s open on Saturdays from 8a-1p, and is the perfect spot to meet local farmers, artisans, and bakers. One of our favorite booths was Radish, a fresh-pressed juice company with pretty amazing juice combinations.

Musical Instrument Museum | “Anyone with a love of music should be legally bound to make a pilgrimage to this museum, missing out on it would be a crime.” MIM hosts the largest collection of musical instruments in the world, and it is awe-inspiring to say the least. The exhibits are attainable for any visitor, and their headset technology allows you to hear all of the instruments they have on display. Is hearing them not enough, though? Visit the Experience Gallery for a chance to play a curated selection of instruments.

Changing Hands Bookstore | Do you like books? Do you like beer? Changing Hands is not only a bookstore, it’s home to First Draft Bar. Roam the aisles with a beer in hand, or sit and meet other bookworms over a drink. Changing Hands offers an excellent selection of new and used books. I almost lost Anne forever here.

Baseball games | Spring in Arizona wouldn’t be complete without a little baseball! The Cactus League is what brought Anne and her family down from Chicago in March. We went to a couple of Cubs games and enjoyed lounging on the outfield lawn.

To-Eats in Arizona

Vovomeena | Portuguese for “Grandma Meena,” this is a great place for breakfast or brunch. Cute decor, friendly staff, and good coffee.

Joyride Taco House | Just know that you probably won’t want to leave. Besides the jaw-droppingly good tacos, enjoy a prickly pear margarita on the patio and take in the hip and well-curated vibe. The veggie tacos were delicious.

FnB | The chef at FnB isn’t called the “veggie whisperer” for nothing. We ordered what felt like the better half of the menu and indulged in our dinner there for over two hours. Each plate had incredible depth and a unique combination of ingredients. We left asking ourselves, “Do you think they’d cater our wedding in rural Wisconsin?” It was that good.

Sweet Republic | Even if you think you don’t have enough room left for dessert, you’ll have enough room left for Sweet Republic. They’ve been featured in Bon Appetit, Food & Wine, and Time Magazine for good reason. I ordered the black sesame ice cream just to try something different, and was not disappointed. Their ice cream is all-natural, local, and homemade.

(Other spots that were recommended to us but our bellies were too full: Lux, Federal Pizza, St. Francis, Fame, Rollover Doughnuts, Nami, Ollie Vaughn’s Kitchen and Bakery, Short Leash Hot Dogs, Welcome Chicken and Donuts, Max’s Mukhaase, Angel’s Trumpet Ale House)

Clearly, a return trip is in order.


PS) Did you participate in the 30-Day “Reset” Challenge in March? How did it go? Leave a comment and share your experience–I’d love to hear what worked and didn’t work for you.

DIY Travel Backgammon & Checkers

As Anne and I get ready to leave for Greece (8 days!), I’ve decided that our packing list should include games we can play on our trip. Playing cards are a no-brainer, but I was curious how I might go about creating a travel-friendly backgammon and checkers board. Backgammon is widely popular in Greece, so learning to play is something I’ve been very interested in. Checkers I already have down pat.

After scouring the Internet and a local art supply store to get ideas on how to make this vision a reality, I ultimately settled on a design that is freakishly easy. So easy that creating a blog post tutorial on it is almost cheating. I wanted to use materials I already owned, though, so creating two board games for $0 is a win in my book! The supplies are few, and the steps quite easy.

This board game takes up virtually no room in your travel bag, and is sure to be fun no matter where you are: a local taverna, the beach, your room, a long plane ride, etc.

DIY Travel Backgammon

Materials:

  • 8.5″ x 11″ chipboard (I purchased mine here)
  • Pencil
  • Sharpie marker
  • Ruler
  • 30 buttons, 15 each in two colors (or any other checker-type object)
  • 2-4 dice, depending on what style backgammon you are playing (or download this dice app if you’ll have wifi on your trip)

Step 1: Using a pencil and then a Sharpie, draw a thick line down the short side of the chipboard at 5 1/2″. To make this as accurate as possible, make a tick mark at 5 1/2″ on either long edge of the board. Then, connect the dots.

Step 2: Working outward from either side of the thick line, use a pencil to make six tick marks every 7/8″. There should be 24 tick marks in total.

Step 3: Use the ruler and Sharpie to begin creating the backgammon points (or triangles). Place the board in landscape position. The long edge closest to you I will call Side 1, and the farther long edge will be called Side 2. Connect the farthest left tick mark on Side 1 to the second most left tick mark on Side 2. This should create a diagonal line. Continue this across the board to create 12 parallel lines. Next, go back and create 12 more parallel lines going in the opposite direction (i.e. connect the second most left tick mark on Side 1 to the farthest left tick mark on Side 2).

Step 4: Create the two-toned backgammon board by filling in every other point with stripes. The points facing each other should be opposite colors.

DIY Travel Checkers

Materials:

  • See above! This board requires the same materials as backgammon, except only 12 checkers each.

Step 1: Turn over your brand-new backgammon board to the blank side of the chipboard. Create an 8″ x 8″ square using the ruler, pencil, and Sharpie.

Step 2: Make tick marks every 1″ along all four sides of the square. Create smaller squares by connecting all opposing tick marks. There will be 64 squares total.

Step 3: Create the two-toned checkers board by filling in every other square with stripes. No striped square should be touching another striped square.

P.S. Have you seen my DIY Scrabble game? It was the subject of an early blog post on Scissors & Sage, but it might be one of my favorite projects ever.

DIY Self-Watering System for Houseplants

Happy Monday! Did anyone notice I was absent last week? The bad news is I had bronchitis for a few weeks there, but the good news is that I’m feeling better! Philly is in full-blown spring mode, and I can’t get enough of it. My parents visited me and Anne this weekend, and we had a great picnic at the Japanese Gardens in Fairmount Park. The cherry blossoms were out of control!

As the warmer weather begins to take us out of hibernation, it quickly becomes the season to travel more. Day trips, weekend excursions, and longer vacations. All of this traveling means that those houseplants you so carefully take care of are soon left to fend for themselves.

When Anne and I took our road trip through the south last spring, we devised a self-watering wicking system to keep our houseplants happy and healthy while we were away for a week. I pride myself on my level of care for our houseplants, but let me say this: our plants have never looked better than that week they were watering themselves.

Here’s why a self-watering wicking system works so well:

  1. By using a wicking system, the plants only absorb the amount of water that they need. They will never sit in an excess of water.
  2. Different plants require different amounts of water. With this setup, you can keep all of your plants hydrated with one system.
  3. You don’t need to do a damn thing! This system will water itself and leave your plants feeling great.

Oh, and another tip: If you’re new to houseplants, or aren’t sure how much to water them, use this system even when you’re home. You can reap the benefits of keeping houseplants, but your black thumb won’t get in the way!

Are you convinced? Do you want to use this system the next time you’re away from home? The setup process takes about 30 minutes, and should be done the day before you leave in order to minimize stress and confirm the system is working. I’ll walk you through the steps to making your own at home.

DIY Self-Watering System for Houseplants

Materials:

  • 100% cotton string
  • Scissors
  • Paper clips
  • Pasta pot
  • Short stool

Step 1: Gather your houseplants in a location near where they usually reside. Cut the cotton string into two-feet segments (cut as many as you have plants). If you do not have cotton string on hand, take an old 100% cotton t-shirt and cut it into long, thin strips.

Step 2: Tie a paper clip to one end of each piece of string.

Step 3: Fill a pasta pot with water, about 4 quarts. Place the pot on a stool to elevate the water above the level of the plants. (Gravity will work with you to pull the water down the string.) Gather the plants around the pot of water.

Step 4: Place the paper clip end of the string in the pasta pot. (The paper clips will ensure that the string stays in the water.) Take the other end of the string and, using your finger, bury it about one or two inches into the soil of each plant. Press firmly on the soil to hold the string in place.

Step 5: When you have placed the string into each plant, make sure that there are no “dips” in the string. The line of string from the pasta pot to the plant needs to be a fully downward slope. If the string dips below the planter, water will not travel back up the string and into the soil. To avoid this, gently pull the extra string into the pasta pot.

Wrong:

Right:

That is how to create your very own DIY self-watering wicking system! In about an hour, you will notice your plant beginning to receive water.

Depending on how long you are away, there will most likely be water still in the pasta pot when you return home. Gently disassemble the string from the plant, and go back to your usual houseplant routine in about ten minutes.

Or, don’t! There are other, more subtle ways to continue this system while you’re home. Keep your plants where you usually have them, and place smaller bowls of water–on a stack of books, say–near your plants. You can refill the water bowls and know that your plants are receiving just the right amount of water at all times.

Note: Our orchid and fiddle leaf fig are getting their own self-watering setups when Anne and I travel to Greece this summer. They are quite particular plants, so I will keep them right where they are elsewhere in our apartment.

Are you going anywhere this spring or summer? Tell me where you’re traveling in the comments!