Reflections in the Kitchen

Something magical happened yesterday in a Like Water For Chocolate kind of way.  Rather than pass on a specific project or a certain recipe to you all today, I want to share an experience I had in the kitchen.

I set out in the afternoon to make minestrone.  I need something to warm my bones in this cold weather, and it is the first thing that comes to mind.  My family made “minest” a lot when I was a child, and it’s a dish that is incredibly comforting to me.  I call my mom to ask her for the recipe (which is always “a little of this, a little of that” — the Italian way), and when she doesn’t answer her phone, I have a moment of mild internal panic.  My grandmothers have passed away, and my great aunt passed away just two months ago.  Heavily reliant on my family’s matriarchs for culinary wisdom, who else is there to call?

Luckily, my mom calls back only a few minutes later.  She provides me with an outline of possible minestrone ingredients, approximately how much of each goes in, along with when to add the ingredients to the simmering pot.  I’m used to this by now, and find comfort in making it my own as I go.

I always channel members of my family when I am cooking or baking.  When it’s cookies, it’s Grandma Anne or my mom.  When it’s a hearty dinner, it’s Grandma Elisabeth.  When it’s drop-dead-amazing breakfast scones, it’s Grandpa Augie.  This minestrone recipe is Grandma Elisabeth’s.  My mind wanders and I begin thinking of what her house might have smelled like when she was a child.

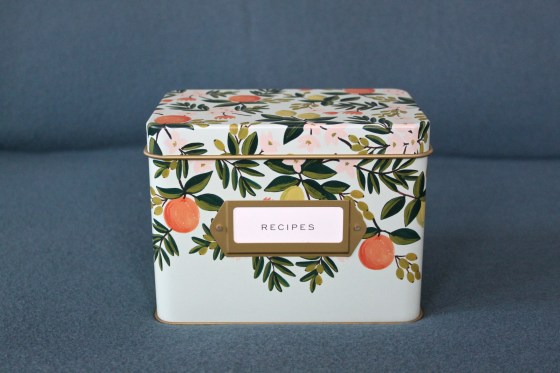
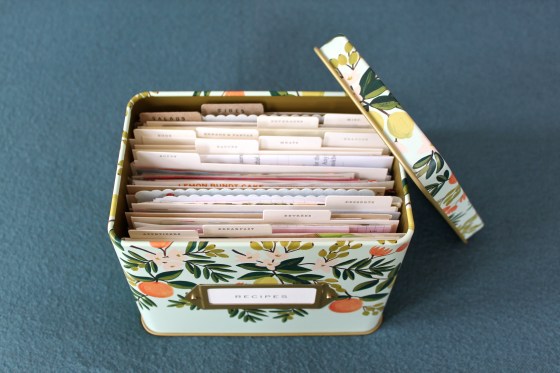
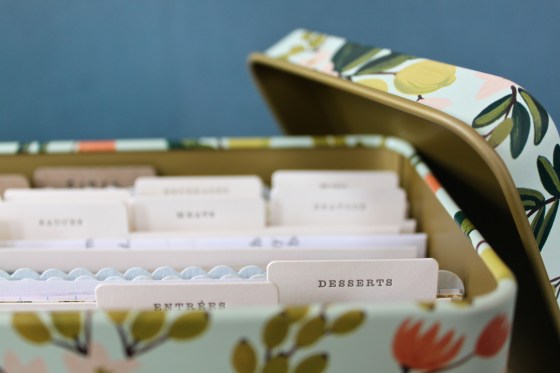
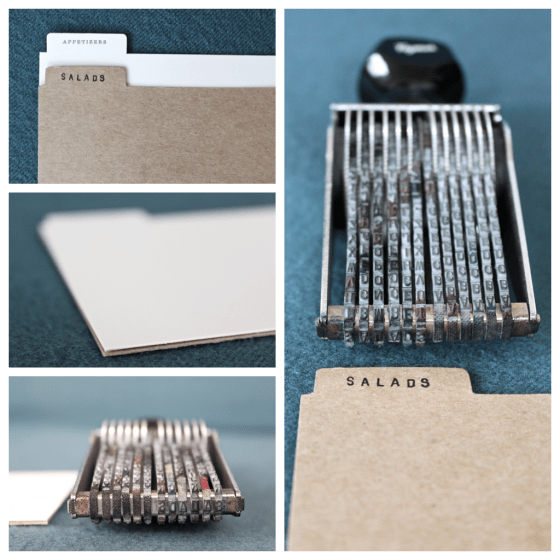
These moments in the kitchen connect me to those who are no longer with me, and so I continue making these family recipes as often as I can.  Later, when I sit down to transfer my scribbled notes onto a recipe card for my new recipe box, I realize something.  I realize that I am writing down the recipe not for myself, but for others to read many years from now.  I am writing, without meaning to, a set of instructions that are intended for someone else — maybe for a child or a grandchild to mull over when they’re my age.

We have boxes and binders full of recipes from my grandparents, and I love nothing more than to flip through them to see their handwriting, read their stories, and see what types of ingredients they used to cook and bake with.  Grandpa Augie bookmarked his cookbooks with all kinds of pictures, drawings from grandchildren (myself included), party invitations, postcards, and other clippings.  It sometimes feels like he left a scavenger hunt just for me to someday find.

I lift the lid, smell my simmering minestrone after some time has passed, and cry.

Sour Cream Bundt Cake with Citrus Glaze

A bundt tin is one of those kitchen items that you use maybe once a year.  It doesn’t nestle into any other stacked tins because it’s just so oddly shaped, and perhaps you’ve even gotten rid of one because you’ve thought, “I’m never going to use this.”  You’re probably right, although I should warn you that this cake makes that tin worth keeping.

I don’t think I’ve ever made a bundt cake before, so I went with a simple flavor profile for the cake itself.  The sour cream in this recipe makes the cake incredibly moist and just plain perfect.  I also have to say it’s quite exciting getting to flip the baked cake over to reveal the molded shape.  It’s the little things, right?

The citrus glaze I concocted for this cake is mouthwateringly good.  You could even use the glaze on other types of cakes/loaves/cookies and pair it with all kinds of flavors.

Here is the recipe in printable form.  Enjoy!

Sour Cream Bundt Cake with Citrus Glaze

Prep time: 20 minutes | Bake time: 50-60  minutes | Yields: 1 bundt cake

For the batter:

  • 9 tbsp unsalted butter, softened
  • 3/4 cup granulated sugar
  • 2 large eggs, beaten
  • 3/4 cup flour, sifted
  • 1 tsp vanilla extract
  • 1 tsp baking powder
  • Pinch of salt
  • 2/3 cup sour cream

For the glaze:

  • 1 1/2 cups confectioner’s sugar
  • Pinch of orange zest
  • Pinch of lemon zest
  • 1 tbsp fresh orange juice
  • 2 tbsp fresh lemon juice

Grease and lightly flour a bundt tin.  Preheat oven to 350°F.  Use an electric mixer to beat butter and granulated sugar in a large bowl until light and fluffy.  Add half of beaten eggs into the mixture and beat well.  Repeat with second half of eggs.  Add vanilla extract.

Mix sifted flour, baking powder, and salt together in a separate bowl.  Stir half of it into the butter mixture with half of the sour cream.  Beat well.  Add remaining ingredients and mix well.  Spoon into the bundt pan and level batter with a spatula.

Bake for 50-60 minutes, or until golden brown.  Let cake cool in tin for 5 minutes, then transfer to a cooling rack.

Next, mix glaze ingredients in a small bowl until blended.  Pour or brush over cake immediately.

From Scissors & Sage 

Spooky Chocolate Cake Doughnuts

A few weeks ago, Anne received a care package in the mail from her mom, Janet.  Among the goodies were tools to make Halloween-themed treats: a mini doughnut pan and spooky sprinkles!  It’s always exciting to add new kitchen gadgets to our ever-growing collection.

Anne decided to whip up a batch of cake doughnuts this weekend using the recipe from the pan’s packaging.  They are delicious, and were incredibly easy to make.  It was a fun project for a Saturday afternoon at home.  Below, I’ve created a “recipe view” so that you can print it for easy access and use in your own kitchen!

Spooky Chocolate Cake Doughnuts (via Norpro)

Prep time: 15 minutes | Bake time: 8 minutes | Yields: 24 doughnuts

For the batter:

  • 1 1/2 cups flour
  • 1/3 unsweetened baking cocoa
  • 1 tsp baking powder
  • 1/8 tsp salt
  • 2 eggs
  • 2/3 cup sugar
  • 1 tsp vanilla
  • 1/2 cup milk
  • 2 tbsp butter, melted

For the glaze:

  • 1 cup confectioner’s sugar
  • 2 tbsp hot water

Before starting, here are some items that you will need: Mini doughnut pan, cooking or baking spray (we used Crisco brand), and spooky sprinkles

Preheat oven to 325°F.  In a large mixing bowl, combine flour, cocoa, baking powder, and salt.  In a medium mixing bowl, combine eggs, sugar, and vanilla until thick.  In a small mixing bowl, combine milk and butter.  Alternately combine egg mixture and milk mixture into the flour mixture.  Blend until smooth and soft.

Spray pan lightly with cooking or baking spray.  Pour batter into a piping bag, and fill doughnut molds 2/3 full with batter.  (Or, pour batter into a gallon-sized Ziploc bag and squeeze batter down into one corner.  Using scissors, snip one tip of the Ziploc to create an opening of no more than 1/8″.)  Bake for 8 minutes, or until toothpick comes out clean.  Carefully transfer doughnuts to a cooling rack.  Repeat with the rest of the batter.

Combine glaze ingredients in a small bowl.  Dip tops of cooled doughnuts in the glaze, and finish with spooky sprinkles immediately.  Enjoy!

From Scissors & Sage 

After taste-testing a doughnut (read: several doughnuts), both Anne and I felt that they could have tasted a bit more chocolatey.  Let us know if you make these at home, or if you experiment with adding more chocolate flavor.  What other spooky recipes have you been making this Halloween season?  Tag photos on Instagram with #scissorsandsage!

Lead chef and hand model: Anne Kenealy

My New Recipe Box

Happy Sunday!  Are you all having nice weekends?  Yesterday, I had the pleasure of going to a 90th birthday party for my…well, I don’t know how we’re related.  That’s the thing about big Italian families.  It was a celebration for the books, though, that’s for sure!

For those of you on your computers and on my site directly, you will notice many new changes to the looks of Scissors & Sage.  For you loyal subscribers out there, visit http://www.scissorsandsage.com to see my updates!  I’ve designed a new header logo, a much-needed menu of categories up top, and new social media icons that I coded myself!  Anne snapped some pictures for the updated sidebar and “New Reader?” section.  I hope you all enjoy the new layout!

This week, I thought I’d share my latest love: my recipe box.  Anne gave it to me for my birthday in August, and it was just what I wanted!  I had been eyeballing it on the Rifle Paper Co. website for about six months.  You see, I had a pretty good system for my recipes pre-recipe box — a binder with tabs and plastic sleeves.  But this, this is just on another level.  I stared googly-eyed at it for probably three or four days before starting to transfer recipes.

Some who know me might say that I’m neat or maybe organized.  Others, like my college roommates, might call me compulsively neat AND organized.  Everyone has their way and, needless to say, I like things in their place.

When I started my recipe transfer and looked more closely at the pre-written letterpress tabs the box came with, I started to wish that I could have decided on my own categories.  Where was the salads category?  And what about sides?  Does a quiche go under breakfast or eggs?  And why on EARTH were breads and pastas in the same category?!  As I’ve previously said, and as it’s written in my “New Reader?” section, pasta is its own food group.

I began breathing a little bit more quickly as my eyes darted around trying to put an order to all of this chaos (note: there was literally no actual chaos to be found).  Then it hit me: I could make my own tabs to supplement what the box came with!  I had recently picked up some thin chip board from Paper Source, and it was the perfect material.  I traced an existing divider and then cut it out.  I borrowed Anne’s alphanumeral stamp (the kind that librarians use), and it was finished!

A month or so into using my recipe box, I have to say that it is quite functional.  I use some categories more than others (do you see how big desserts is?) and others not at all (seafood).  The box also came with 24 blank recipe cards that I am really excited to start using.

I am so incredibly happy with how my recipe box turned out.  There are so many family recipes, so many stories, and equally as many happy memories spent in the kitchen and at the dining table.  This is my holy text.

Creamy Garlic Linguine

If pasta is involved, sign me up.  It doesn’t matter the size, texture, or sauce  — I will probably love it (unless it involves mushrooms).  I could eat pasta a few times a week if you really twisted my arm about it.  It’s like a blank canvas, just screaming for culinary magic to happen on it.

I was so happy when I stumbled upon this recipe by Lil’ Luna for creamy garlic (penne) pasta.  I gave it a whirl soon after discovering it, and was not disappointed.  This recipe is a fantastic twist on a classic pasta dish.  It’s subtle, but means business.

Creamy Garlic Linguine (via Lil' Luna)

Ingredients:

  • 1 lb linguine pasta
  • 3 tbs butter
  • 2 tsp fresh minced garlic
  • 3 tbs flour
  • 1 cup chicken broth
  • 1 cup milk
  • 2 tsp fresh minced parsley
  • 1/2 cup grated parmesan cheese
  • Salt and pepper to taste

To begin, cook linguine according to package instructions (or if you’ve got some Italian flare in you, don’t read the instructions and go by taste to determine done-ness).

While the pasta water is boiling and the pasta is being cooked, melt butter in a medium sauce pan (I used a wok).  Add garlic and cook for one minute.  Add flour and cook for 30 seconds, making sure to stir constantly with a whisk.  Don’t go grab that glass of wine!

Add milk and chicken broth, again stirring constantly.  Cook until sauce boils and thickens.  Add parmesan cheese, salt, and pepper.  Continue stirring until the parmesan has melted.  Have faith, it will work.

Once the linguine is cooked to al dente perfection and is strained, combine pasta and sauce in either the pasta pot or the wok (whichever one is larger).  Use a pasta scooper to blend the two together.

Serve linguine, with a garnish of fresh parsley, immediately and enjoy!

From Scissors & Sage

Tag your own culinary creations (especially if you try this one at home) with #scissorsandsage on Instagram or Twitter!